18
Nov 19

Shed jobs

Took a few days to get back into the shed after dousing the bench in BLO. I thought it’d be dry by now. Nope, still had a small film of oil on top. Not gummy, it’s just that it’s been so cold (-4C last night I think) that the BLO hadn’t started to cure yet. So I wiped off the excess again (whatever’s penetrated into the wood will cure in its own time, and that should be the majority of it) and got on with the small shop jobs that have been piling up.

First though, new toy…
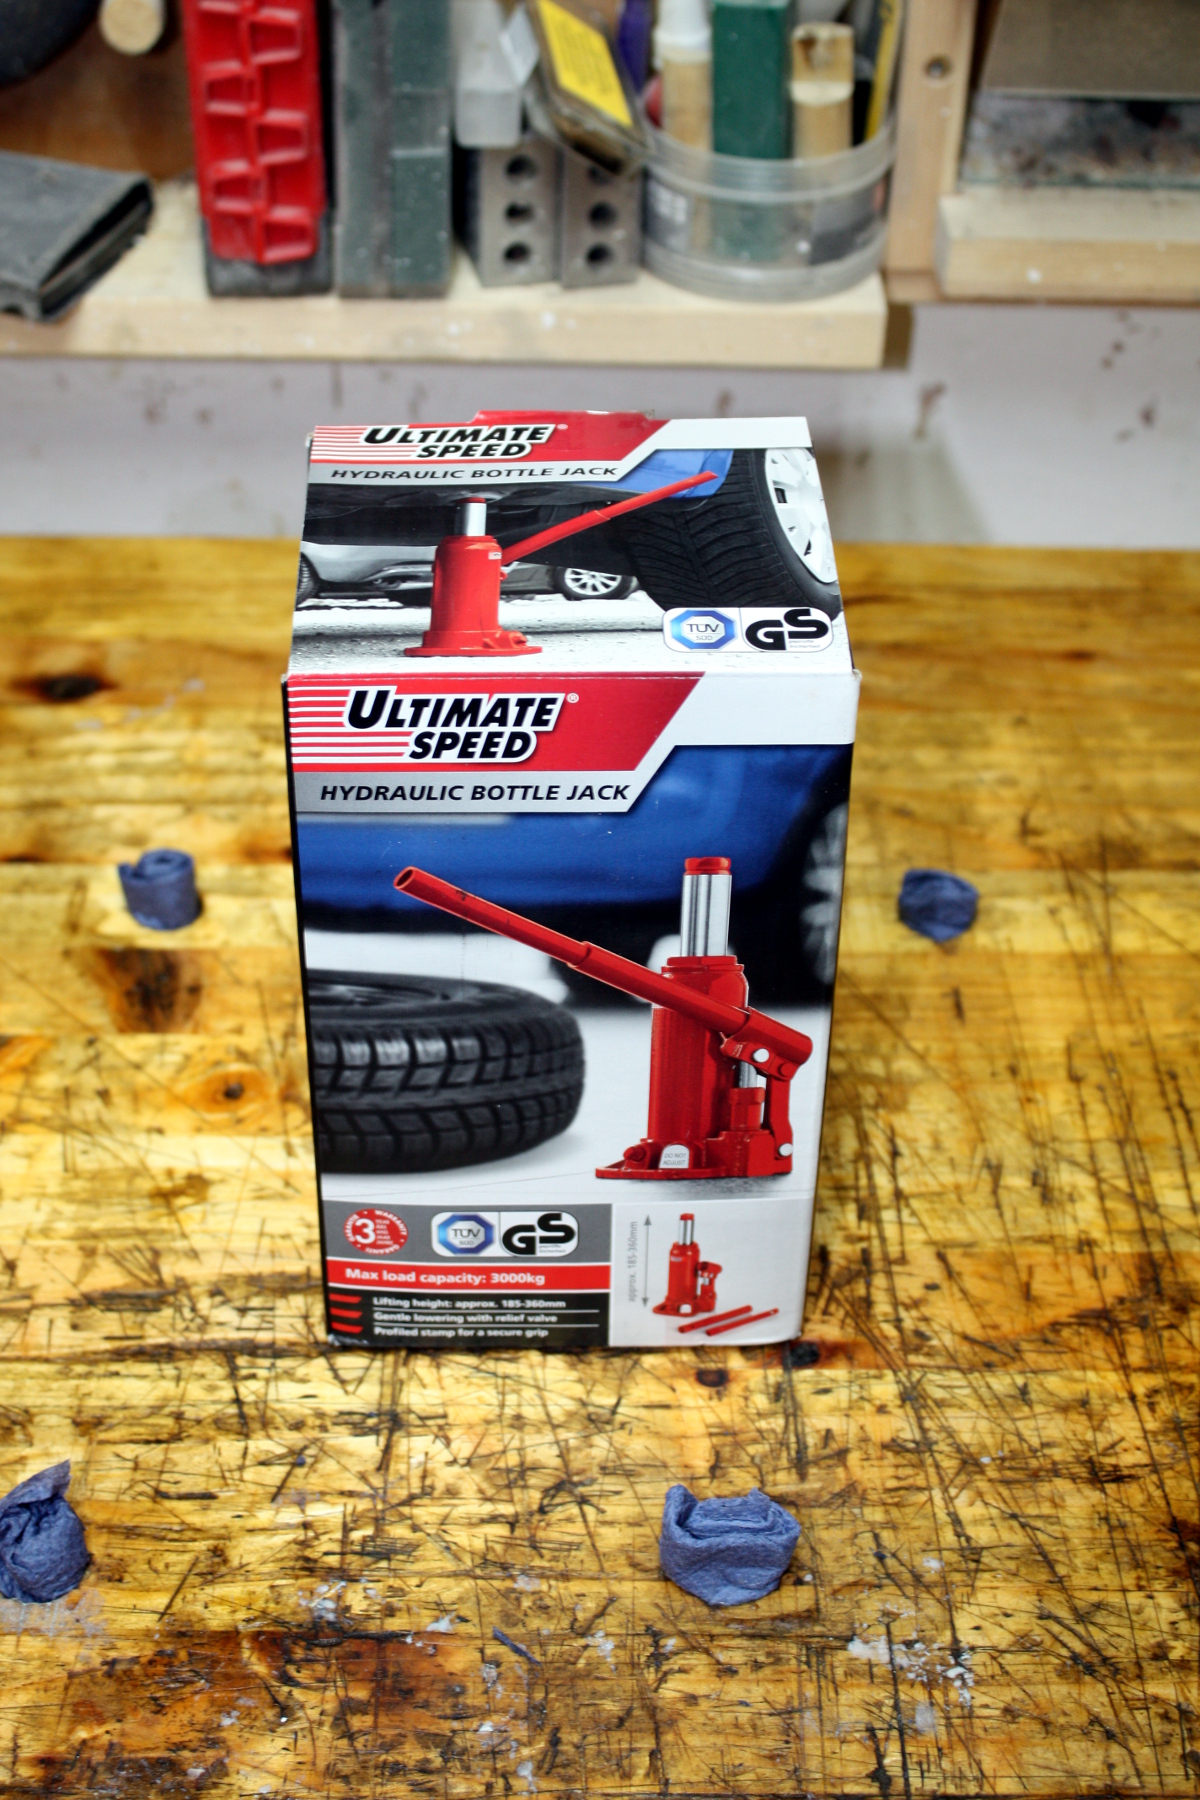
I have no idea what I’ll use it for, but it’s a bottle jack. Thousand and one uses. €13 in lidl at the moment and 3000kg load and just over seven inches tall. Dinky little thing. Anyway, set that aside and onwards…
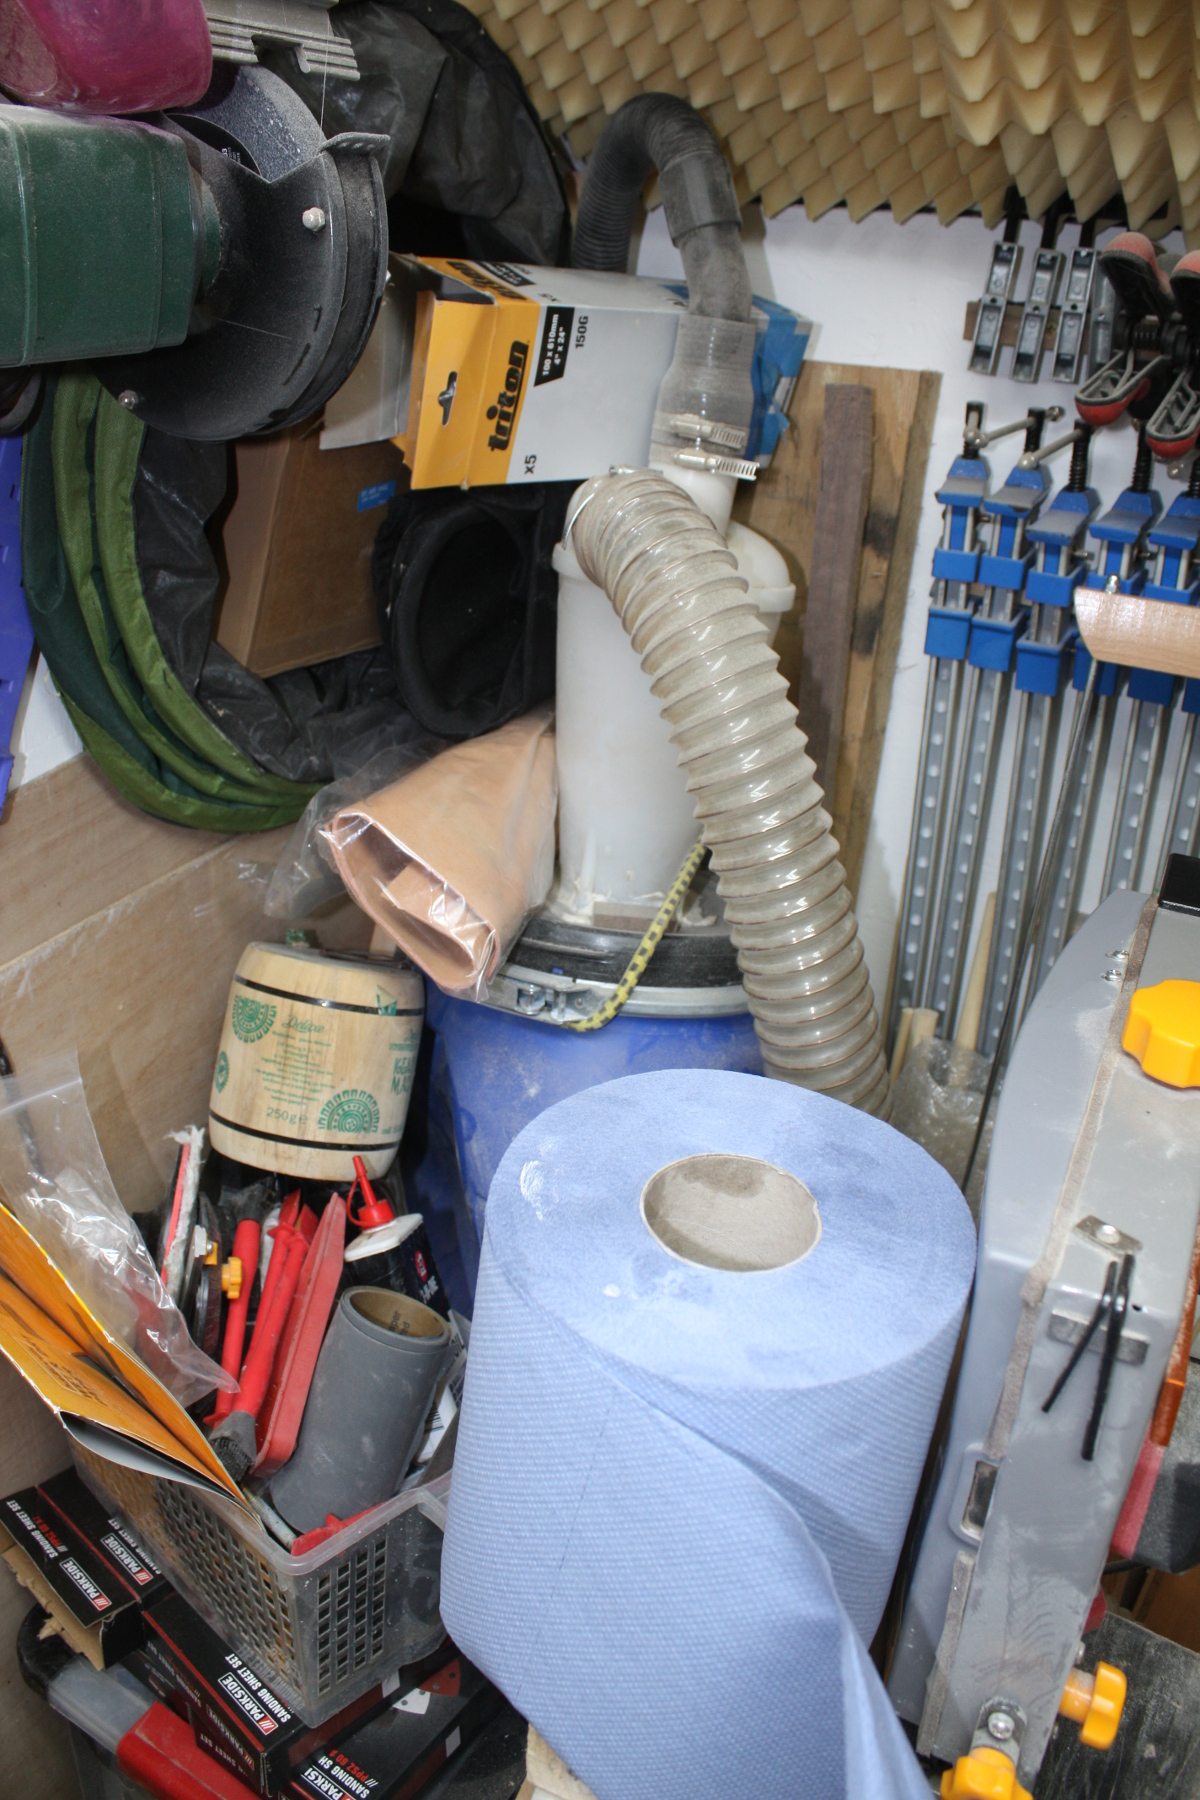
Some serious tidying up needed here. I won’t get to it tonight, but I did manage to open the cyclone and check its levels (about 20% full) and pop the sides back out and put in a brace to stop them being pulled in again. And took measurements of the space available and the size of the cyclone, the shop vac powering it and the box of finishing supplies that needs to go into a drawer of sorts (I’ll have to do drawers for the stuff under the bench as well, the plastic tubs were only ever a temporary solution and they’re starting to crack and break under the strain). Some sketching to do in my head and then I’ll get to it shortly.

First, this is on the bench and has been for about two years now….
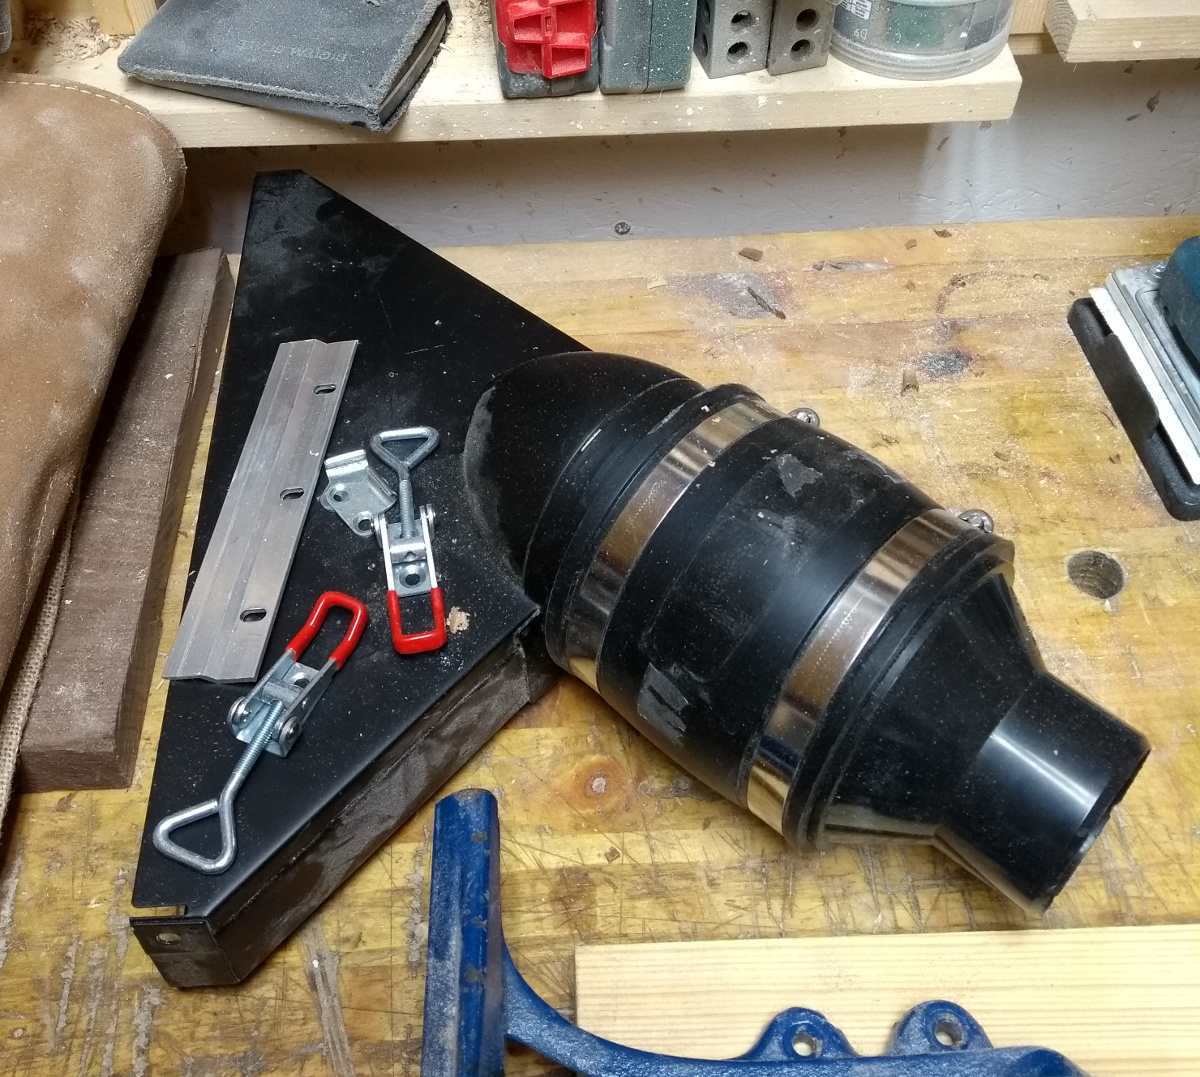
So out with the metal drill bits for the first time in a long time, and I cut the z-clip in half with the bandsaw and deburred it with a handfile, then screwed the dust hood into place by the really awkward three screws on the sides and underneath that are DeWalt’s idea of how it should work; and arranged clips and centerpunched for bolt holes. Had to take out a plate from the planer to attach the actual latch rather than disk drilling into something you shouldn’t drill into…
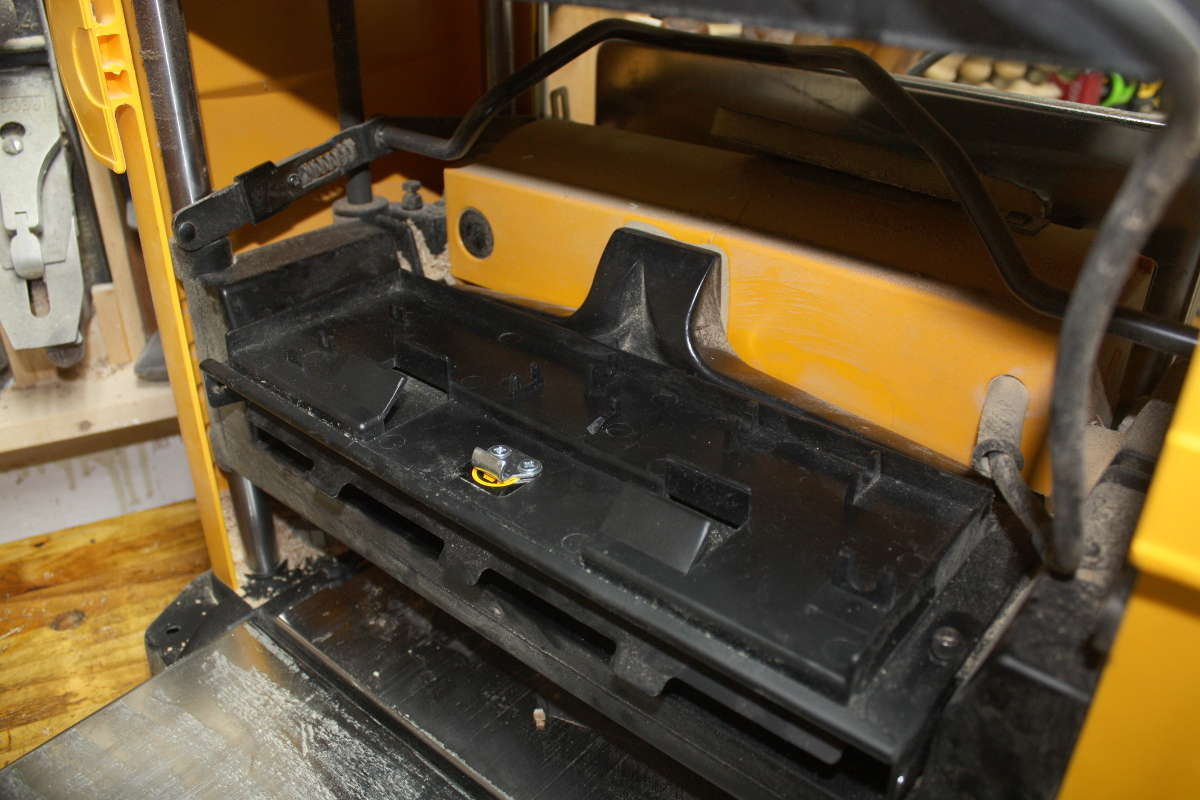
Bit of faffing about with taking the hood off and on a few times to figure out placements and finally had the hardware installed.
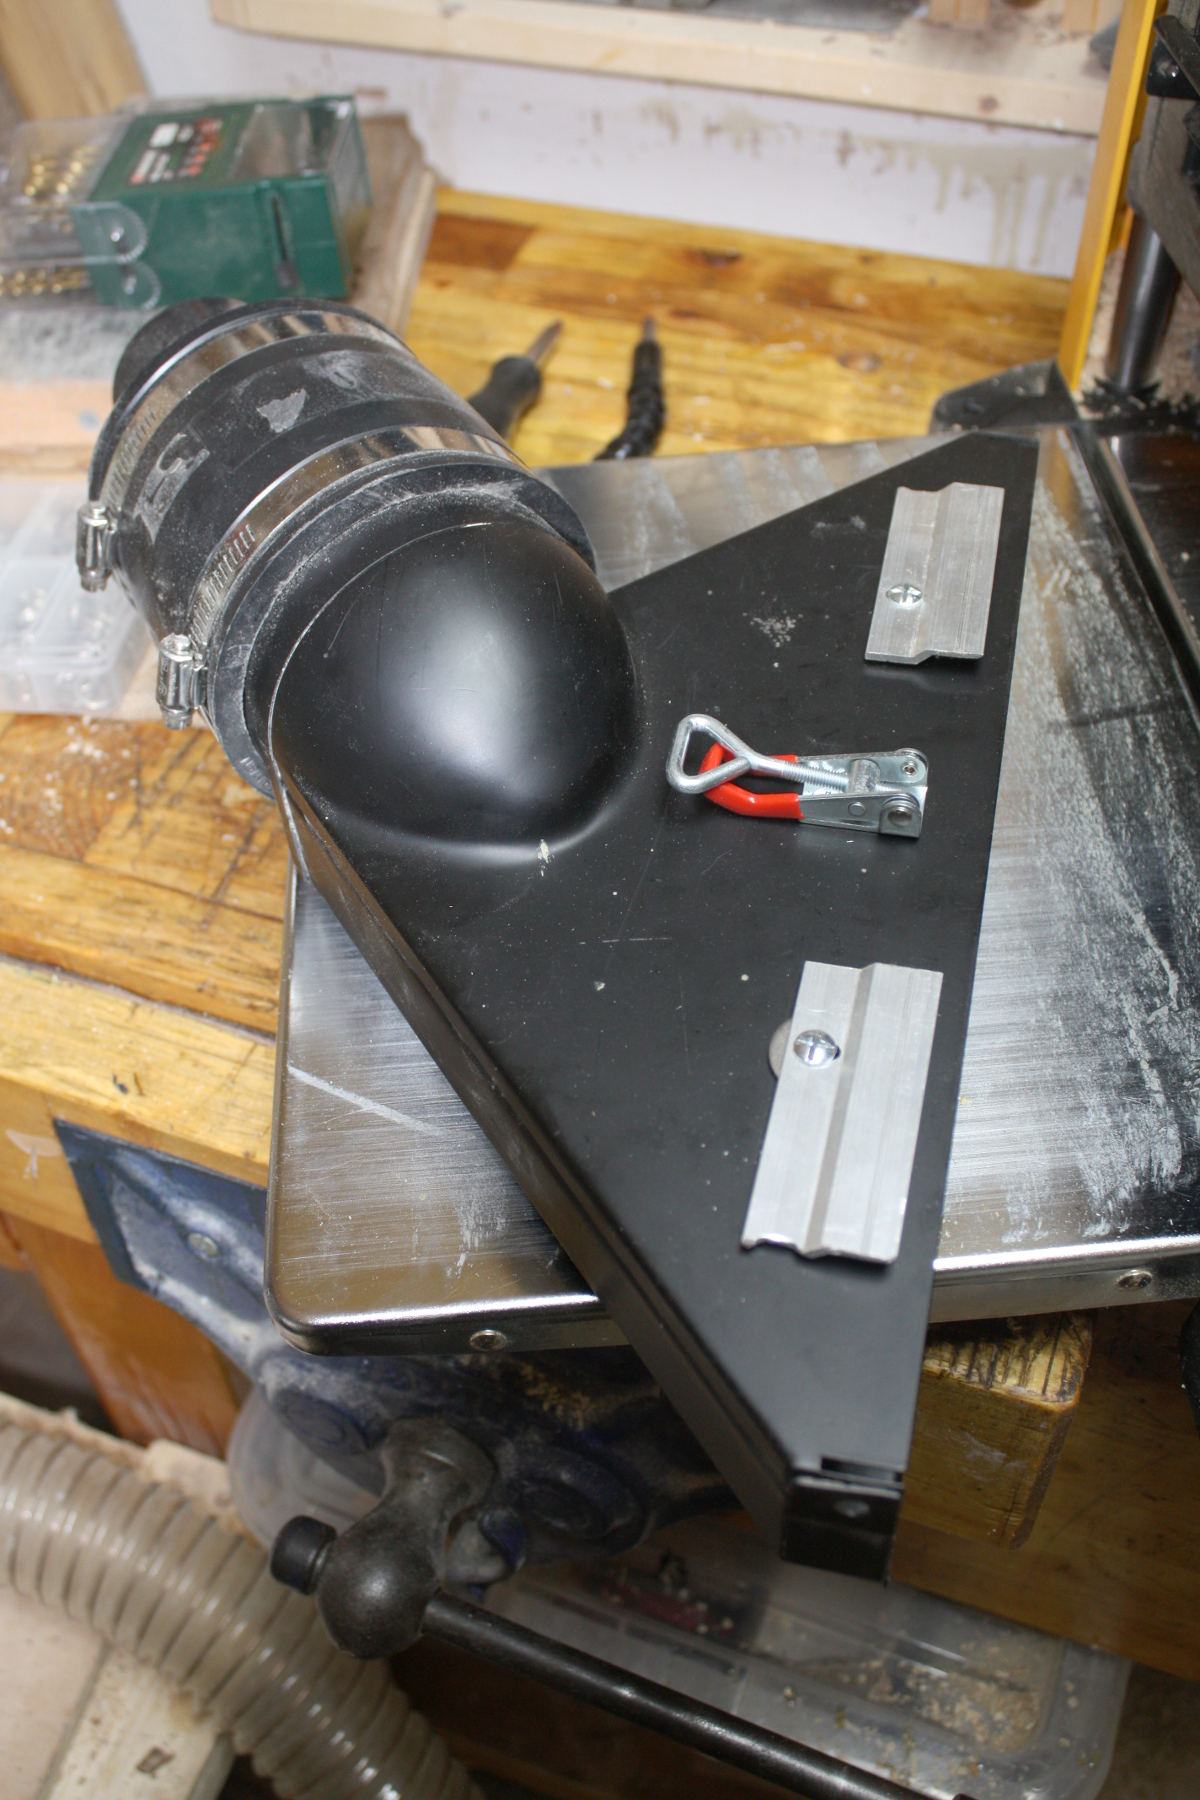
Now when I want to attach the dust collection hood, I can just push it into place and the latch holds it there:
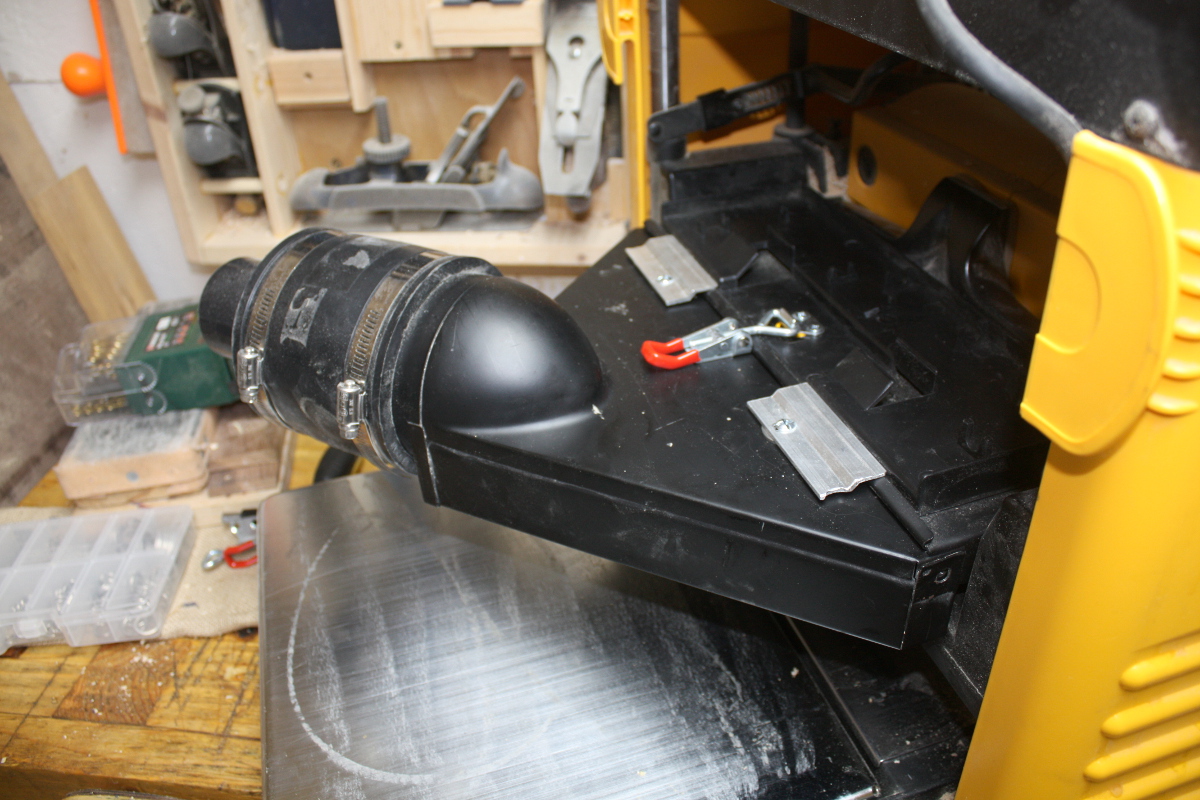
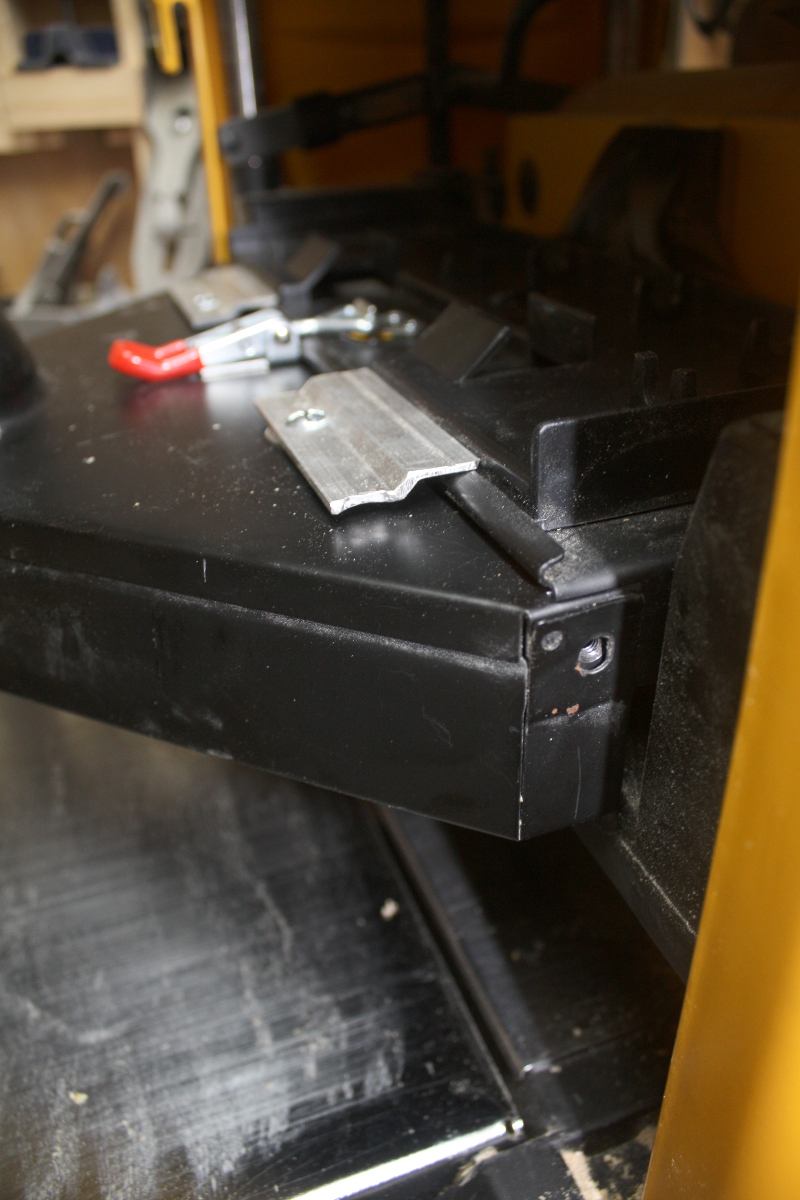
I have less than a huge amount of faith in my show vac and cyclone to keep up with this thing’s production of shavings mind you, but at least this beats the fiddly screw arrangements. At some point I’ll get a 100mm extractor from Rutlands or somewhere I think. But I might as well try this for now. Compared to the mess when I don’t do this, it has to be worth trying at least.
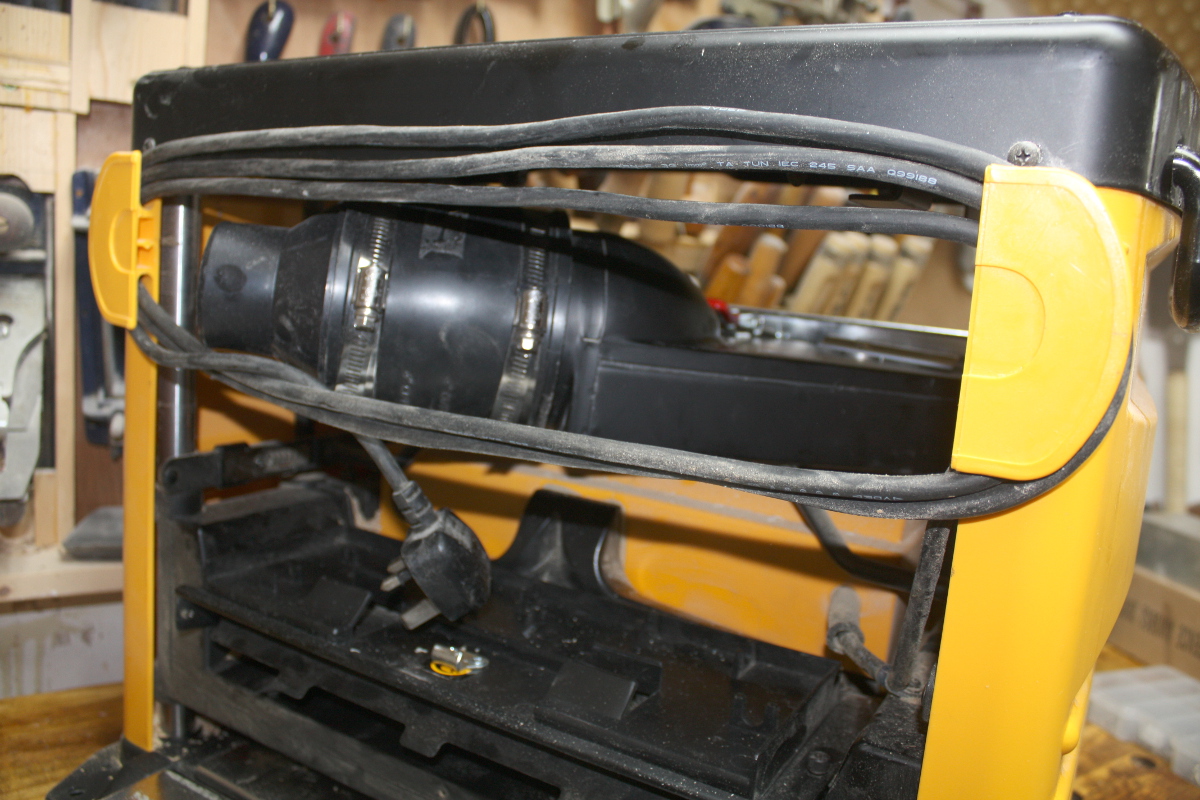
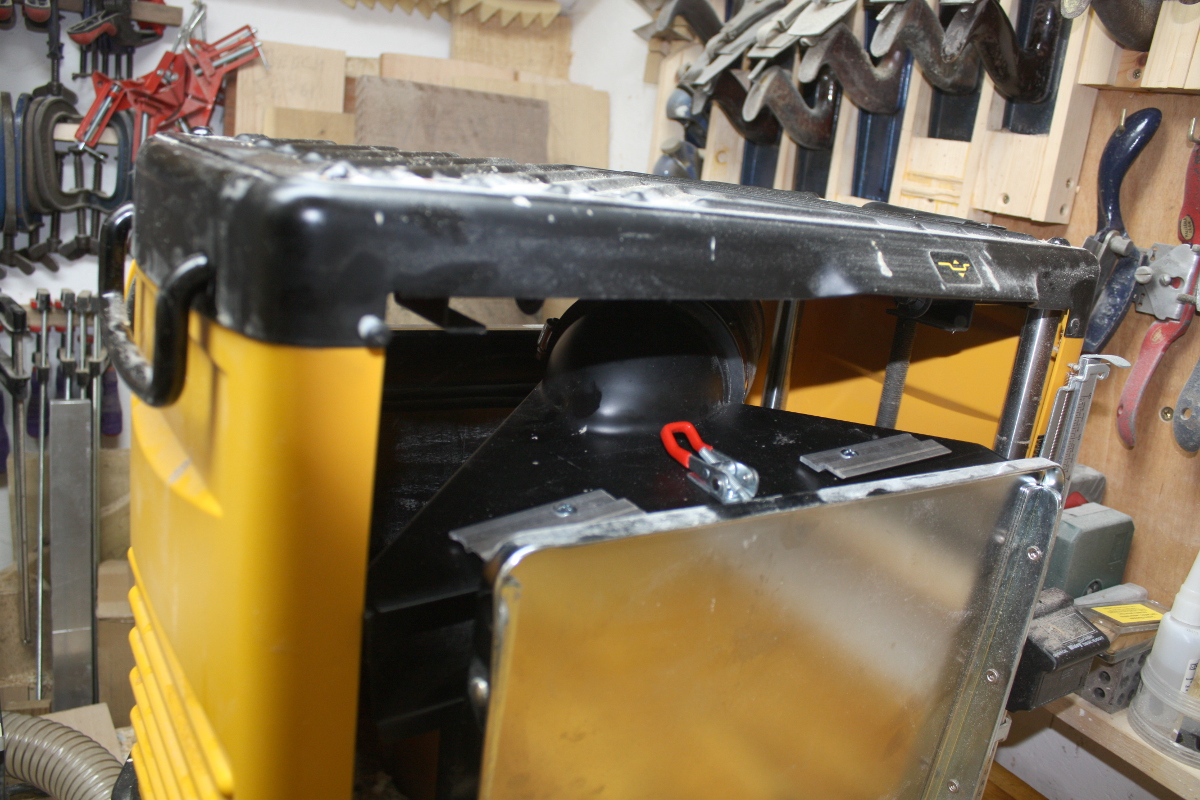
Also, now it stores away somewere convenientish. Sortof. I mean, if it doesn’t work, it won’t be much good at all and I’ll stash it in the attic until I get a 100mm extractor I suppose, though your guess is as good as mine about where that would go. At least it’s done; I’ve been meaning to get to this for something like two years now.
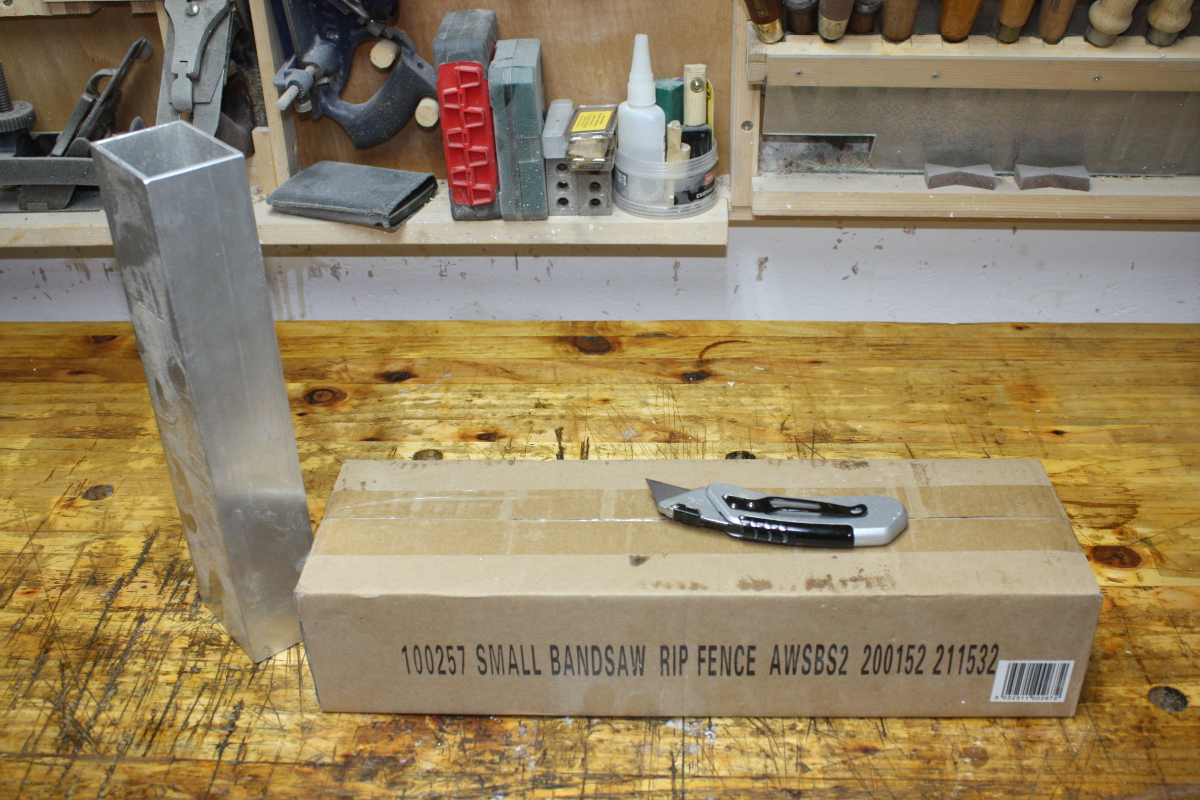
Next up, I got a new fence for the bandsaw. The aluminum extrusion I’ve been using is fine, but fiddly to set up. Peter Millard installed this fence on this bandsaw and seemed to have good luck with it, so I figured it was worth a try…
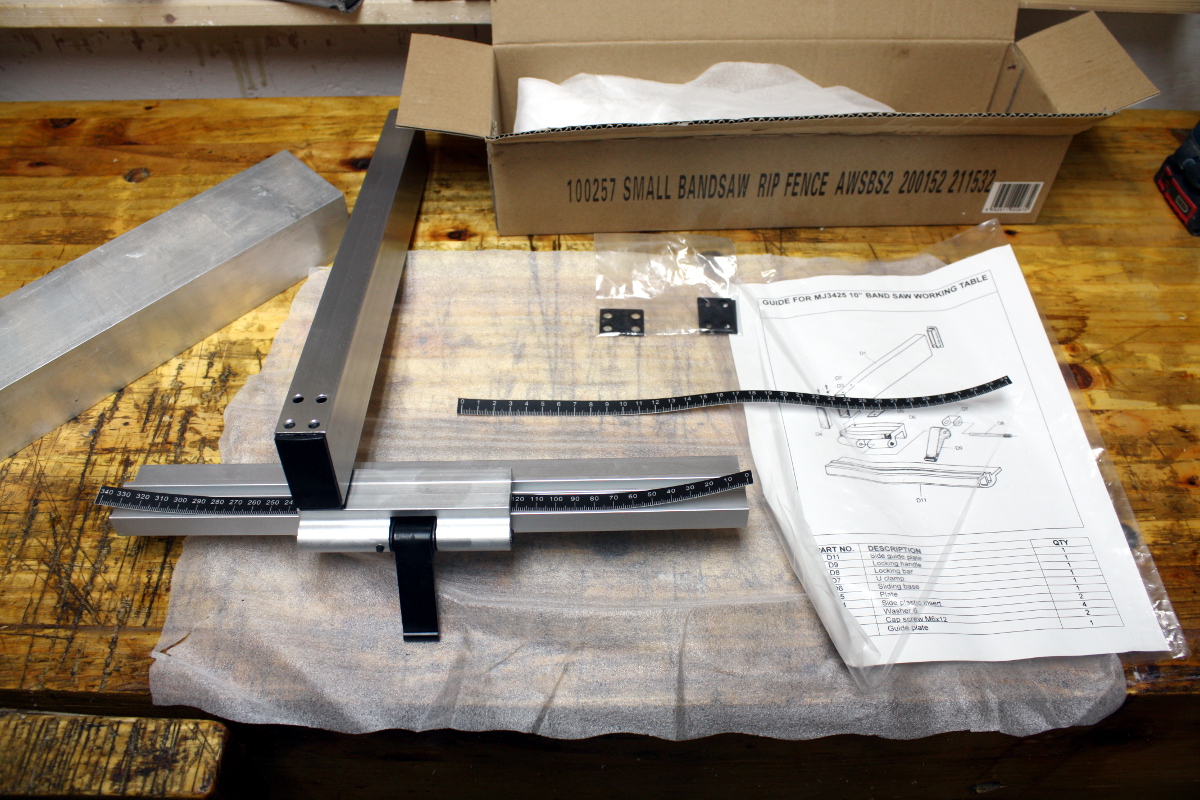
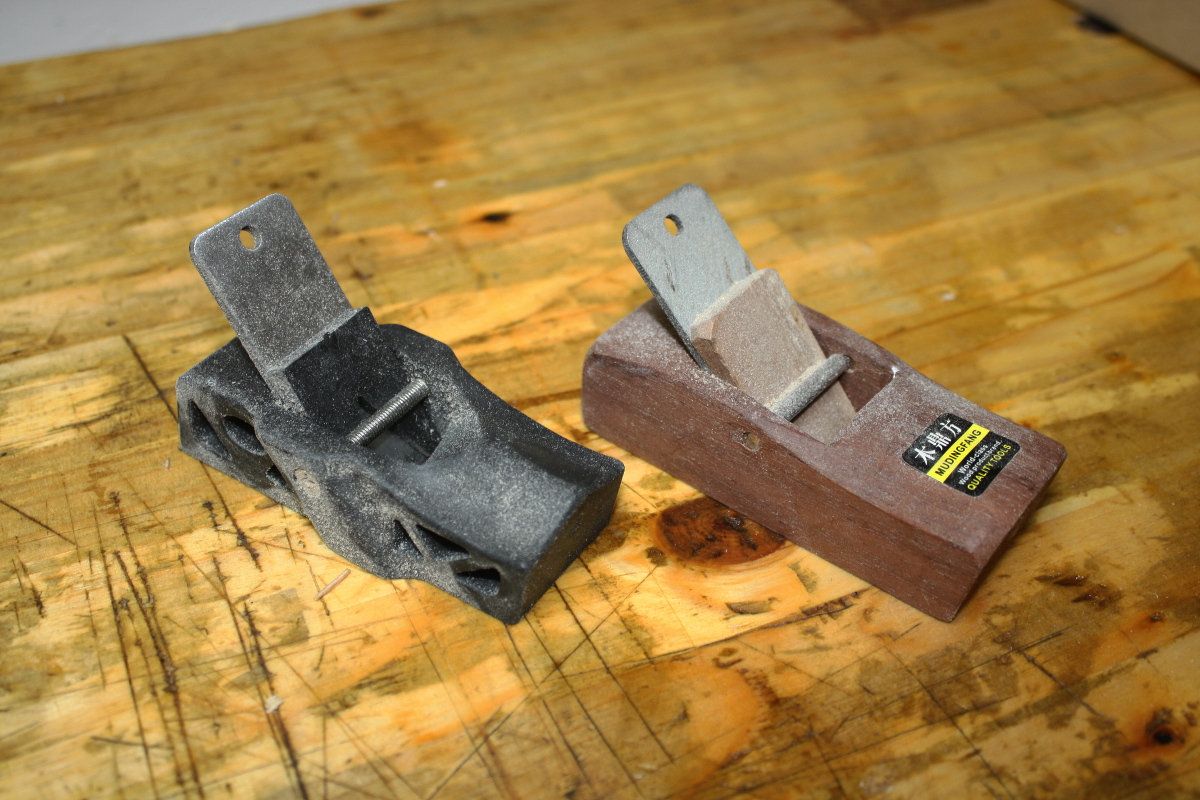
But it’s after nine by now so not a time to drill metal. I’ll rewatch Peter’s video and figure out what I’ll use to duplicate the install. And I’d rather get this done sooner than later, I have more toys to play with that have been hanging around for a while…
14
Jul 19

DIY intermission

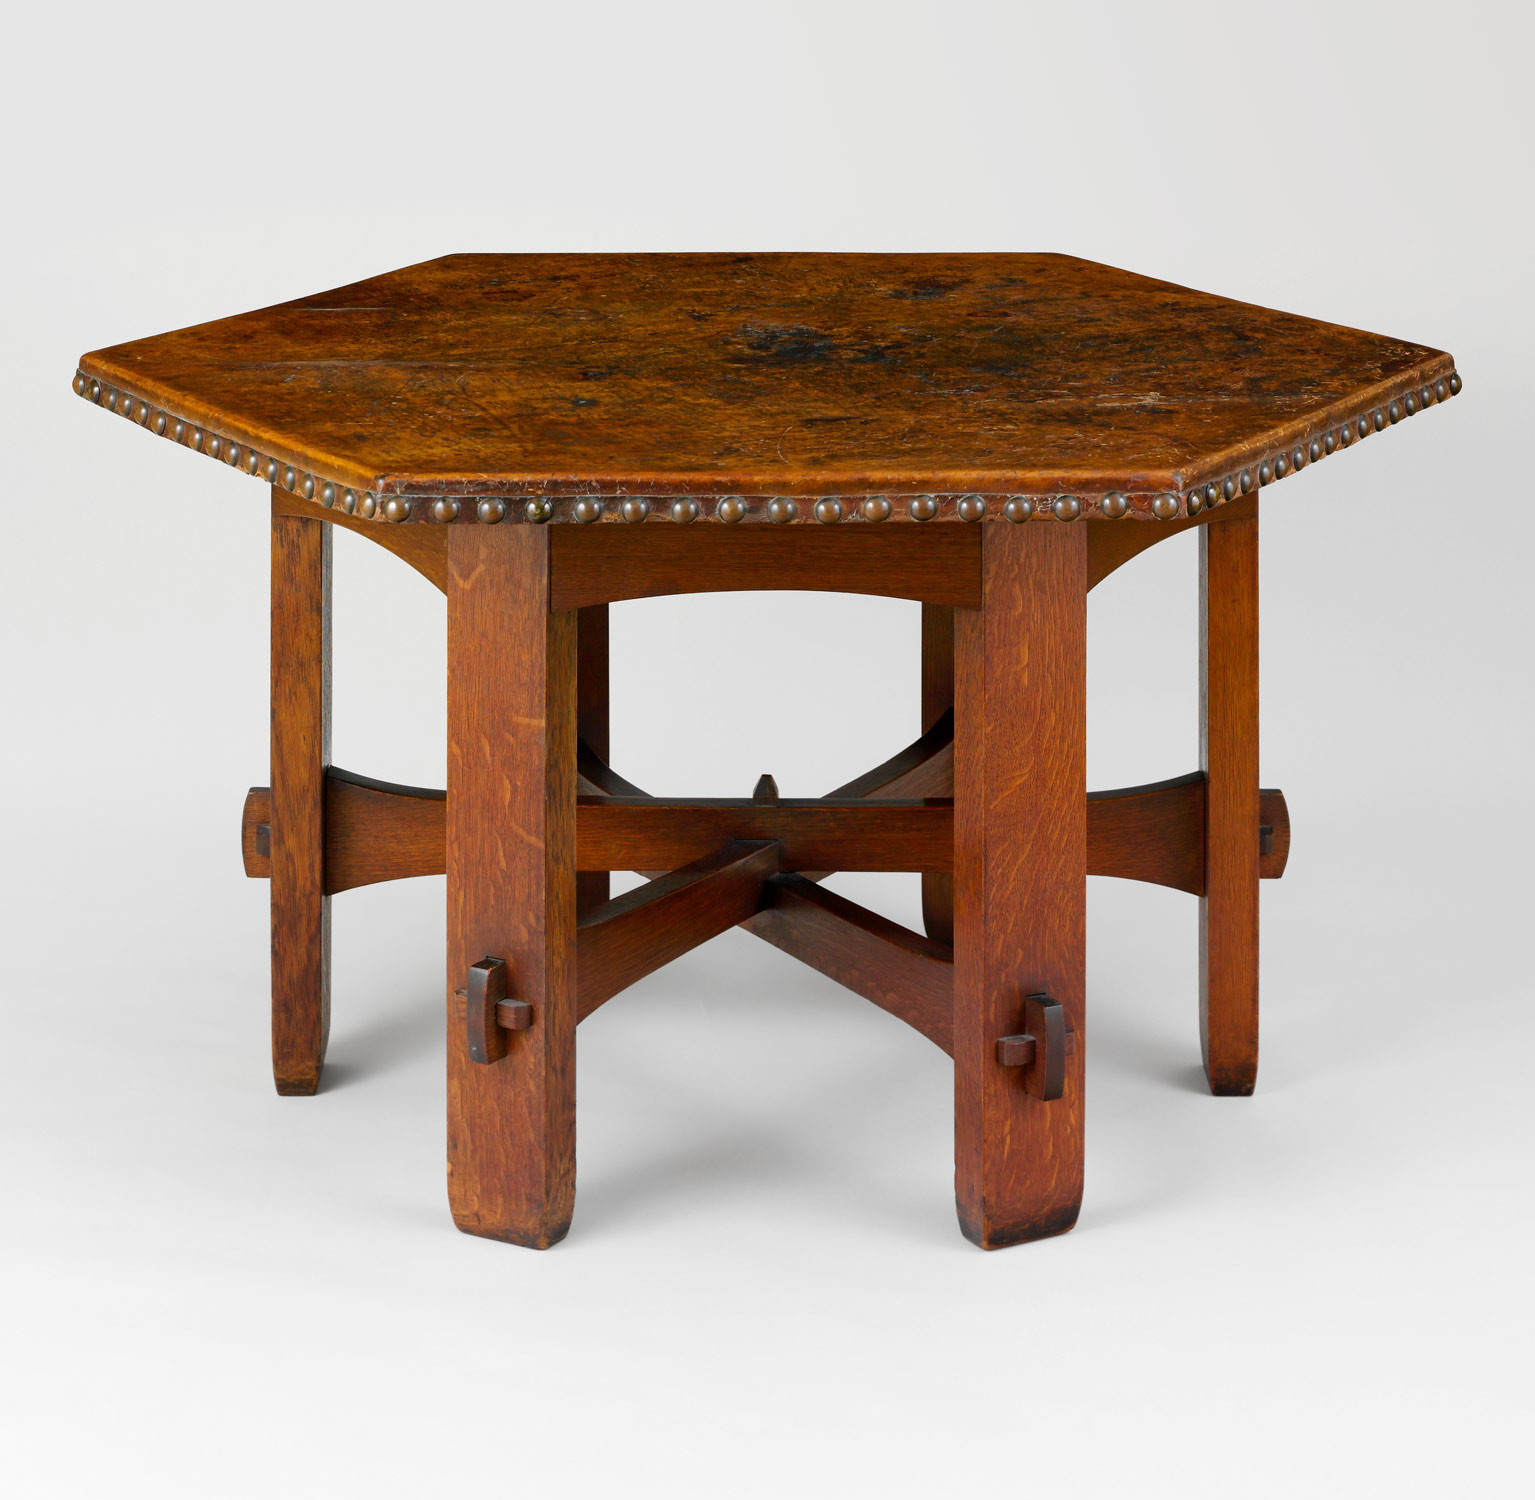
Funny thing about DIY, it gets all the Tim-the-Toolman-Taylor jokes and all the Daddy-Pig jokes, but at the core it’s a repeat of the Arts-and-Crafts movement of the late 1800s and early 1900s which led to things like this:

From the Met Museum : https://www.metmuseum.org/

I mean, it’s not to everyone’s tastes (I don’t like it much personally) but you can’t really argue it’s incompetent or that it’s inferior because it wasn’t just an aesthetic, it was a philosophy – one of using more traditional craftsmanship rather than industrial processes and moving away from the previous mass produced furniture (sorry Henry, but Ford didn’t invent mass production, High Wycombe got there at least six decades earlier and they might not have been the first) which people felt wasn’t as good as human-made furniture (as in, wasn’t as nice to look at, wasn’t built well, and so on). 
If that sounds a bit familiar, well, have a sip of your artisanal coffee and suspend laughing at hipsters for long enough to admit that actually, compared to the burned toast flavoured sludge we used to have for coffee in the 90s and the starbucks of today, coffee made by someone who knows what they’re doing is actually a lot better – and there in a nutshell is the core of the arts and crafts movement (and the DIY movement and the hipsters and probably a few other movements over the centuries since industrialisation). 

Anyway. DIY in this case is a lot less airy and a bit more safety-oriented; the mass-produced MDF kitchen our fridge is in is quite old and after the first decade or so MDF doesn’t really hold up so well it turns out. Or at least old MDF doesn’t, the process may have changed since then so the material is now more robust, but this stuff  is tearing apart and right now there’s a six-foot tall fridge freezer sitting on a shelf where one corner has torn out of its fastening and the whole arrangement has taken on a distinct tilt that I’m not at all in favour of. So an emergency support is getting shoved in until it can be fixed properly.

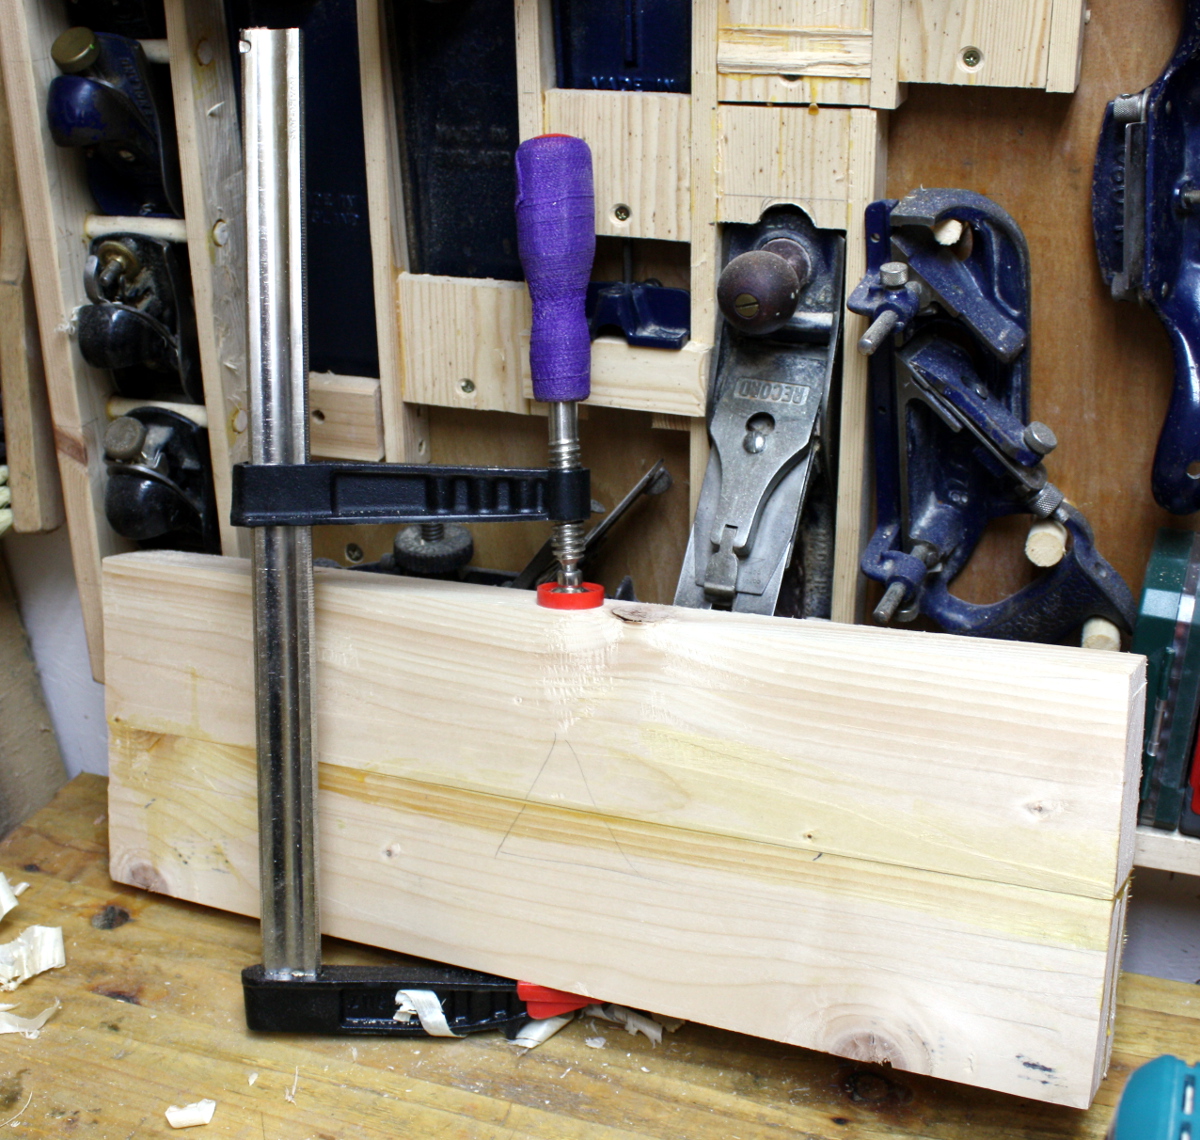
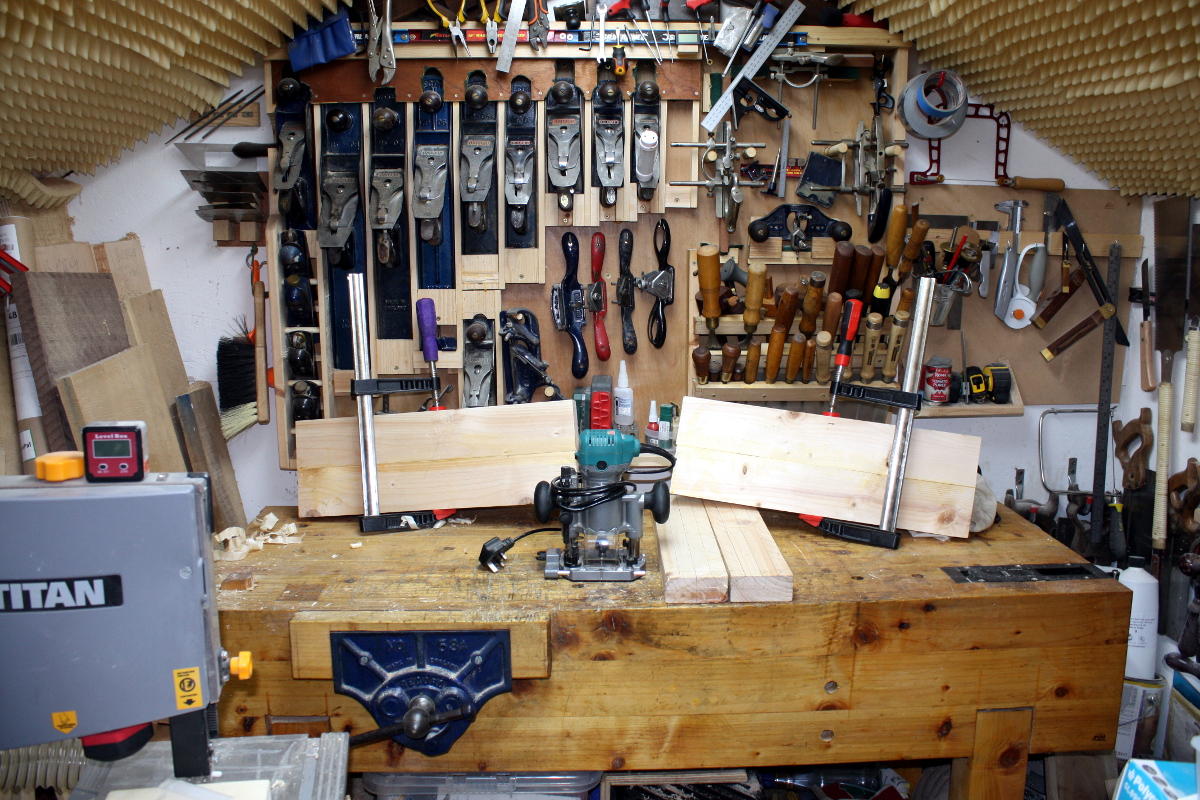
This is when it’s handy to have some CLS 2x4s around. A bit of planing, some measuring and cutting and a pair of edge joints later…

BTW, you’ll notice one F-clamp has a black and red plastic handle and the other has a purple one – that’s a Rob Cosman trick, it’s hockey stick tape to give more purchase on the handle. Gotta say, it works a treat and I’ll be getting more and doing it to all of the clamp handles. 

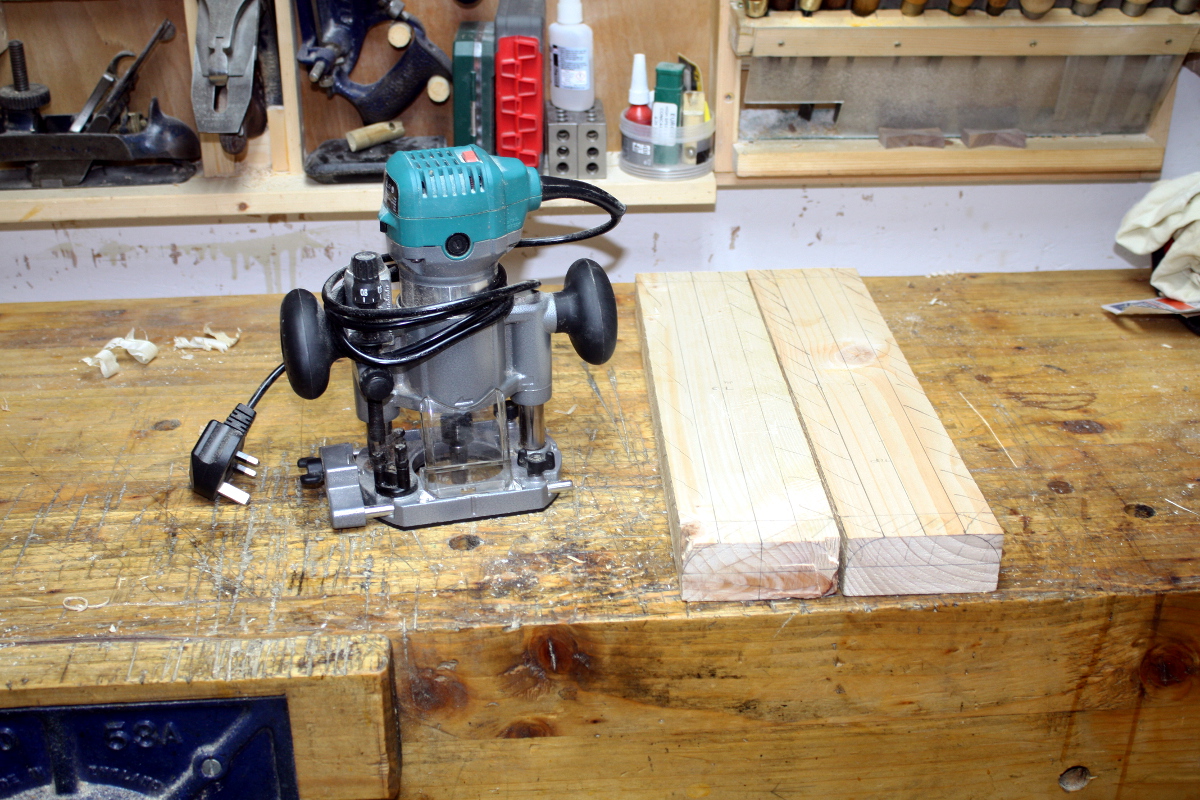
Glue will be cured by tomorrow and then I’ll scribe the sides of those uprights against the faces of the feet and then I’ll route out a cavity to set the overall height. Might have to trim or plane the edges of the uprights slightly for that, not sure. We’ll see. 

Really don’t like that tool, but it’s the best fit for this job. Have a new cutter in it as well, the one I intended for the sea in Calum’s desk, a Radian Tools three-flute cutter. Either it’ll be brilliant or it’ll shatter when it hits a knot, but either way I’d rather find out here than on the walnut desk…

Once I’ve routed the cavity to the right depth, I’ll glue and screw the feet to the uprights. Might shape them a little first just so it’s not completely ugly. Then drive them in below the shelf to support it and the fridge until we can get a more permanent fix. 

Also, new toys!

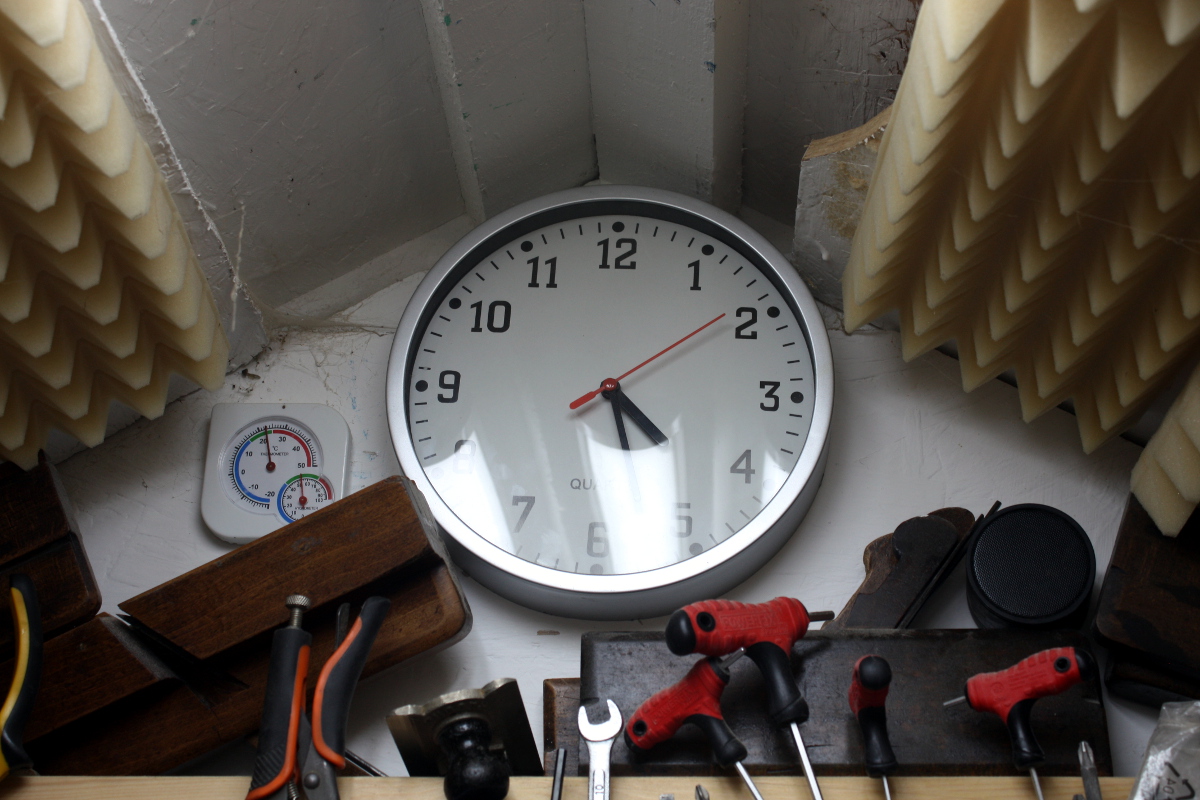
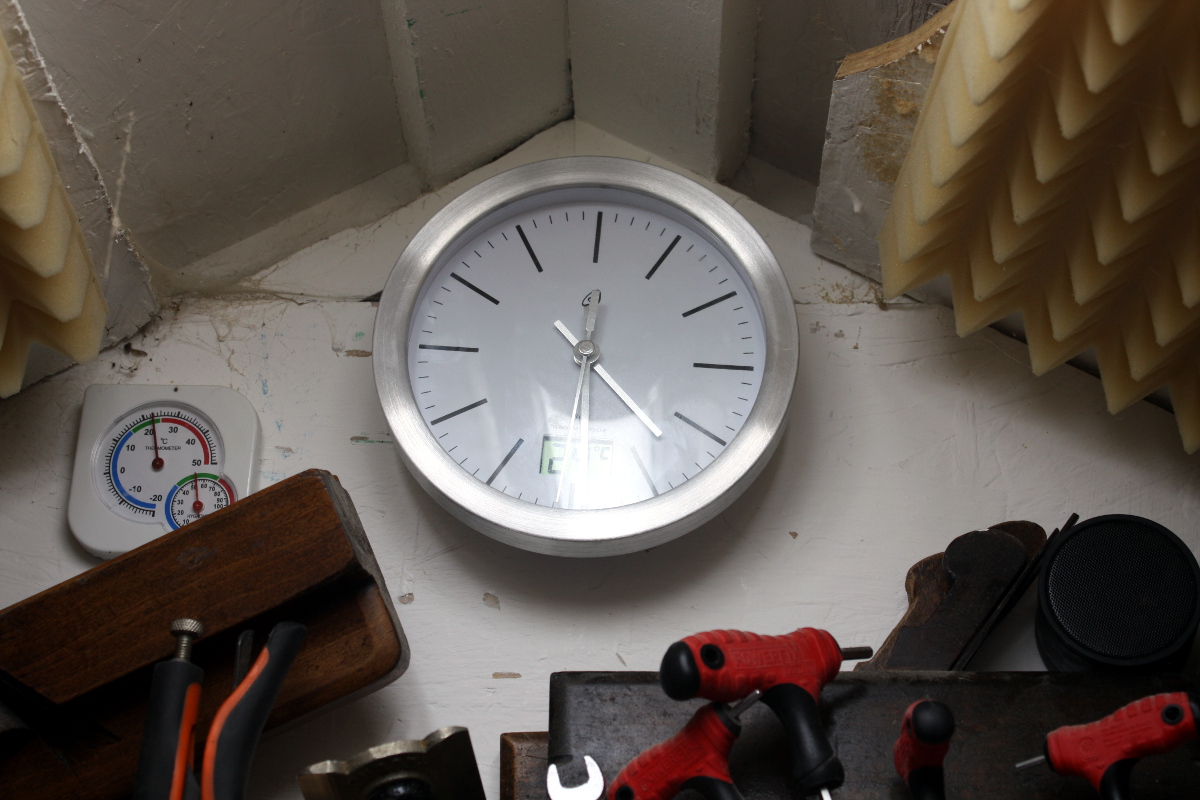
Lidl were selling radio clocks (as in, synced to the german VLF atomic clock transmitter so you never have to adjust the time even if the batteries run out and you don’t replace them for a while) so out with the older larger clock and in with the newer quieter one with the built-in temperature and humidity sensor. Atomic-level accurate clocks with digital thermometers and humidity sensors sold for a tenner as a loss leader to sell you vegetables and own-brand staples. Mass production does have some advantages…

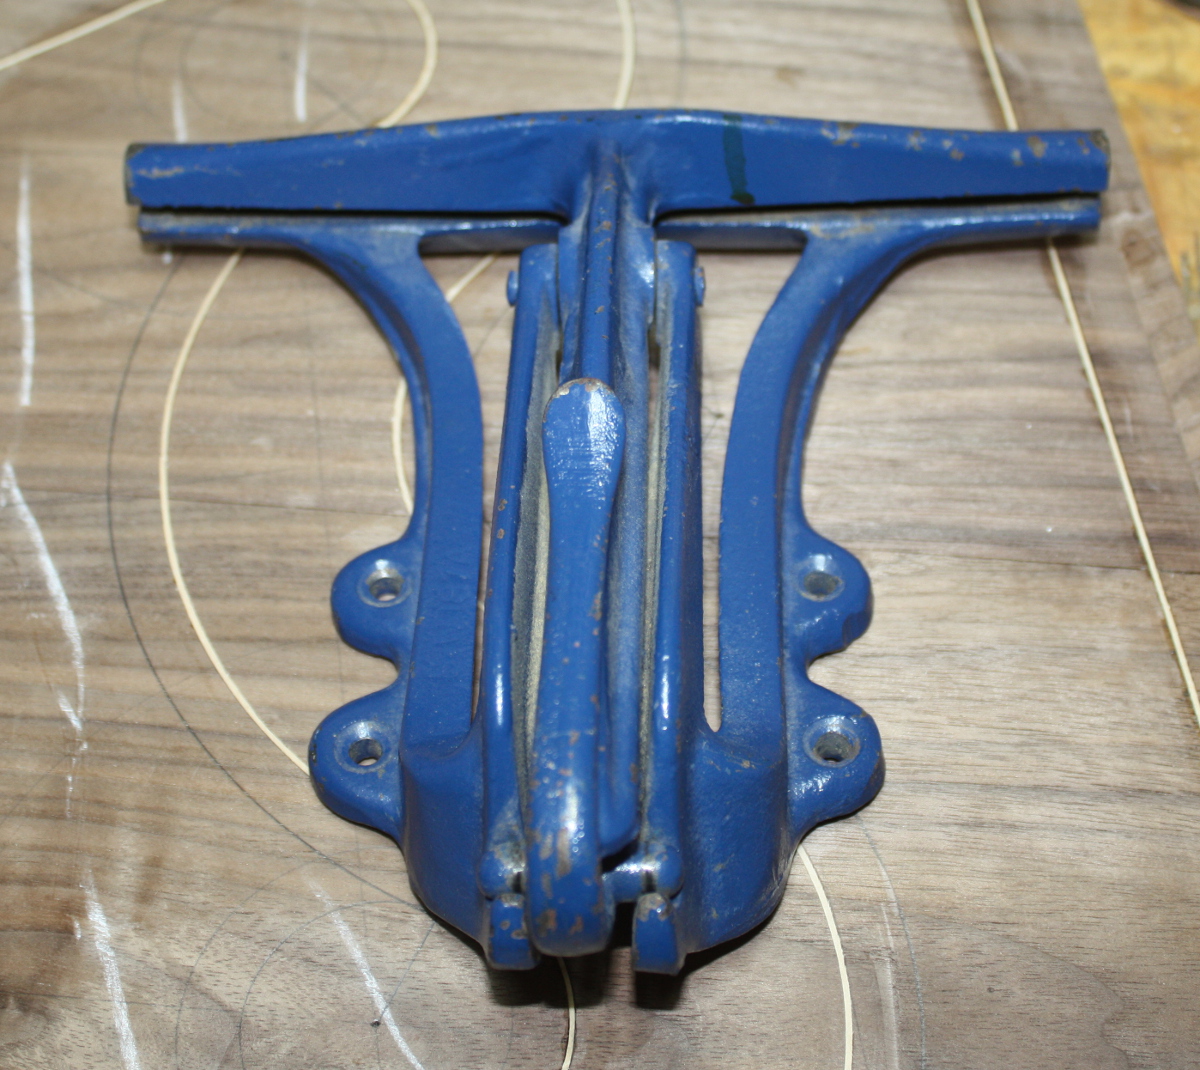
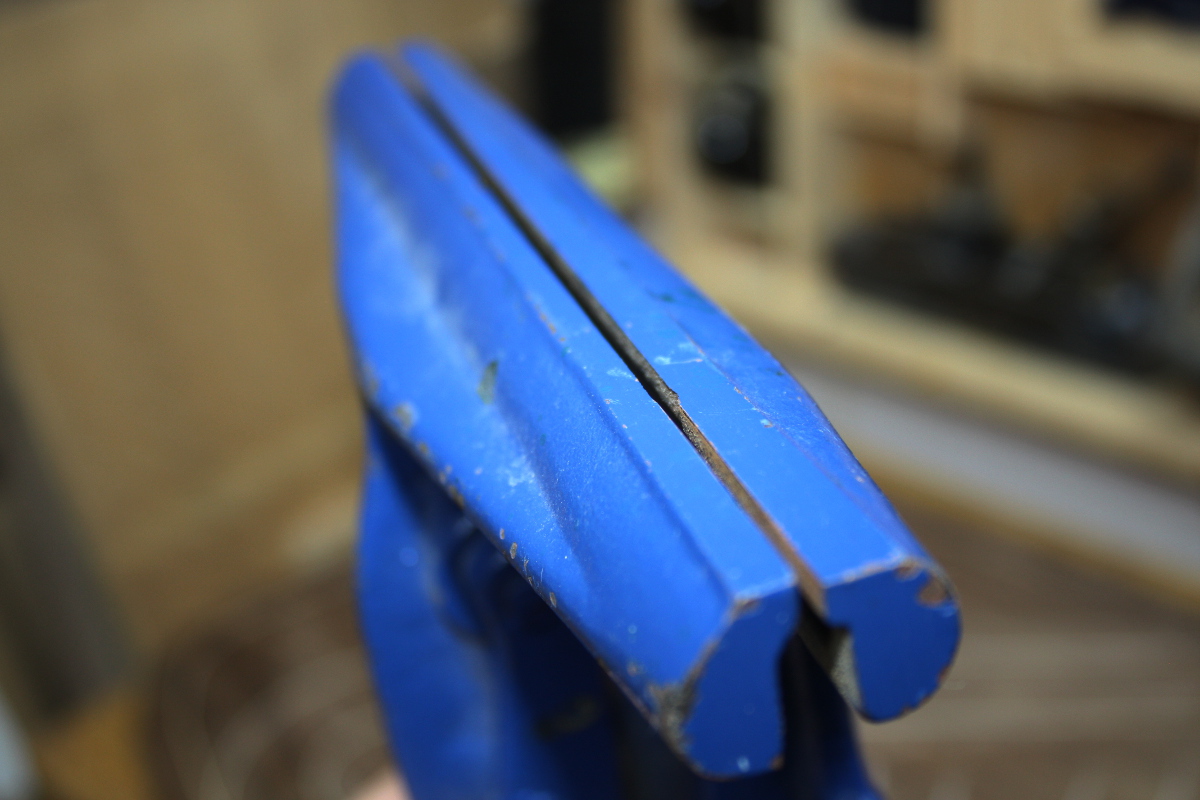
And a new vice. I keep putting off sharpening my saws because they’re a pain to clamp in that small pine stick with the saw kerf that gets clamped into the bench’s face vice, and then when it is clamped properly the teeth are down at bench level and it hurts my back to be bent over the work like that but I need to see what I’m doing to do it and it’s fiddly. So I’ve left the western saws I have on the wall for over a year now and they’re not bad tools and I keep wanting to learn to use them right but I keep coming back to the japanese saws because the western ones aren’t sharp. So, a dedicated saw sharpening vice, found on ebay for €25 including P&P:

It’ll get bolted to a small plank, then the plank goes in the face vice on the bench, so the top of the vice will be much closer to my face and I can see what I’m doing. Fingers crossed it’ll work.

That’s it fully open btw; just enough for a saw plate and then you clamp it shut with a sprung cam. Has a lot more in common with a luthier clamp than it does with a screw vice. 

Not a lot other than that little bit done today. Today was too sunny and it was a weekend so we took the little BBQ on a field trip to Powerscourt waterfall…

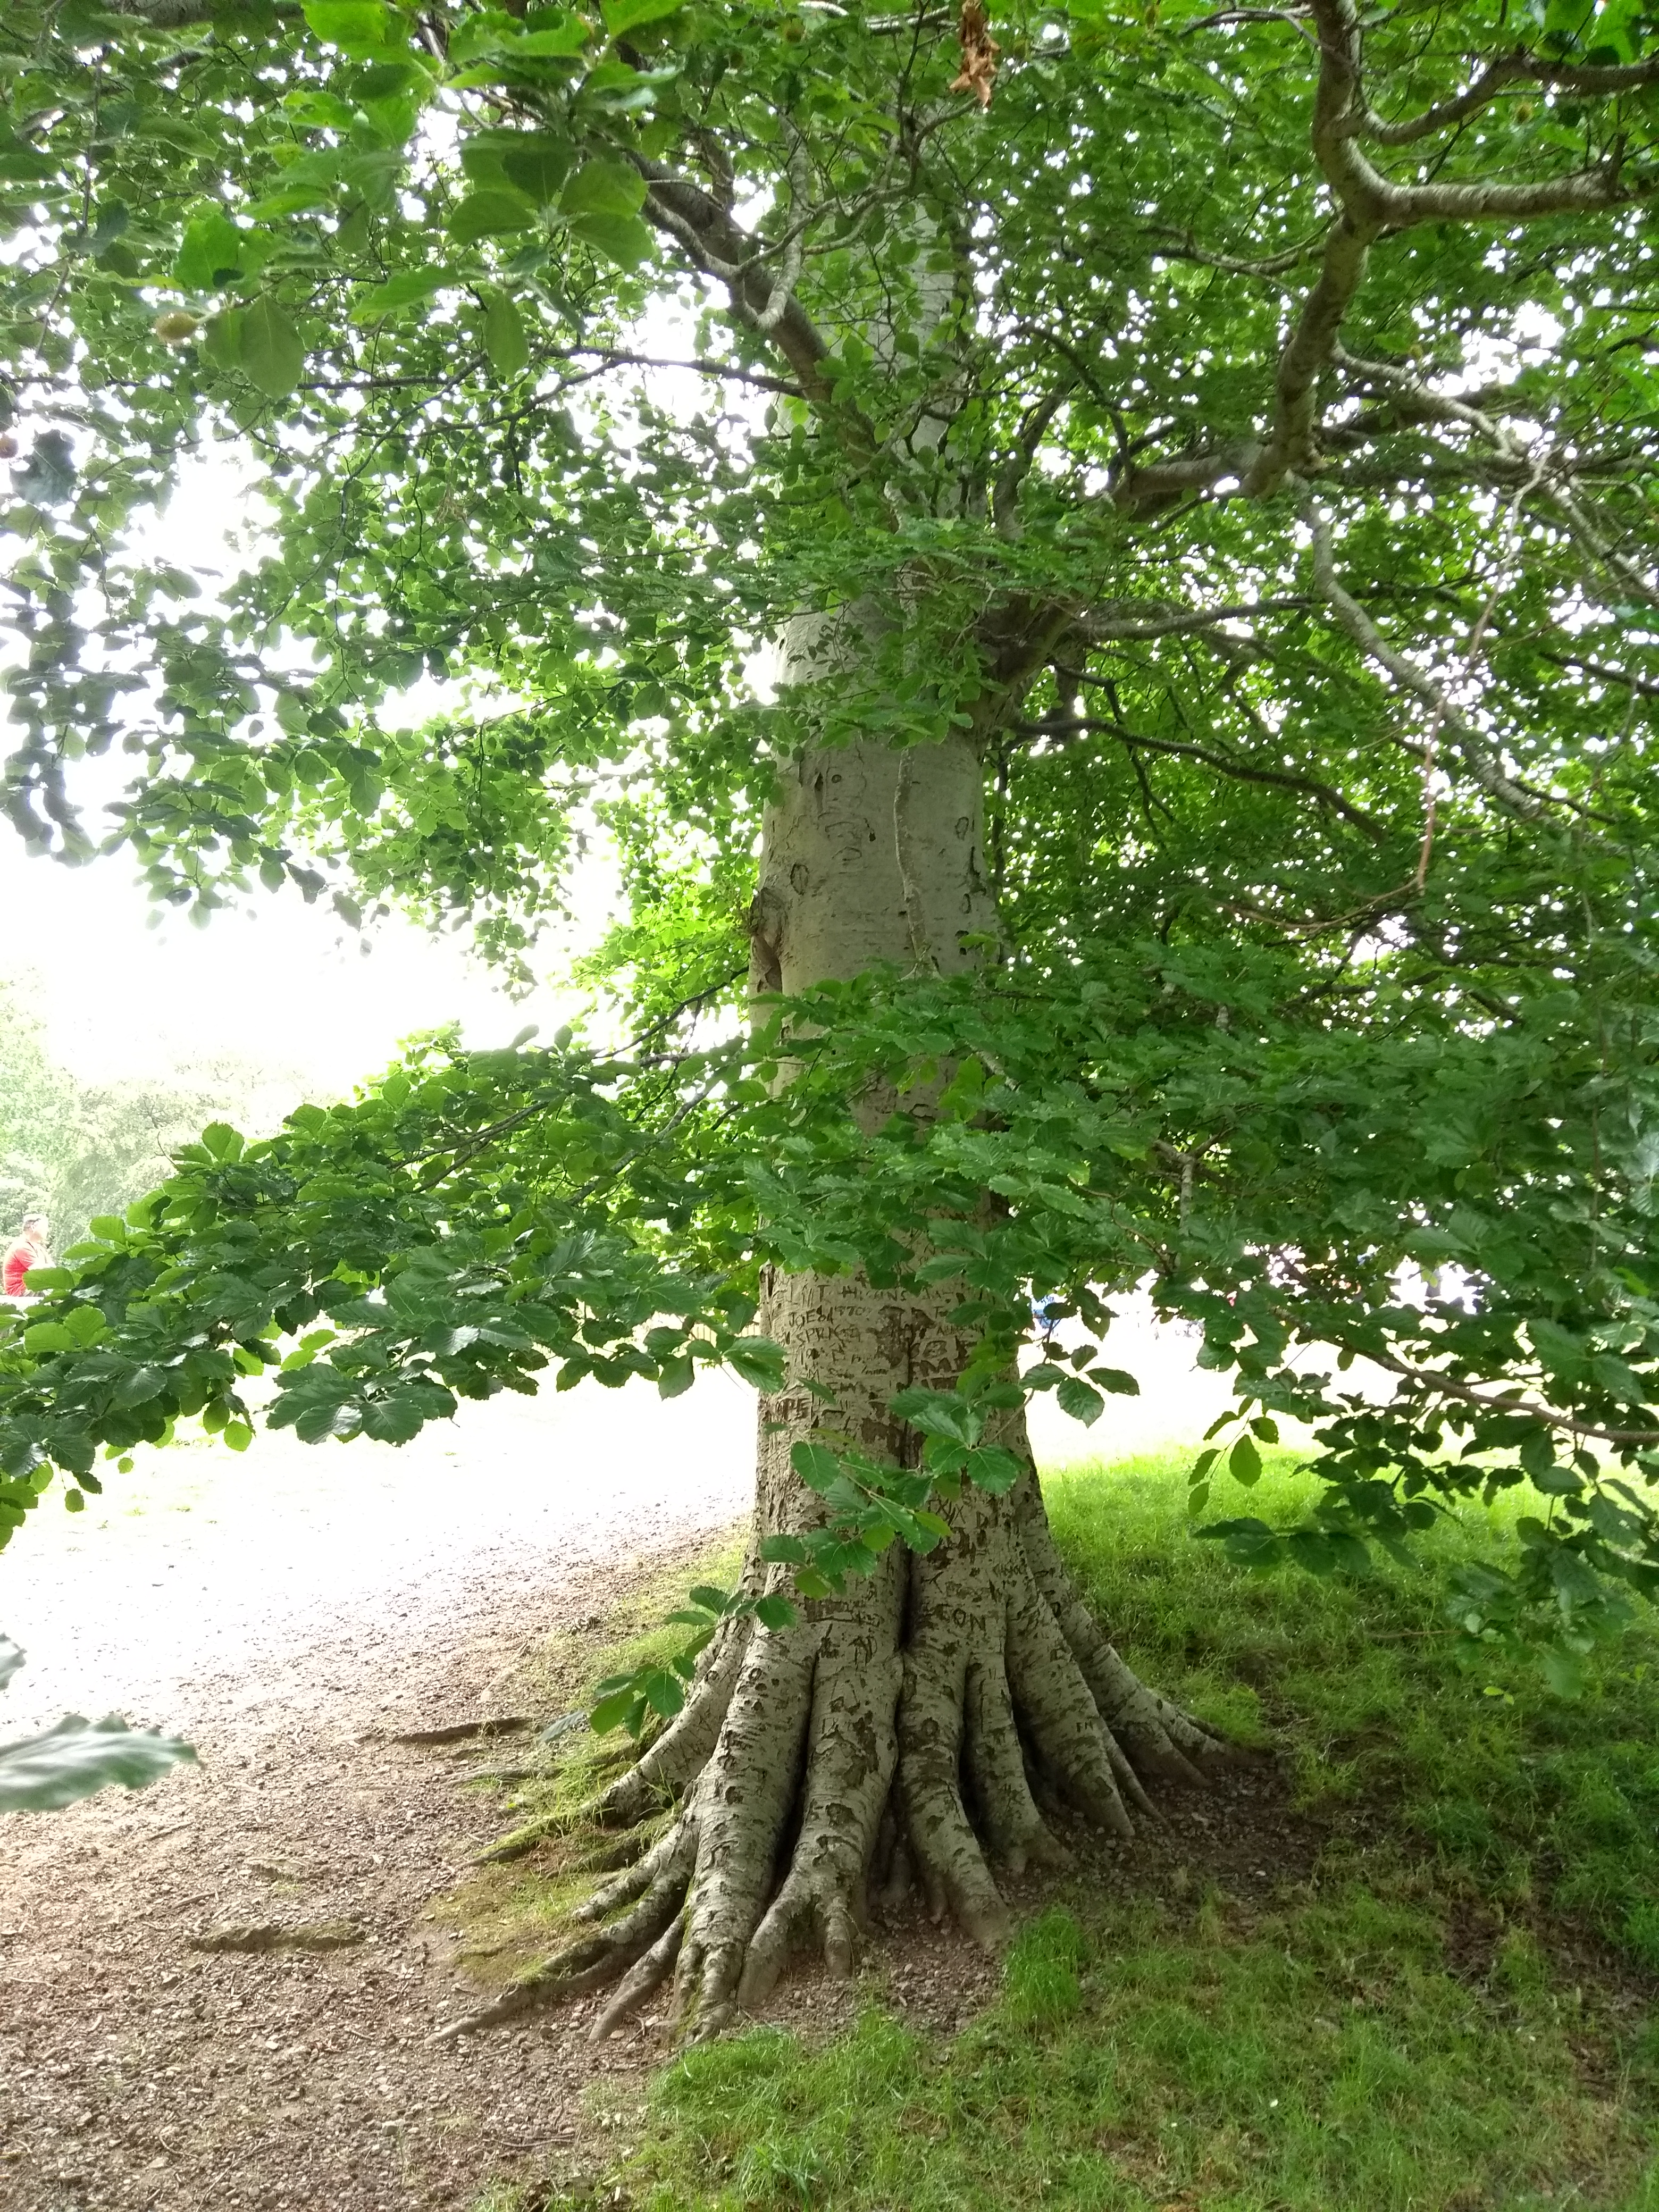
Not allowed chop ’em down and make furniture from them though, oh well 😀


04
May 19

Lid and base

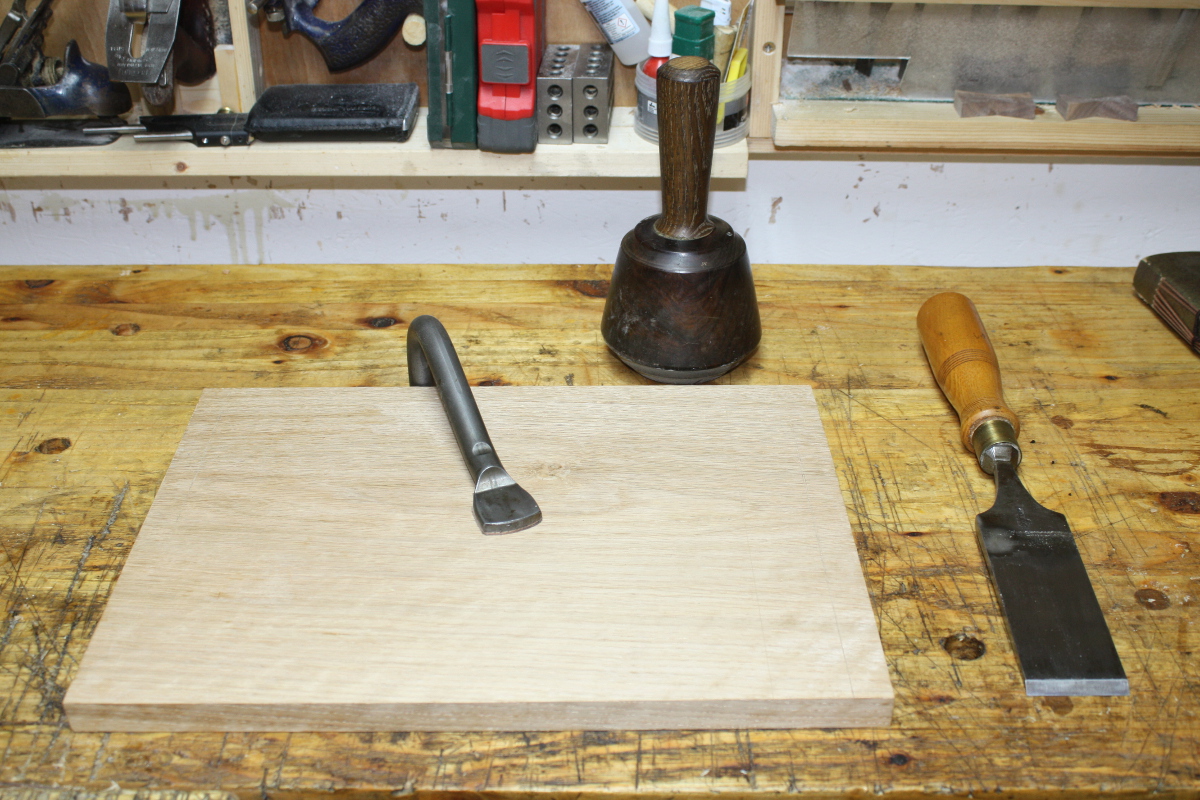
May day bank holiday weekend. Going to try to finish up the box. First up, the lid, which I already have a piece prepped for:

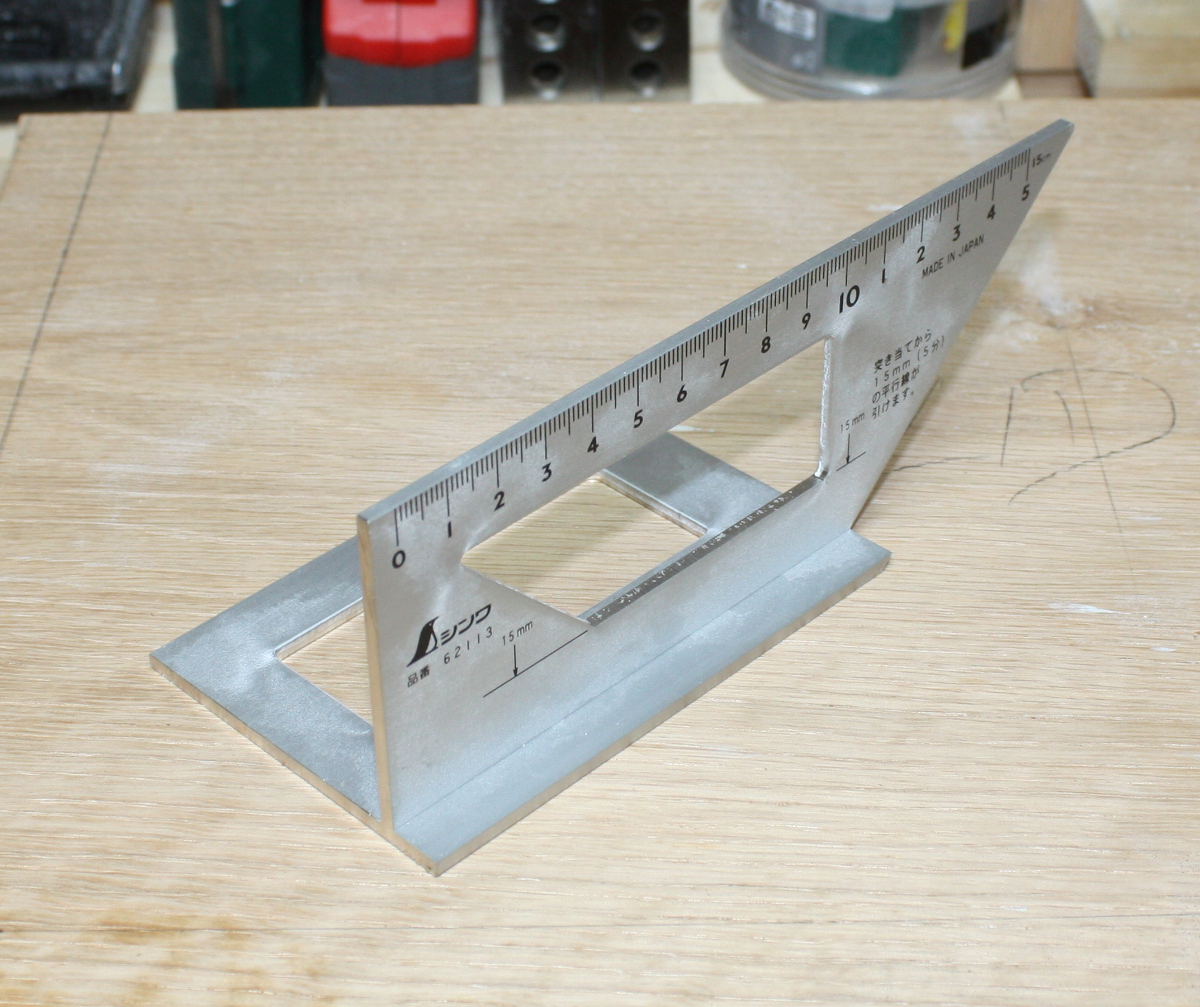
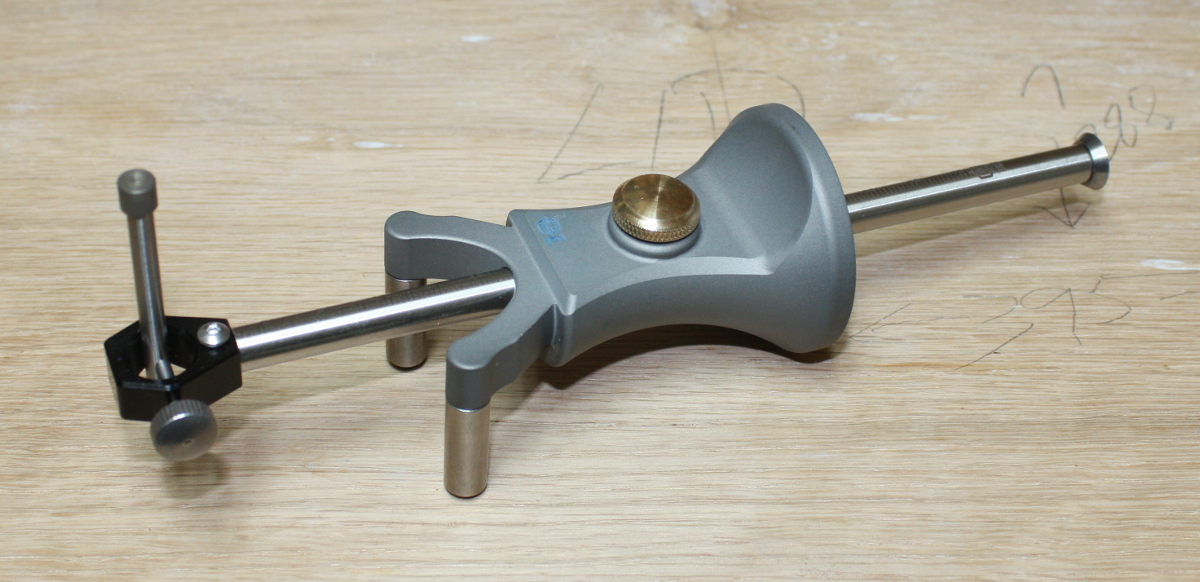
Also, bought two new tools, this time off aliexpress.com rather than ebay.co.uk. You wouldn’t think of aliexpress for hand woodworking tools, but there are a few…

A clone of the shinwa saddle mitre square, and…

A marking gauge. Works like a normal marking gauge on the right hand side there; on the left hand side, you have two contact points that rotate, so you can mark a line “parallel” to a curved edge. Neat.

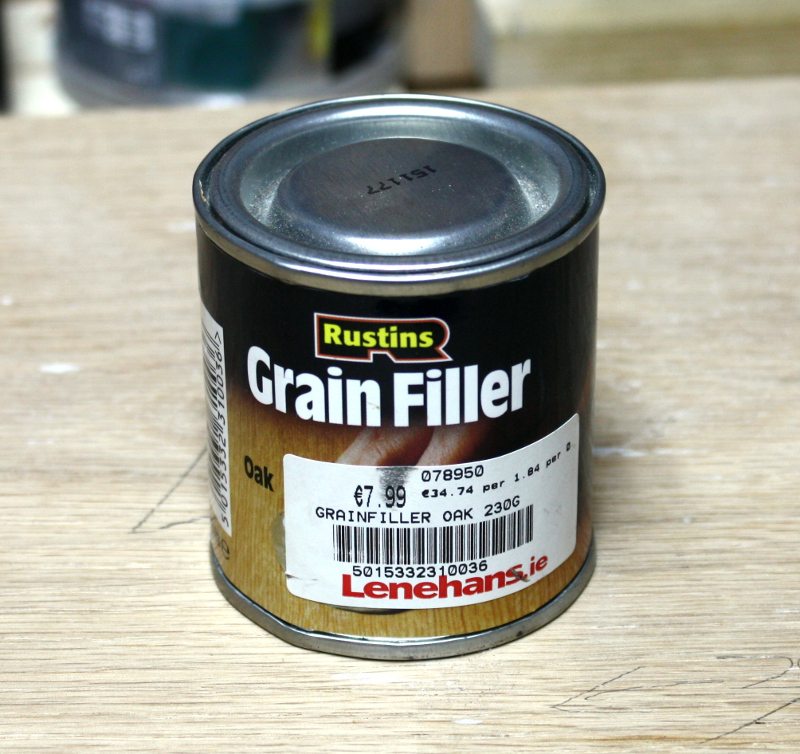
Oh, and I want to try that resin experiment again, but this time seal the oak grain so the resin can’t wick into it.

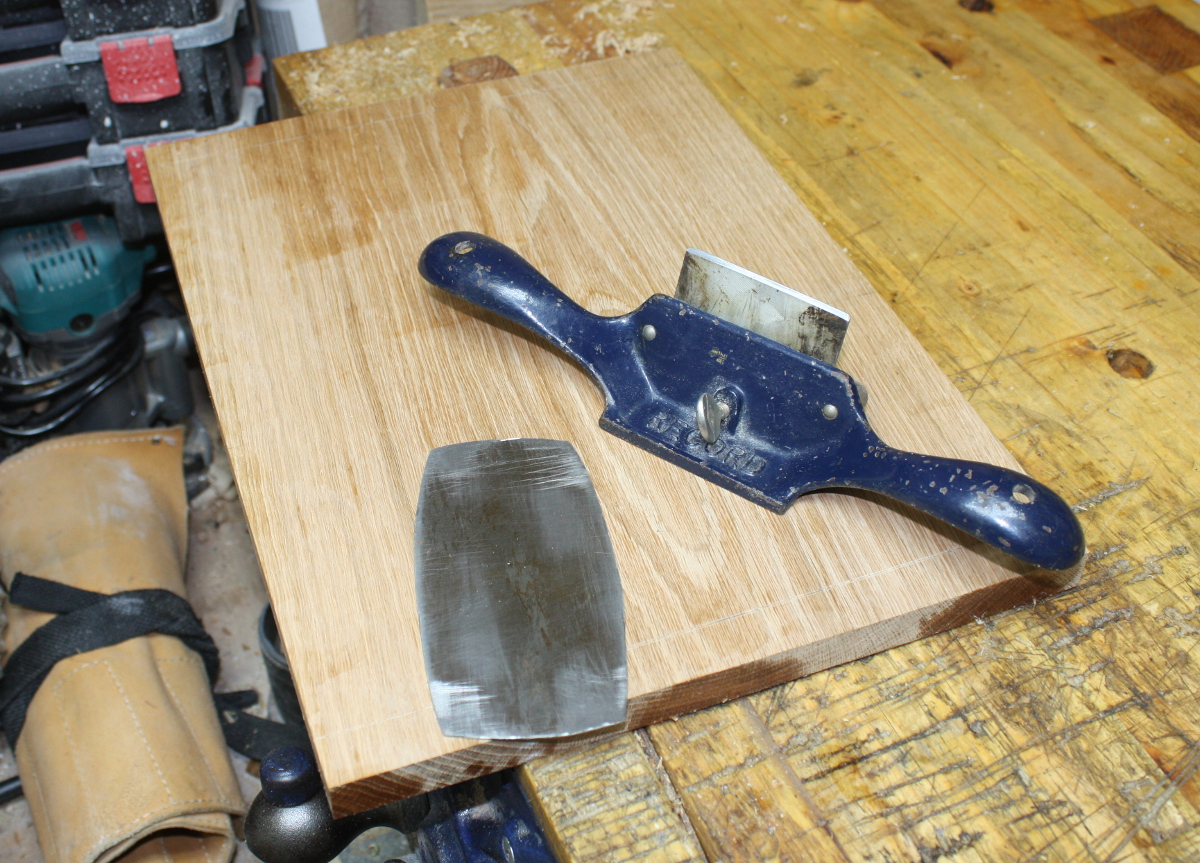
The lid’s been sitting around for a while. It had twisted very slightly. Fixed that with a few #04 swipes and then took the #80 to the surface to clean it up nicely, with a few focussed bits from the cabinet scraper. With that done…
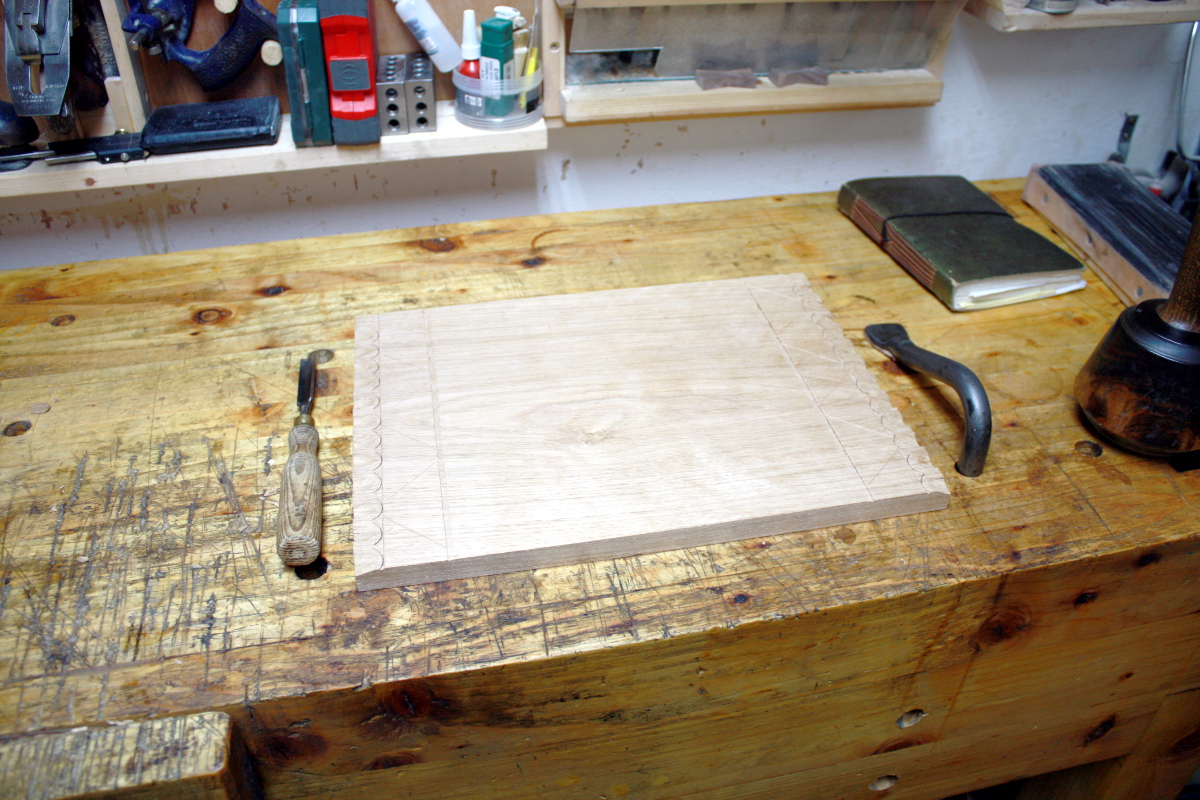
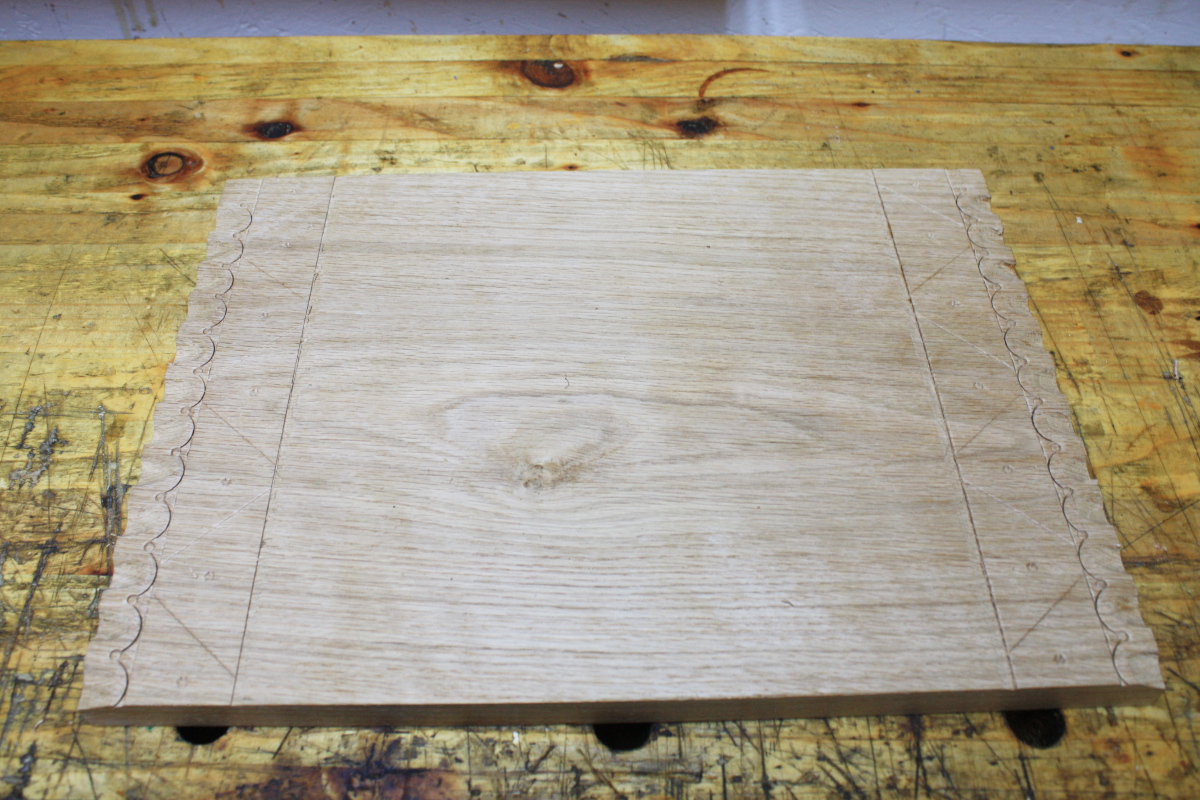
Just a little decoration on the top.

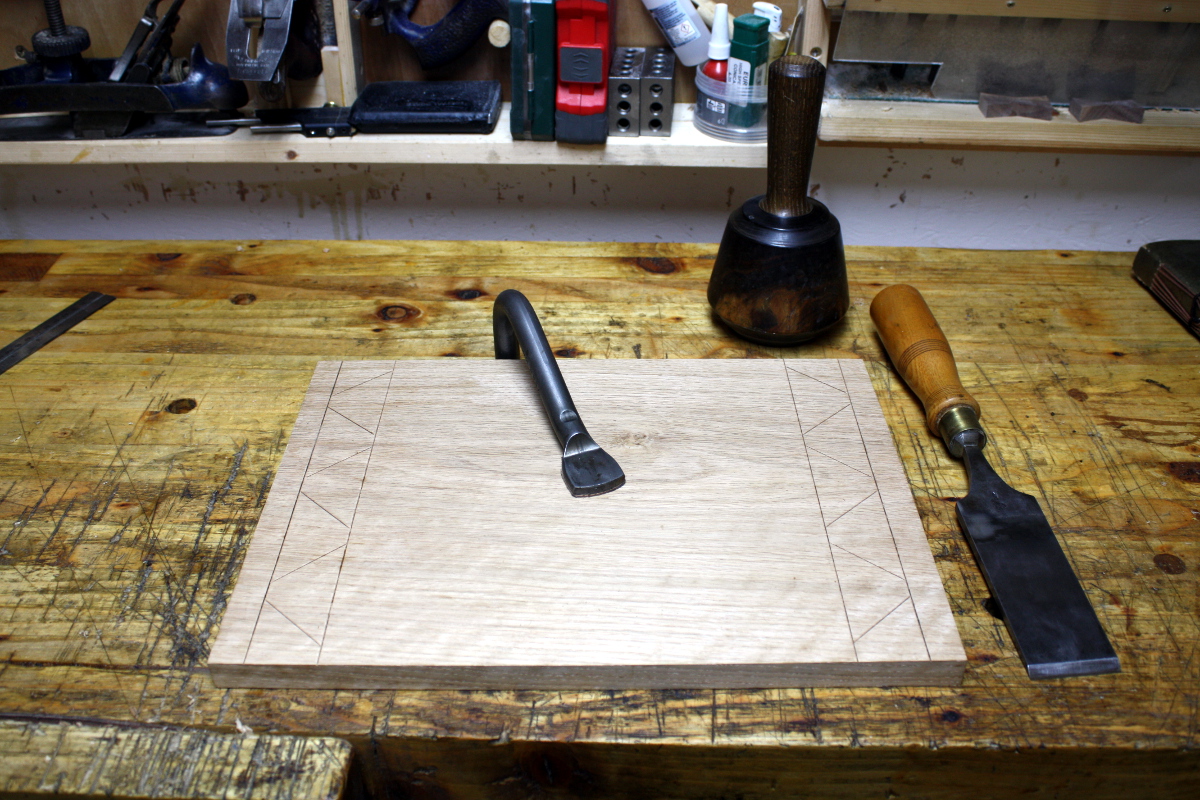
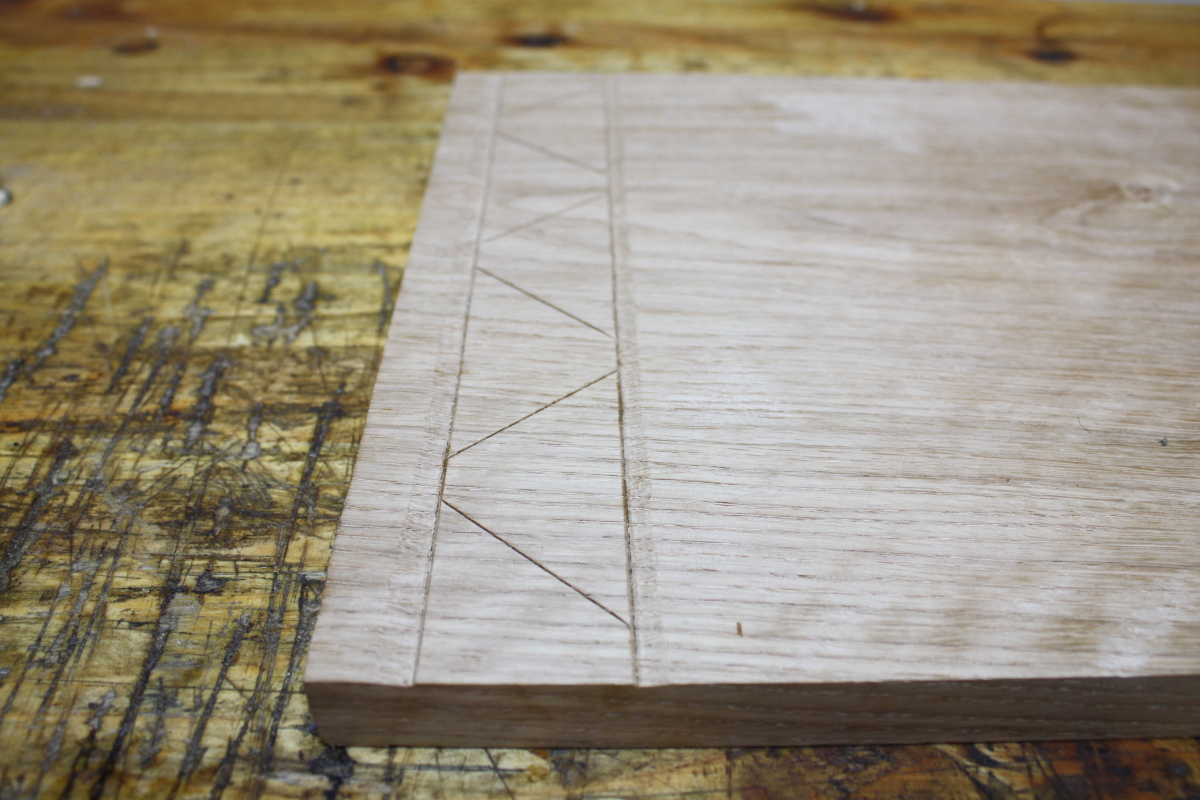
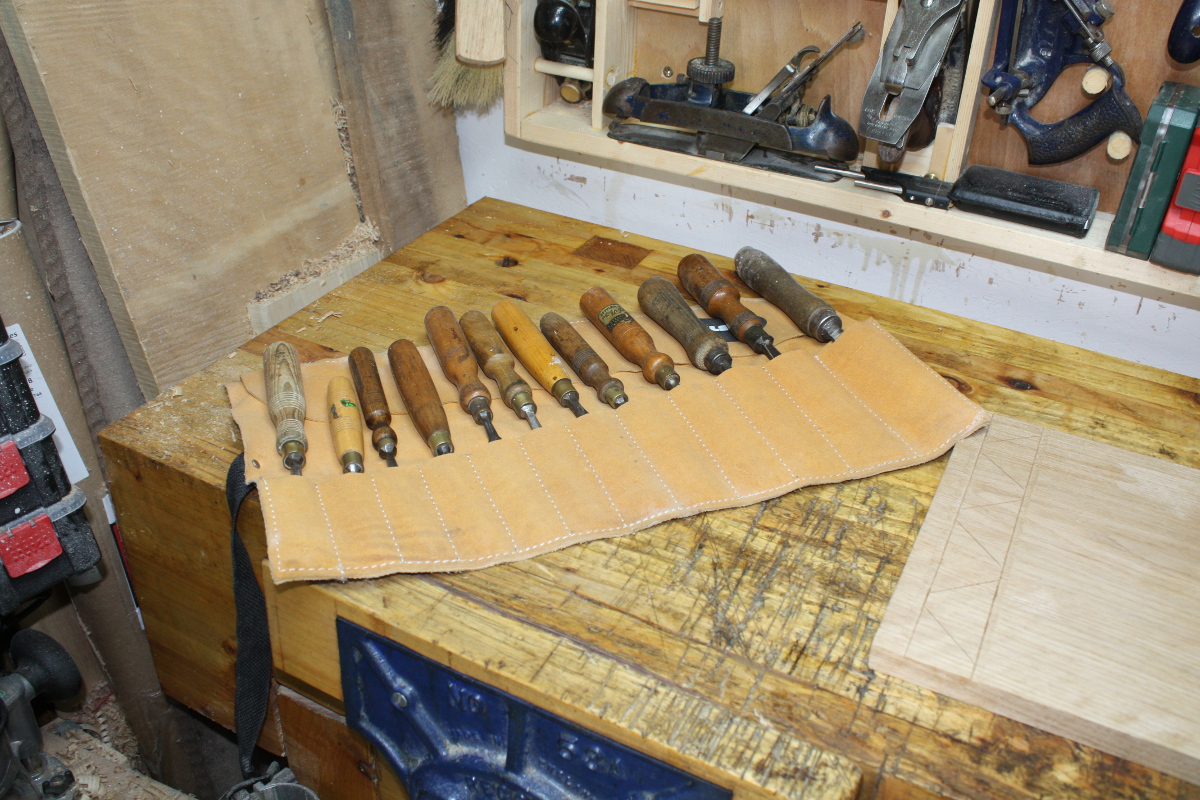
Some straight-chisel work, and then I want to treat the long lines like a knife wall, so there’ll be a little low relief to it.

That’ll do. Next, gouges…

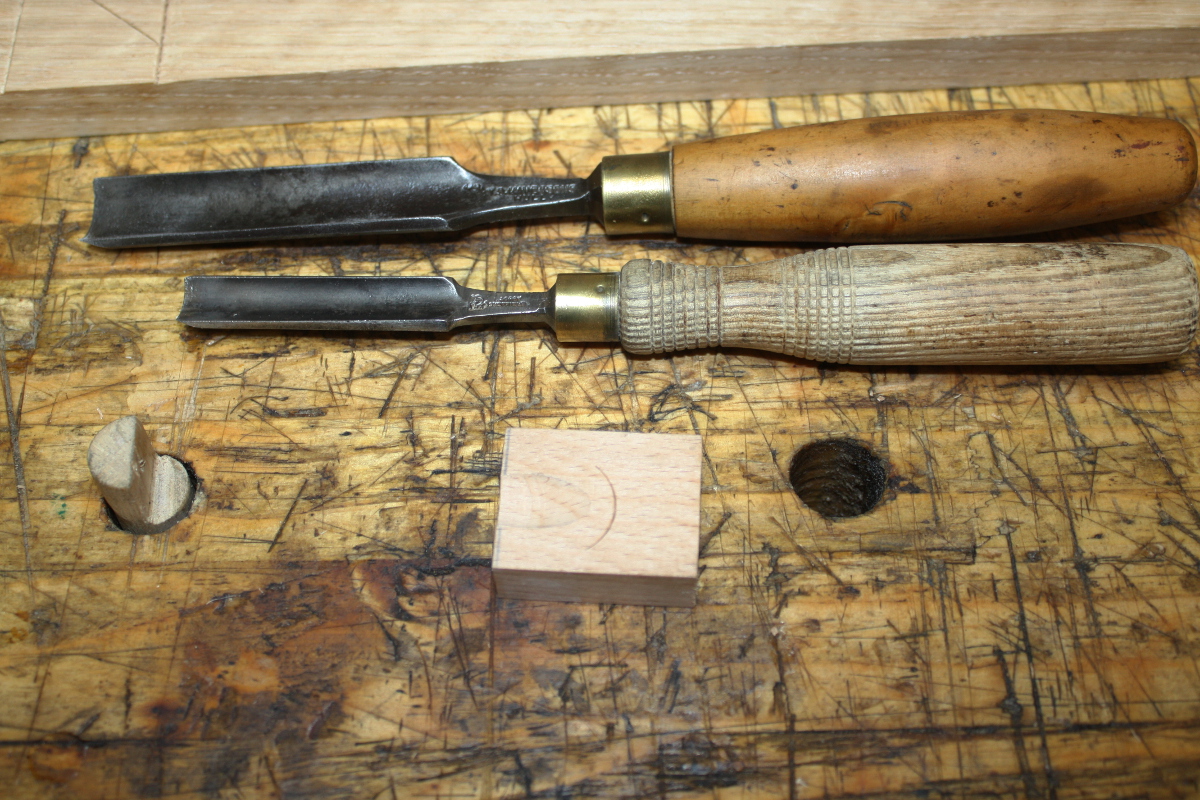
A bit of experimentation and picked out two.

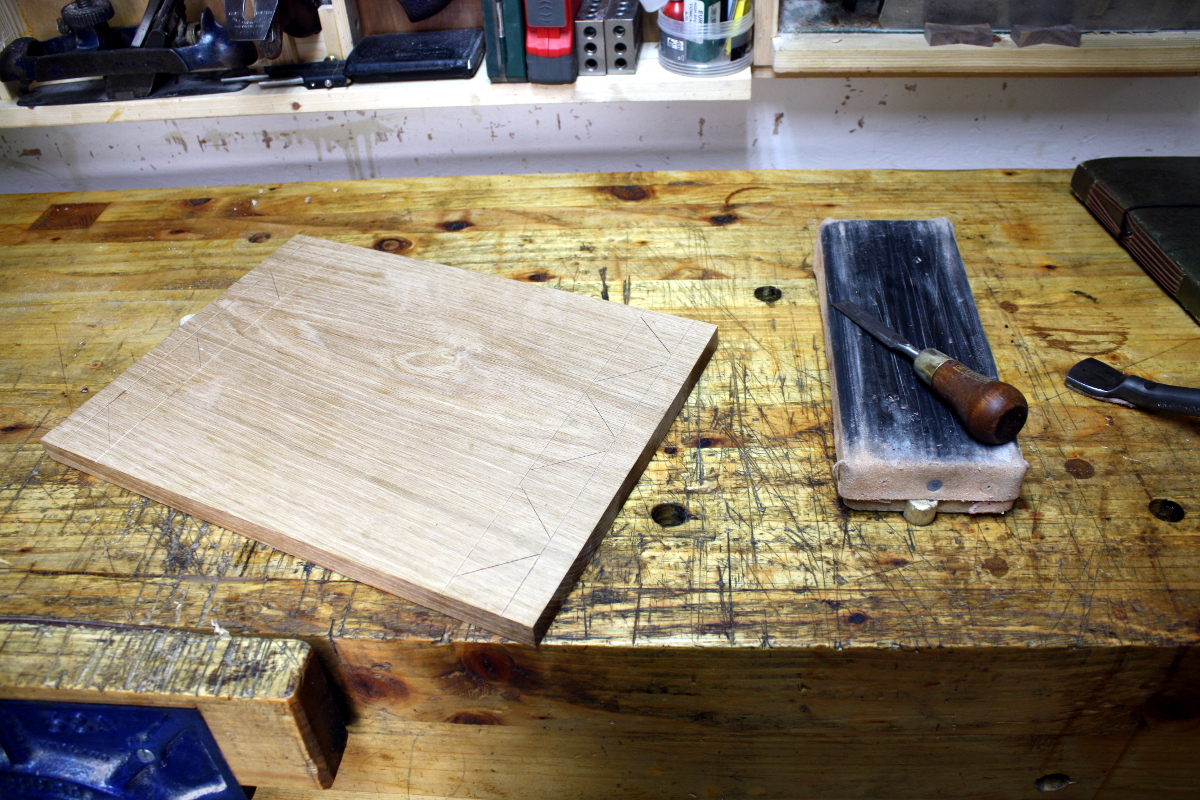
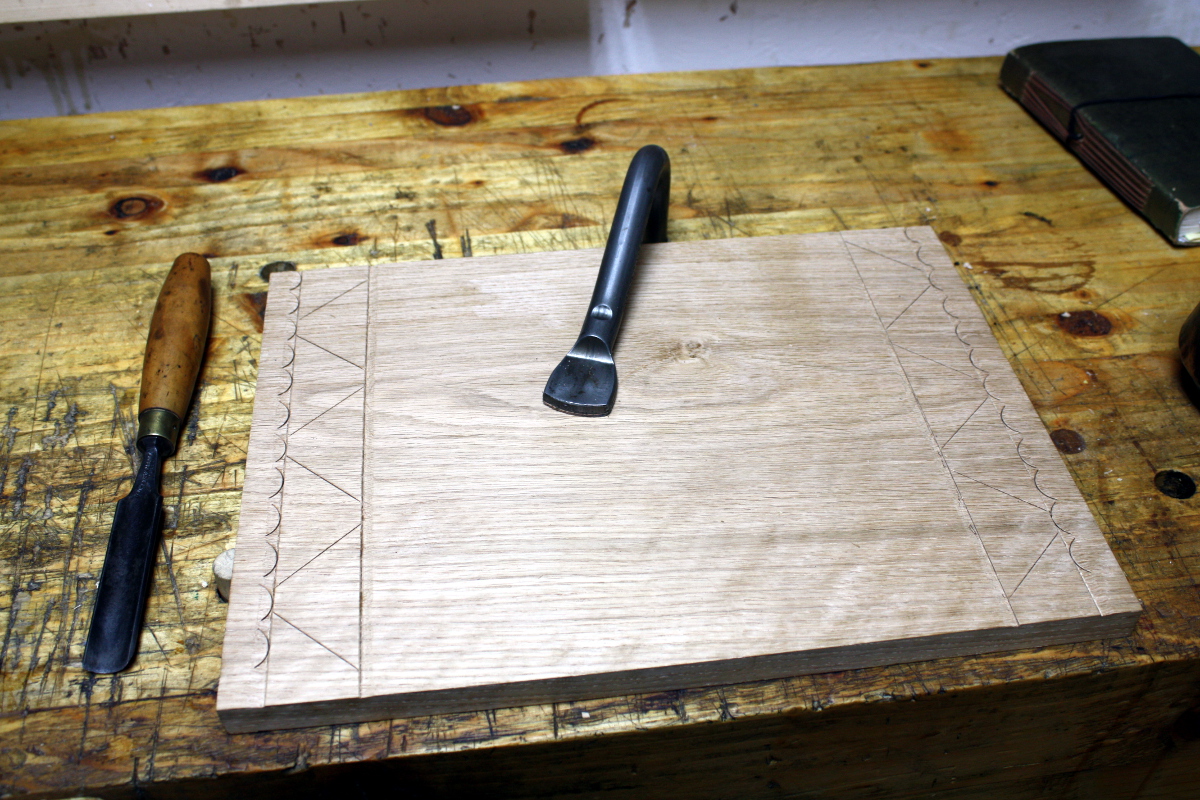
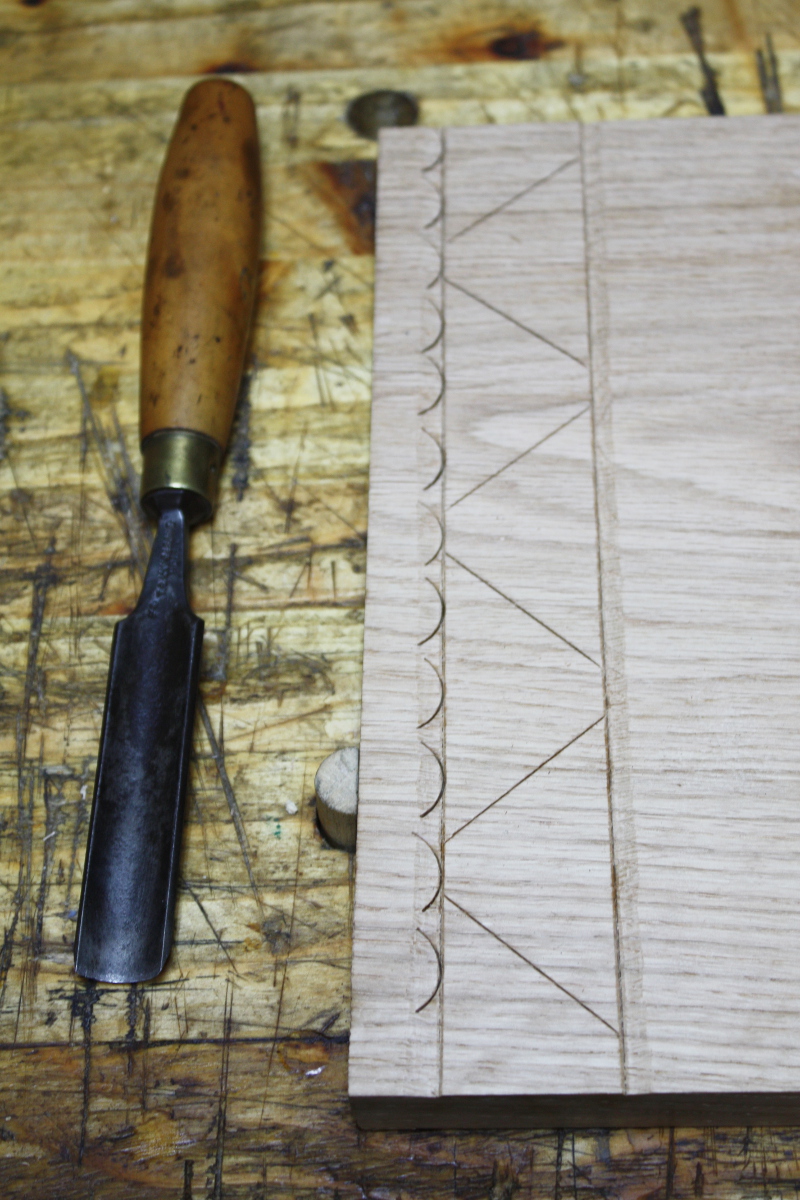
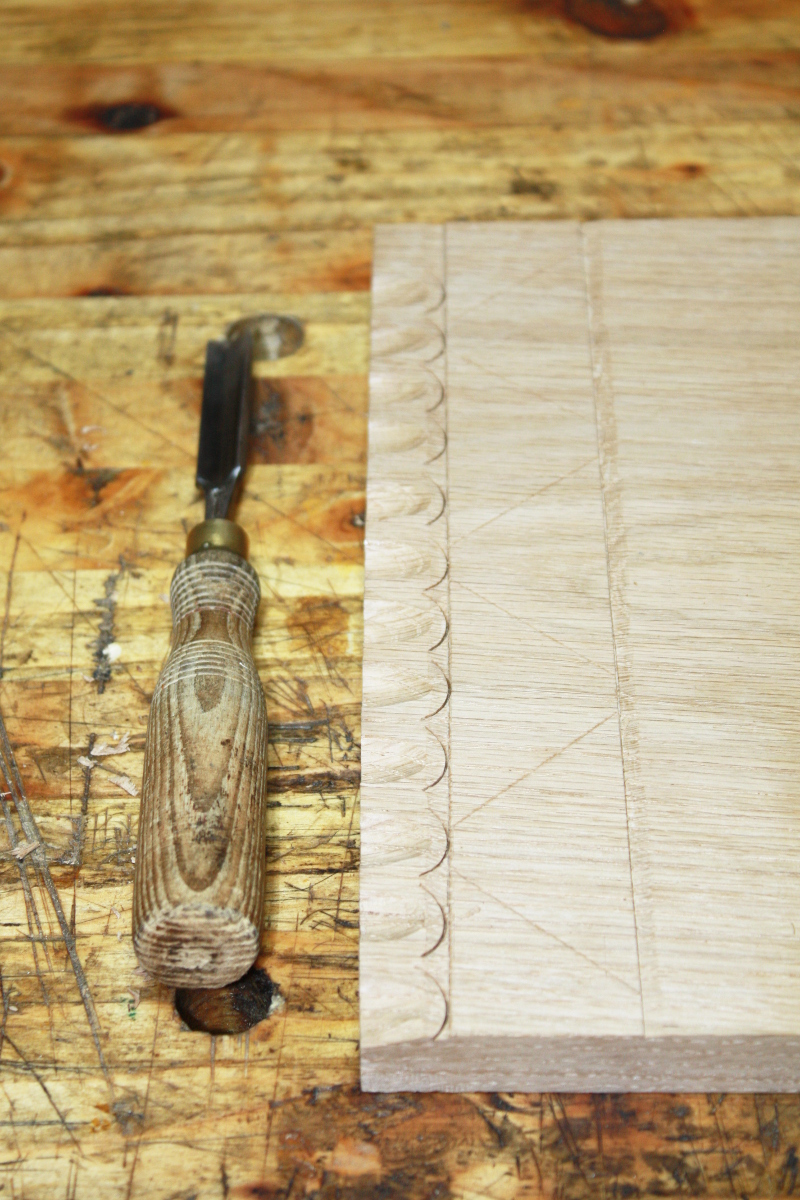
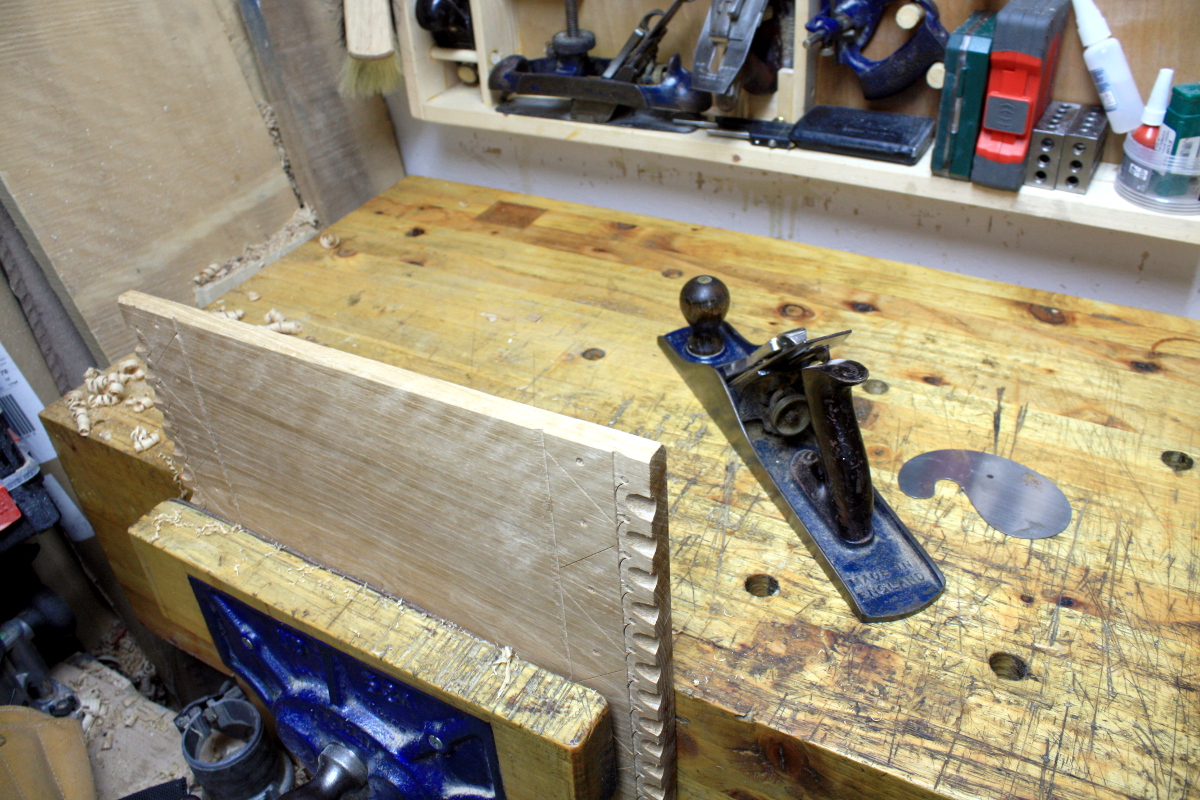
Right, so chopping with the larger chisel to set up the pattern:

And now use the smaller gouge to take out some scallops so the endgrain edge has some decoration.

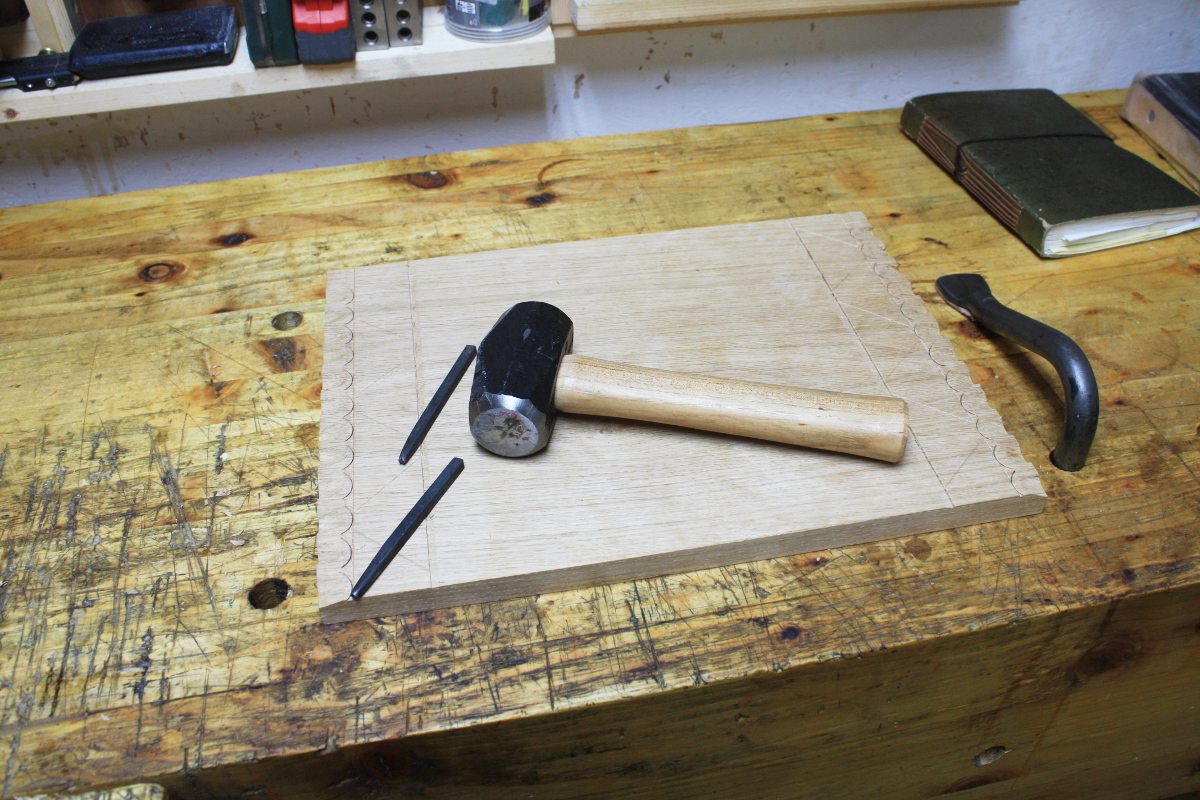
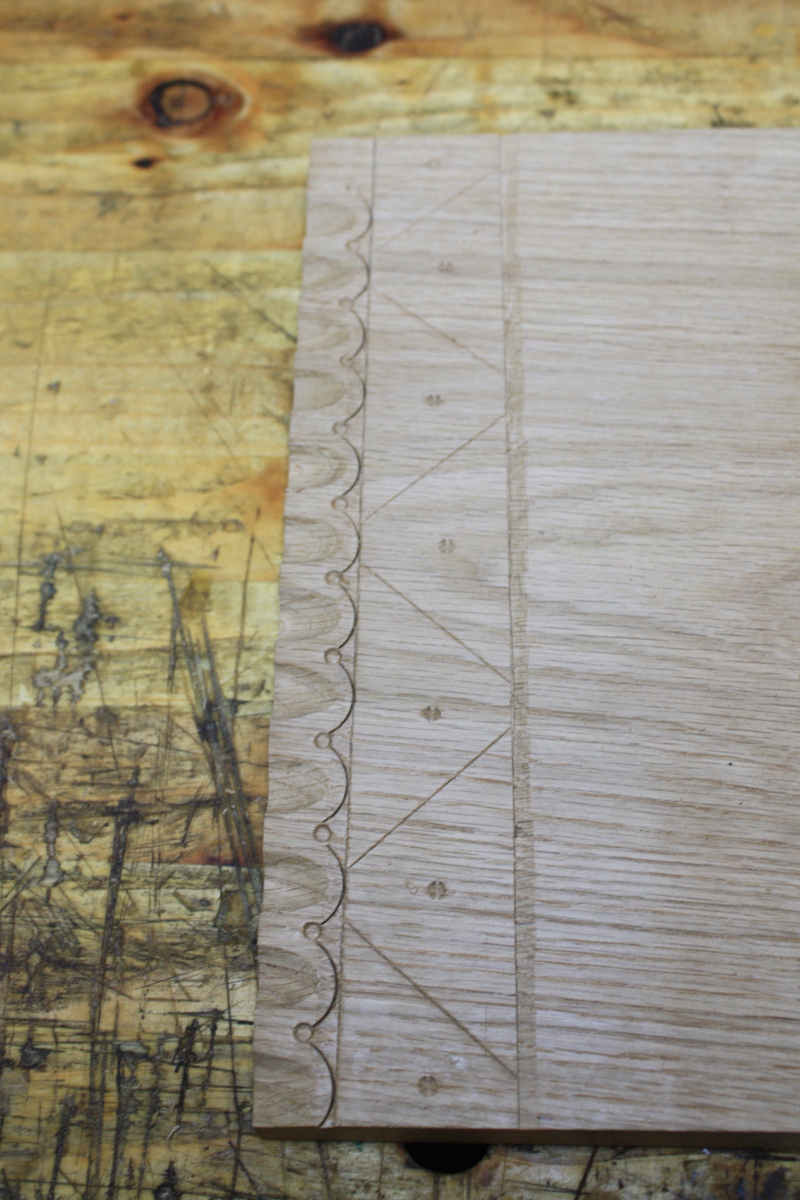
Okay, now some punchwork to add a few decorative points.

I’m happy with that.

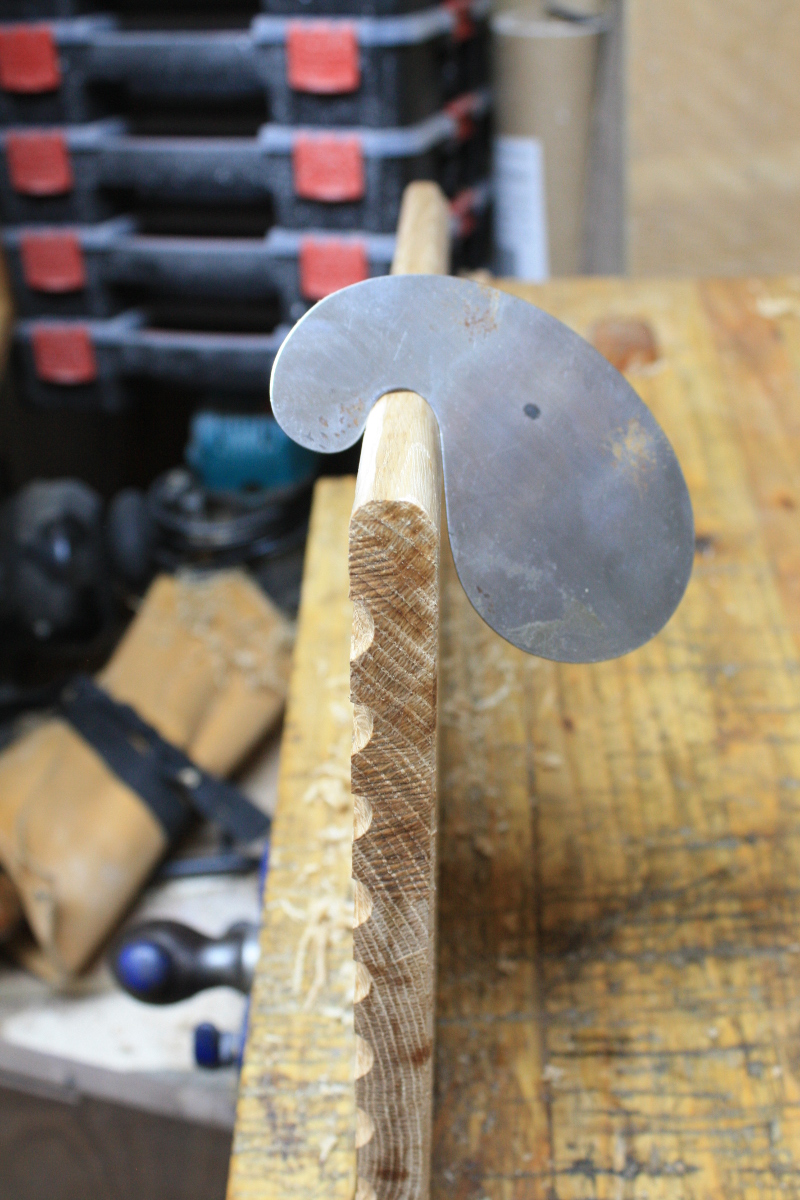
Okay, now just some breaking of edges and shaping of the front edge:

Gooseneck scrapers are great for this.

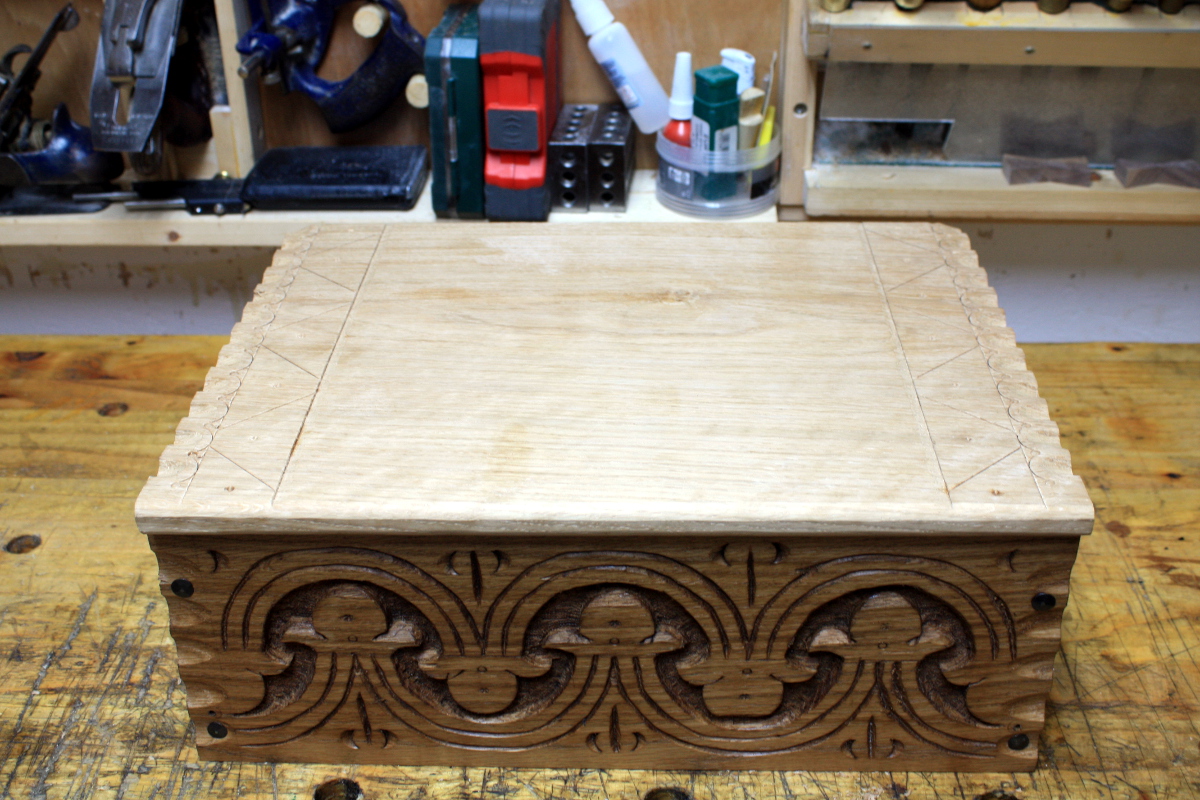
Okay, that’s the lid done.

Add some linseed oil and that’ll fit in nicely.

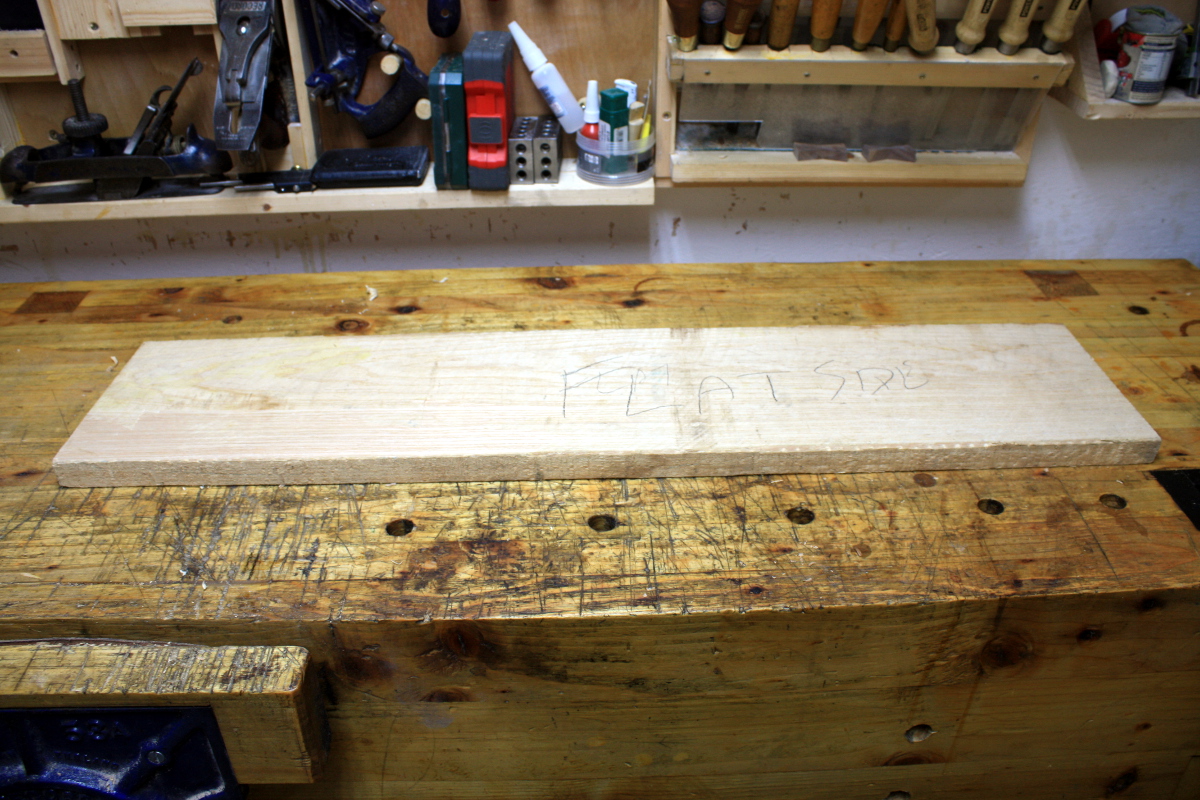
Now the base. I don’t have enough ash offcuts to make a shiplap base, annoyingly, but I have a small offcut of an ash board that I can use if I hack it in half and make it into a panel.

Flattened it with a #05, but I’m not thicknessing this by hand.

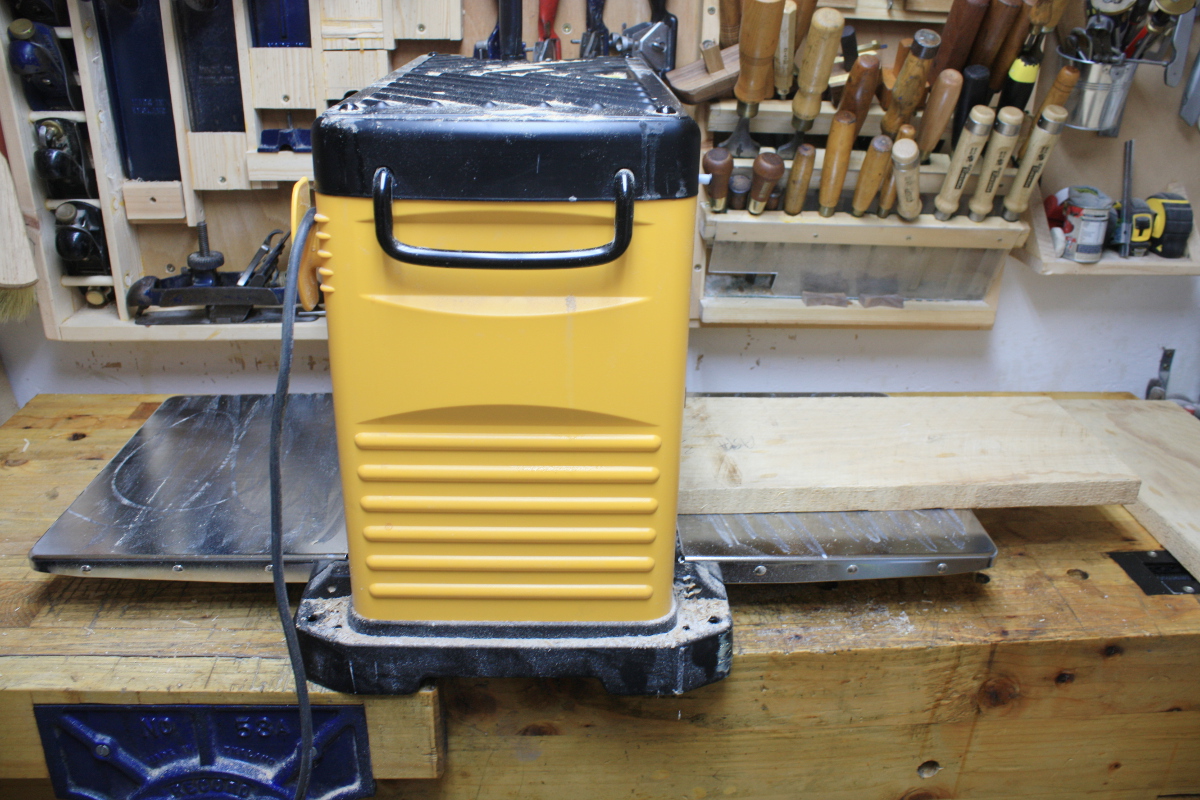
I hate the noise, the PPE, the mess and the fuss, but the speed is nice.

Done in about 15 minutes. That would have been a few days before now.
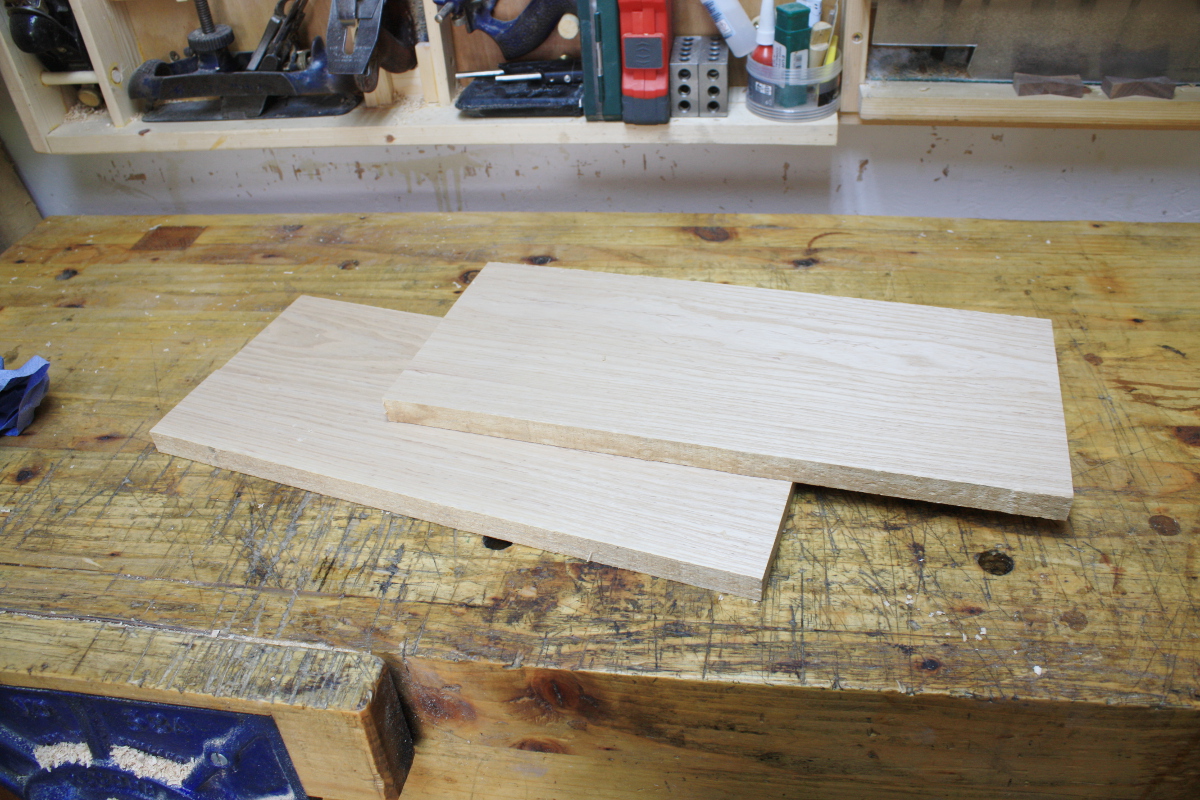
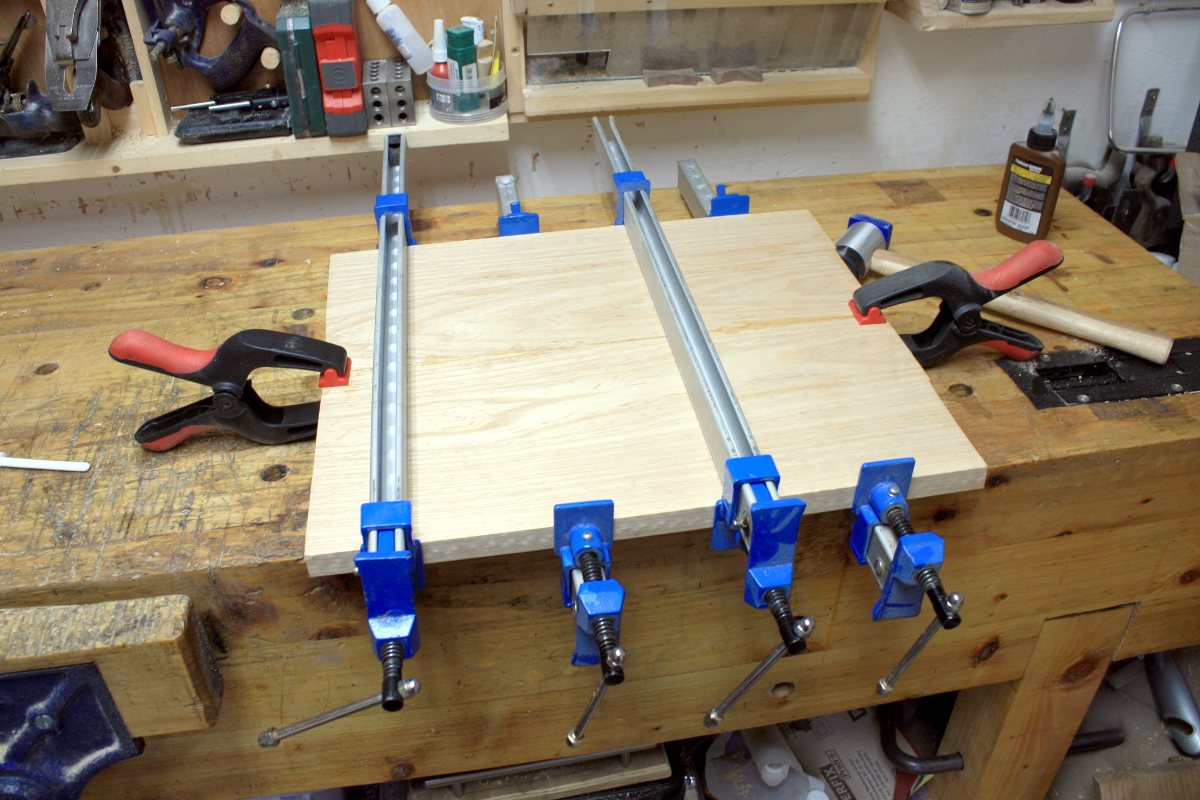
Okay, so #05 to clean the edges, then do an edge joint with the #05 and #08 and glue up with liquid hide glue.

That’ll be ready come tomorrow and I’ll just attach the board to the base and fit the hinges, douse it in a few coats of BLO and that’ll be that.