11
Jul 20

Long time no type

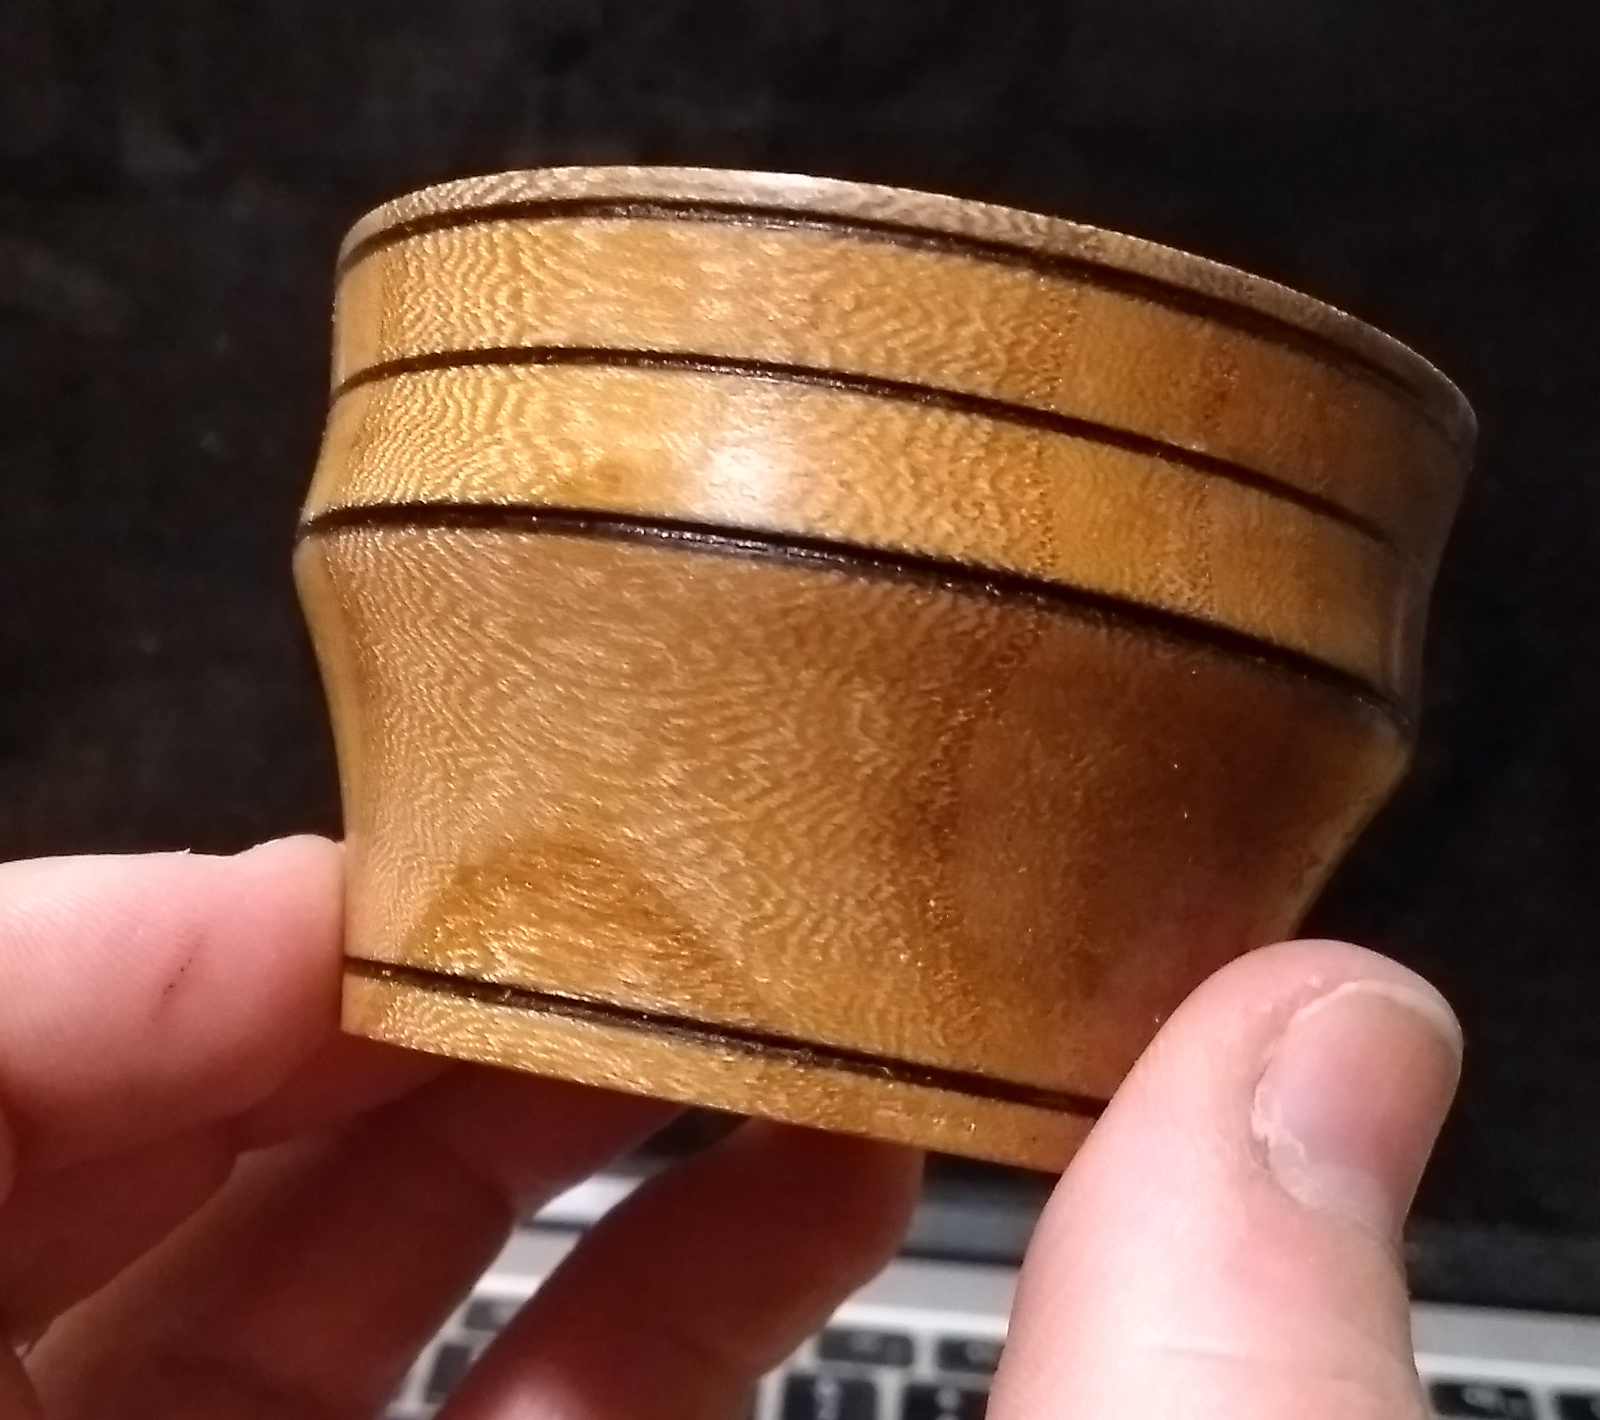
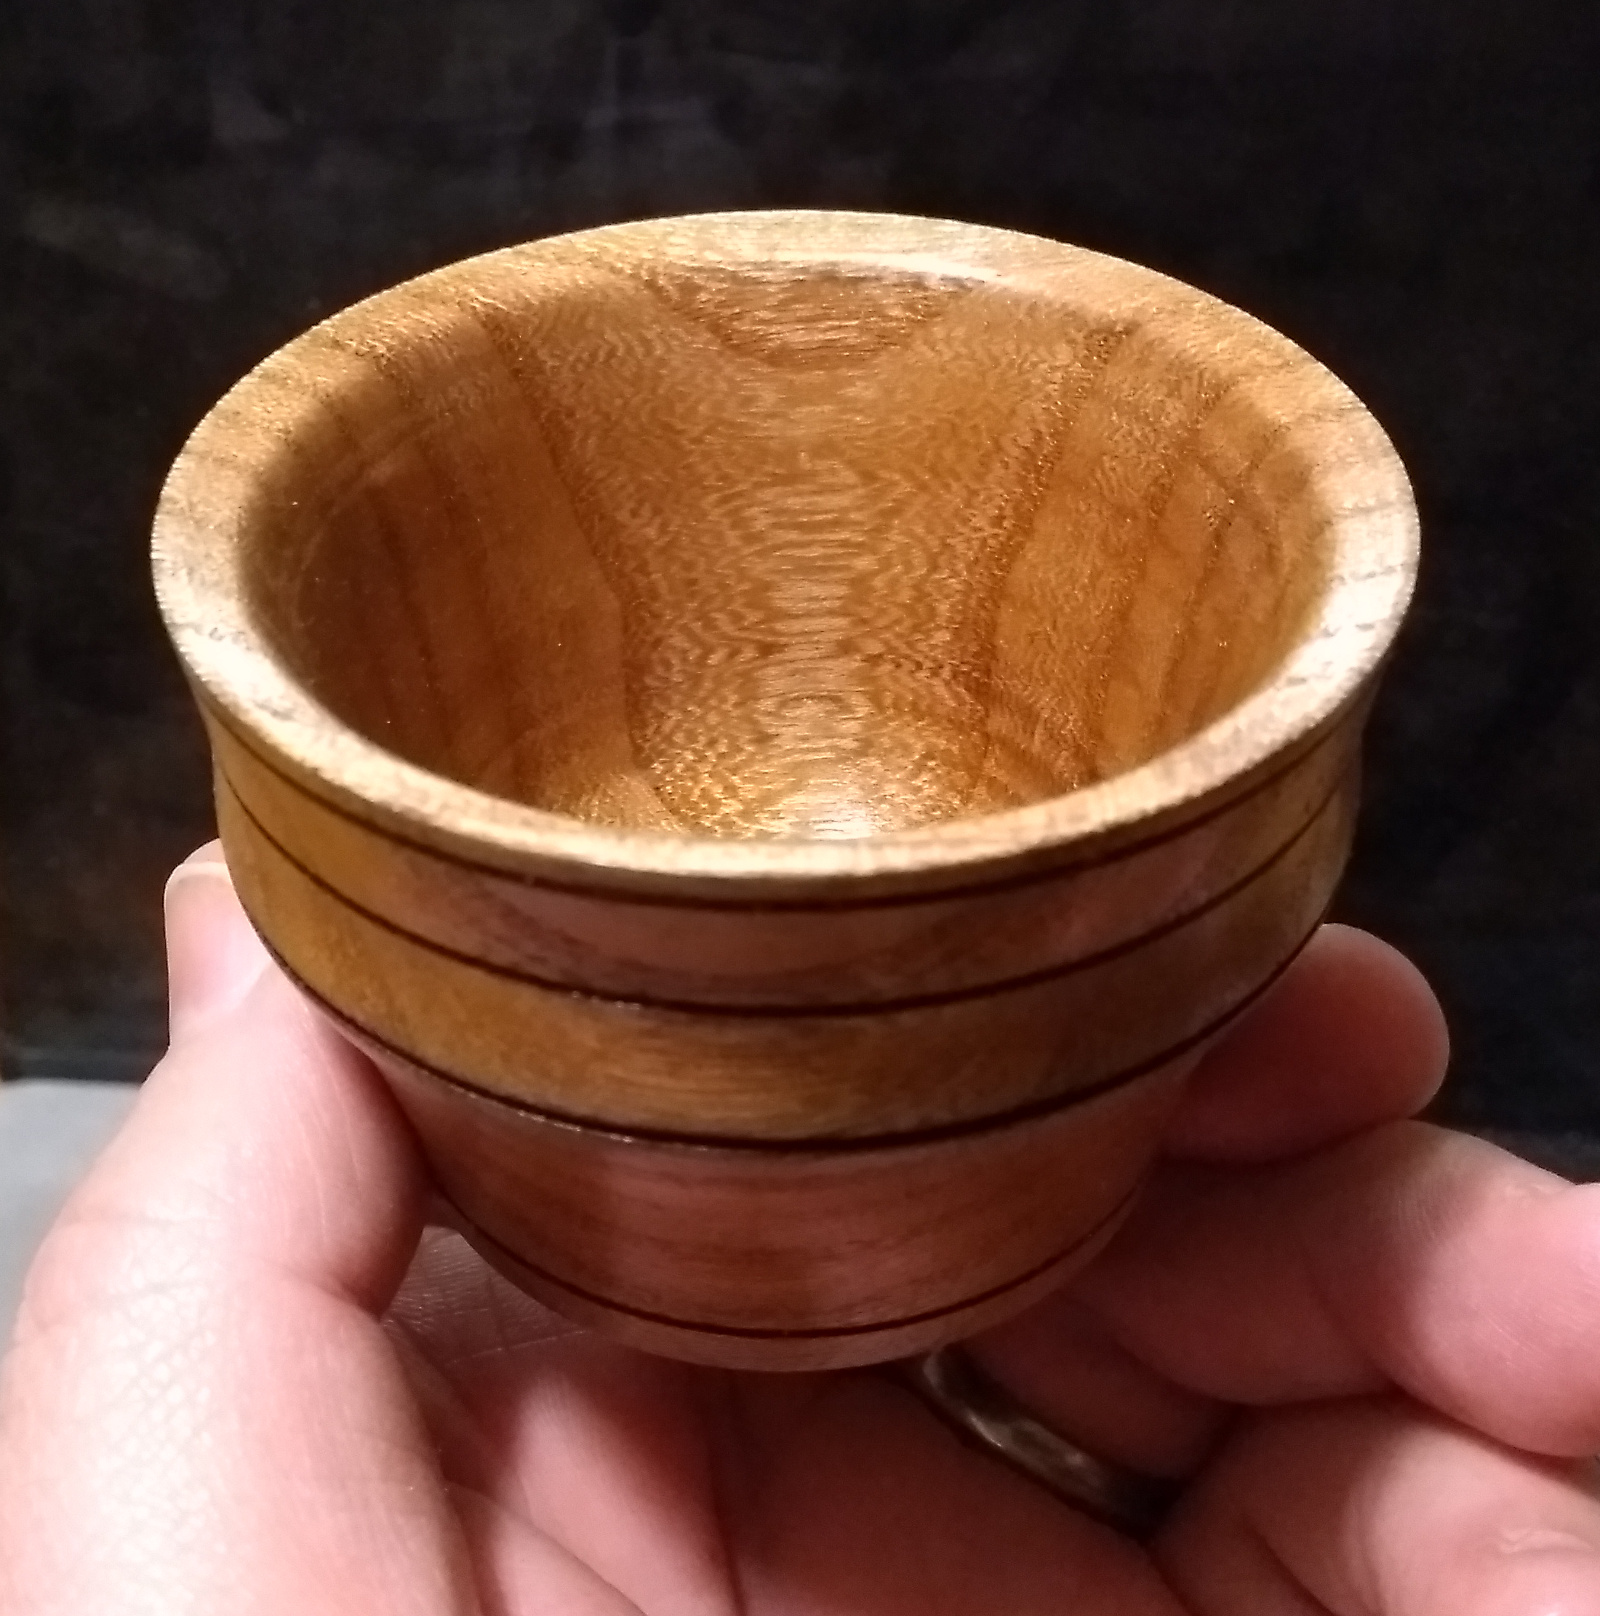
So yeah, a whole month went by without posting here. Work was a little crazy. But there was time to turn a few more bowls…
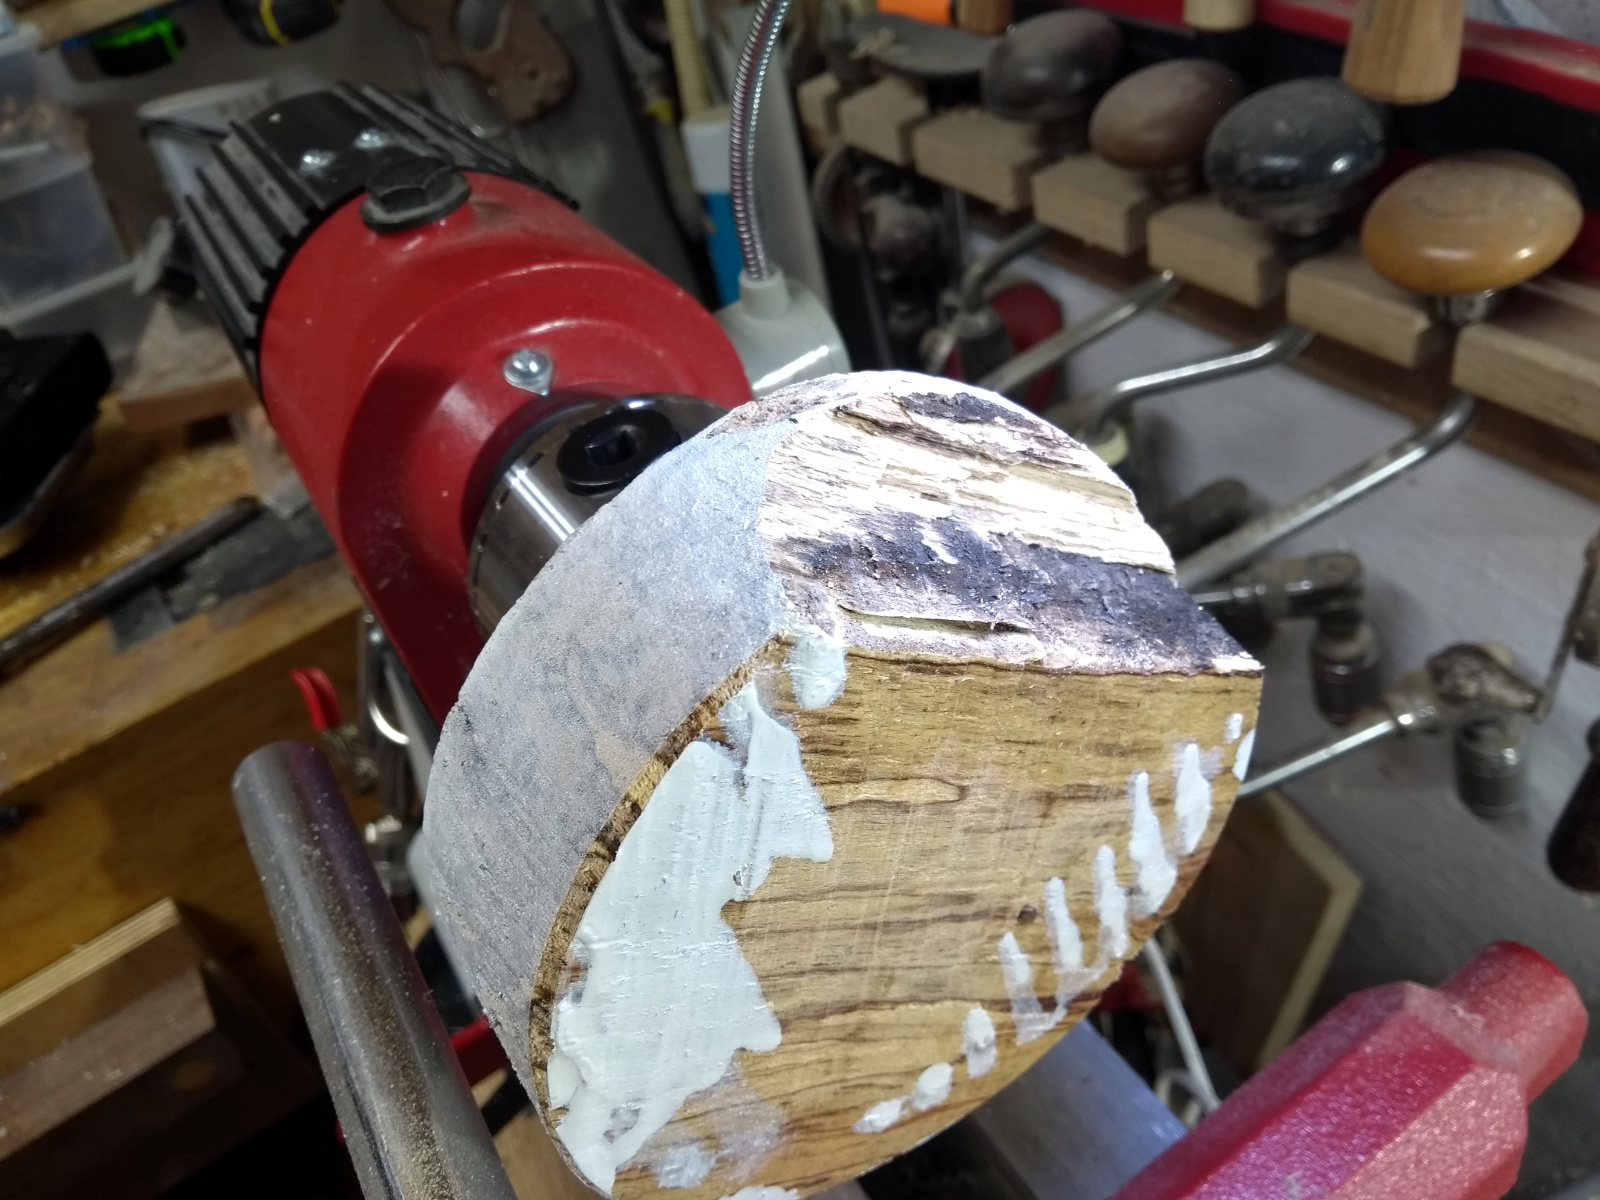
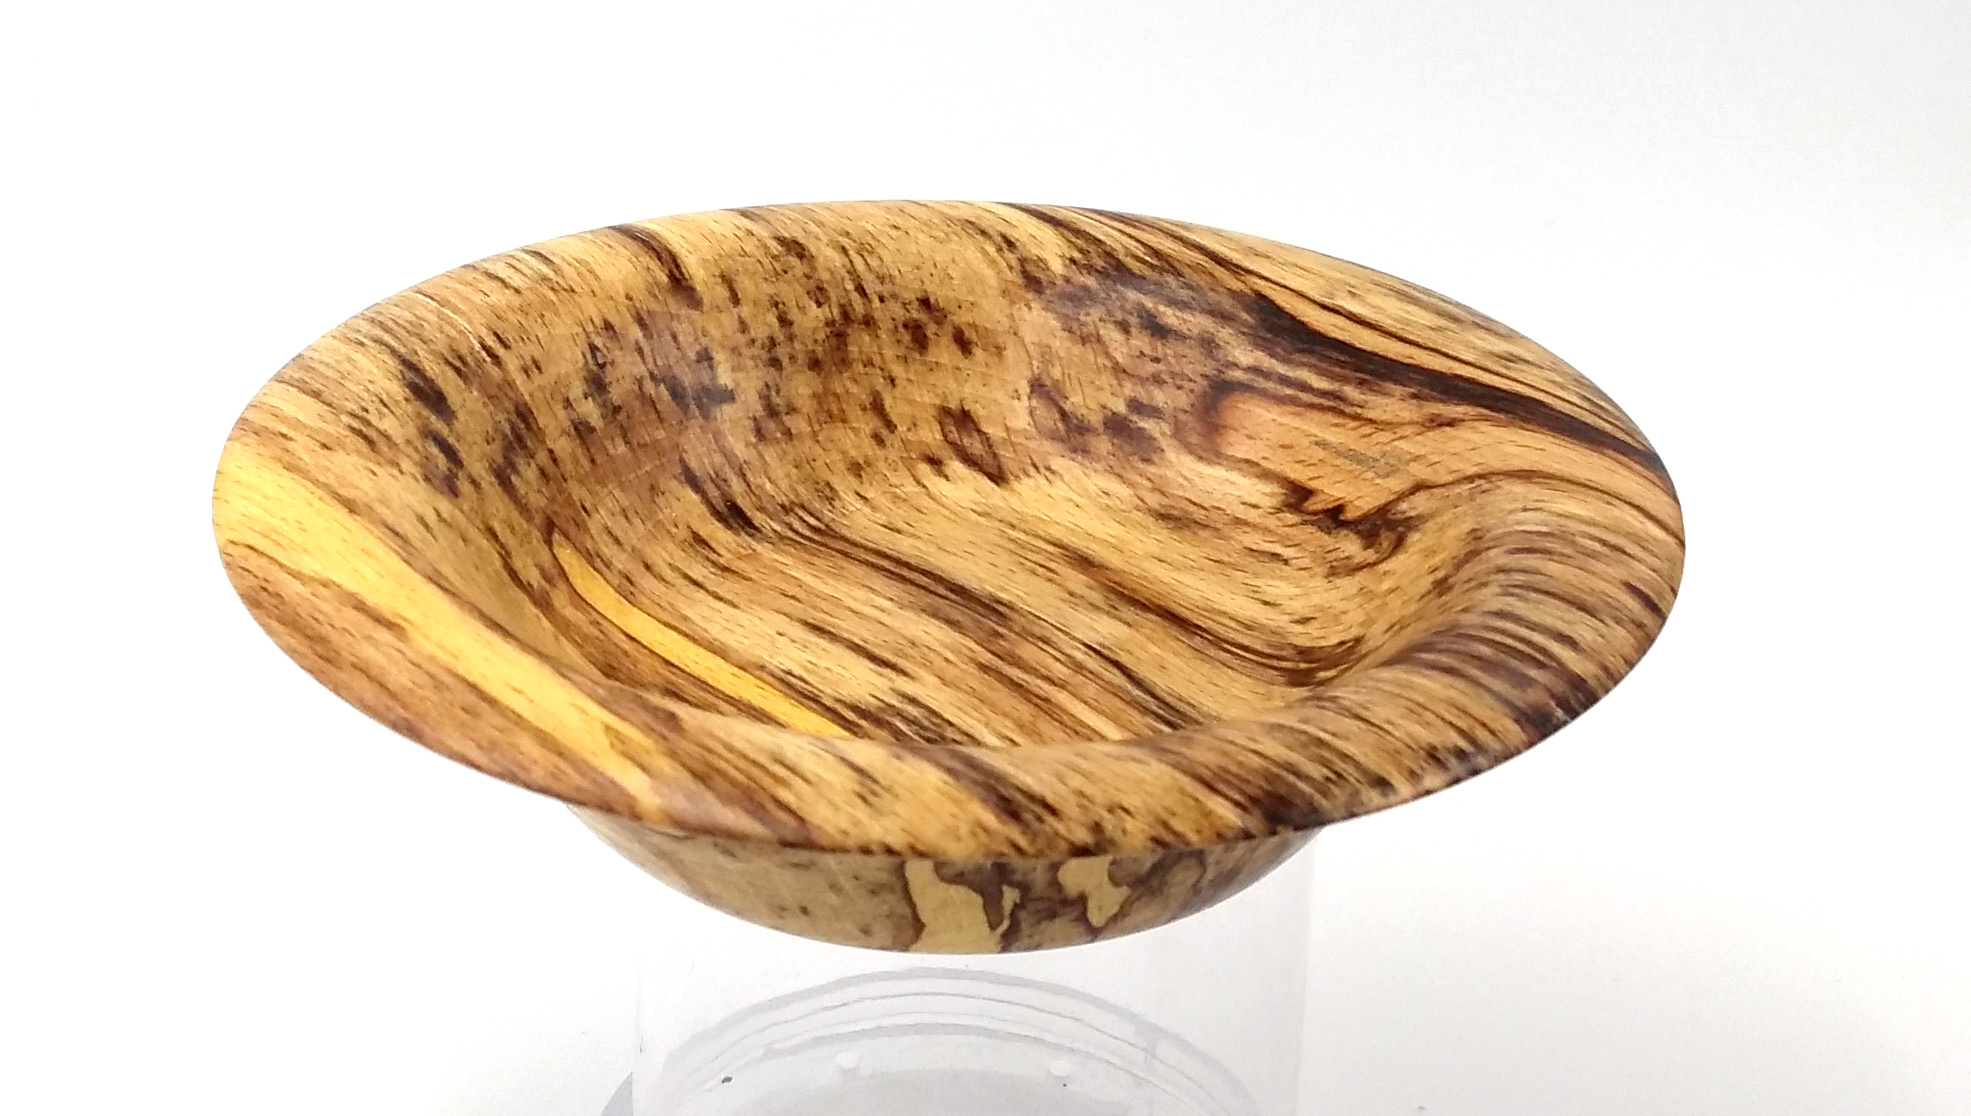
Spalting had gone just a touch far on this beech blank, and a check had formed along one of the spalting planes, so I knocked it off with the chisel and that sortof defined what the final shape would be.
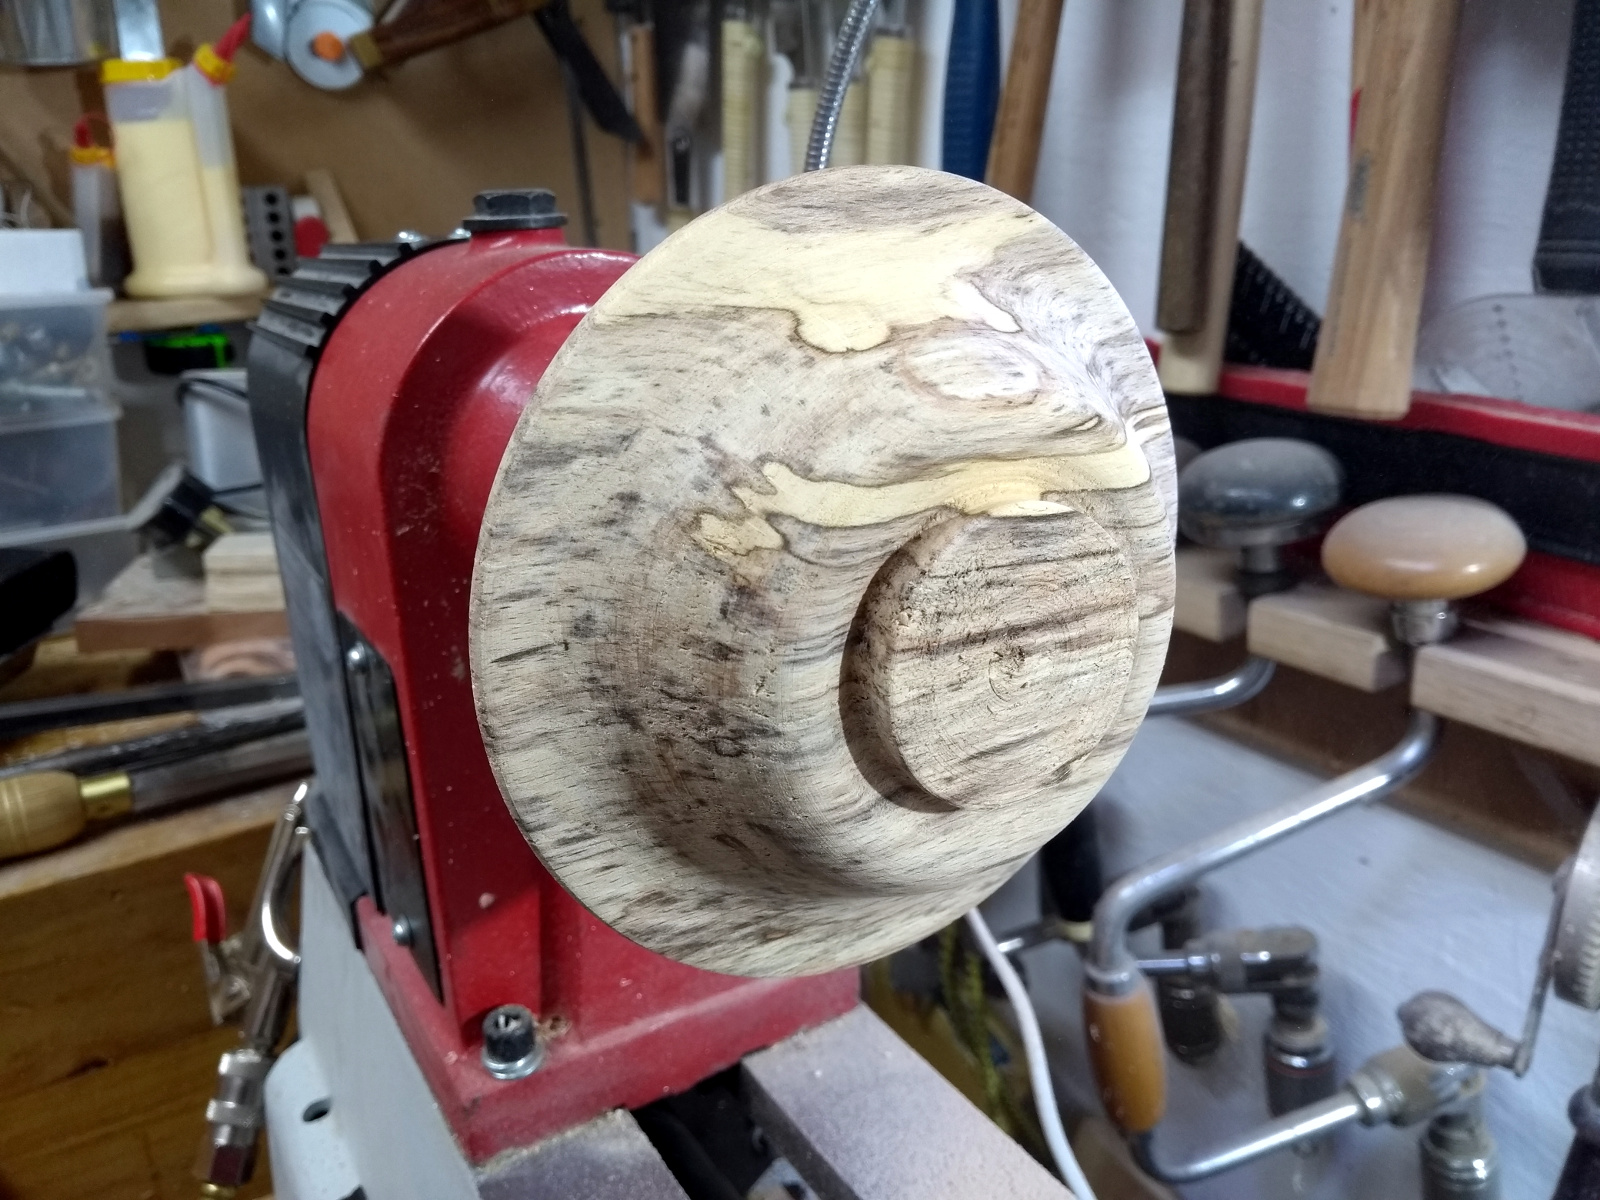
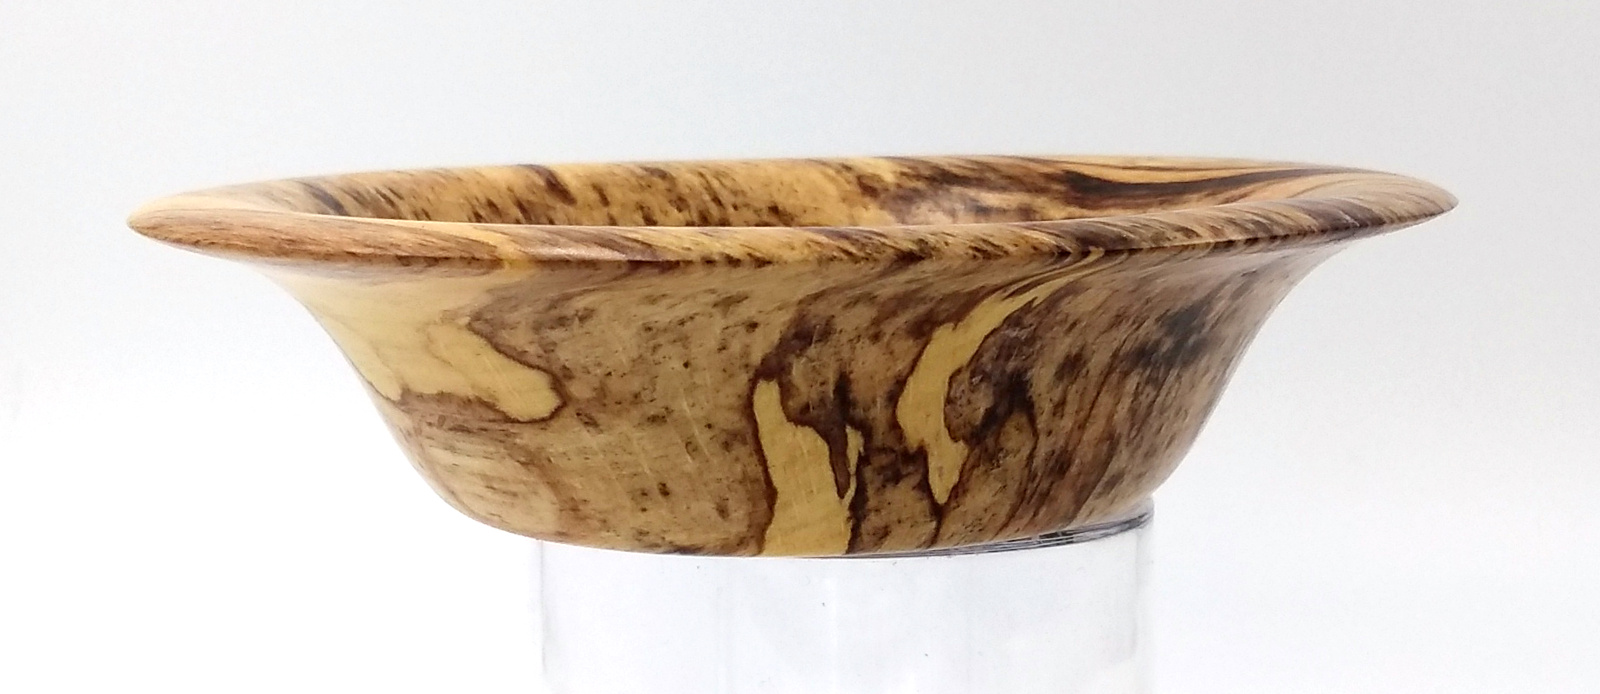
Rather pretty in the end. And there were a few new toys that finally arrived three months after ordering them (they’d come from China all the way to my office… which was in lockdown. But they cleared out the mail room a few months in and dropped everything out to us – thanks for that Robbie, if you’re reading this):
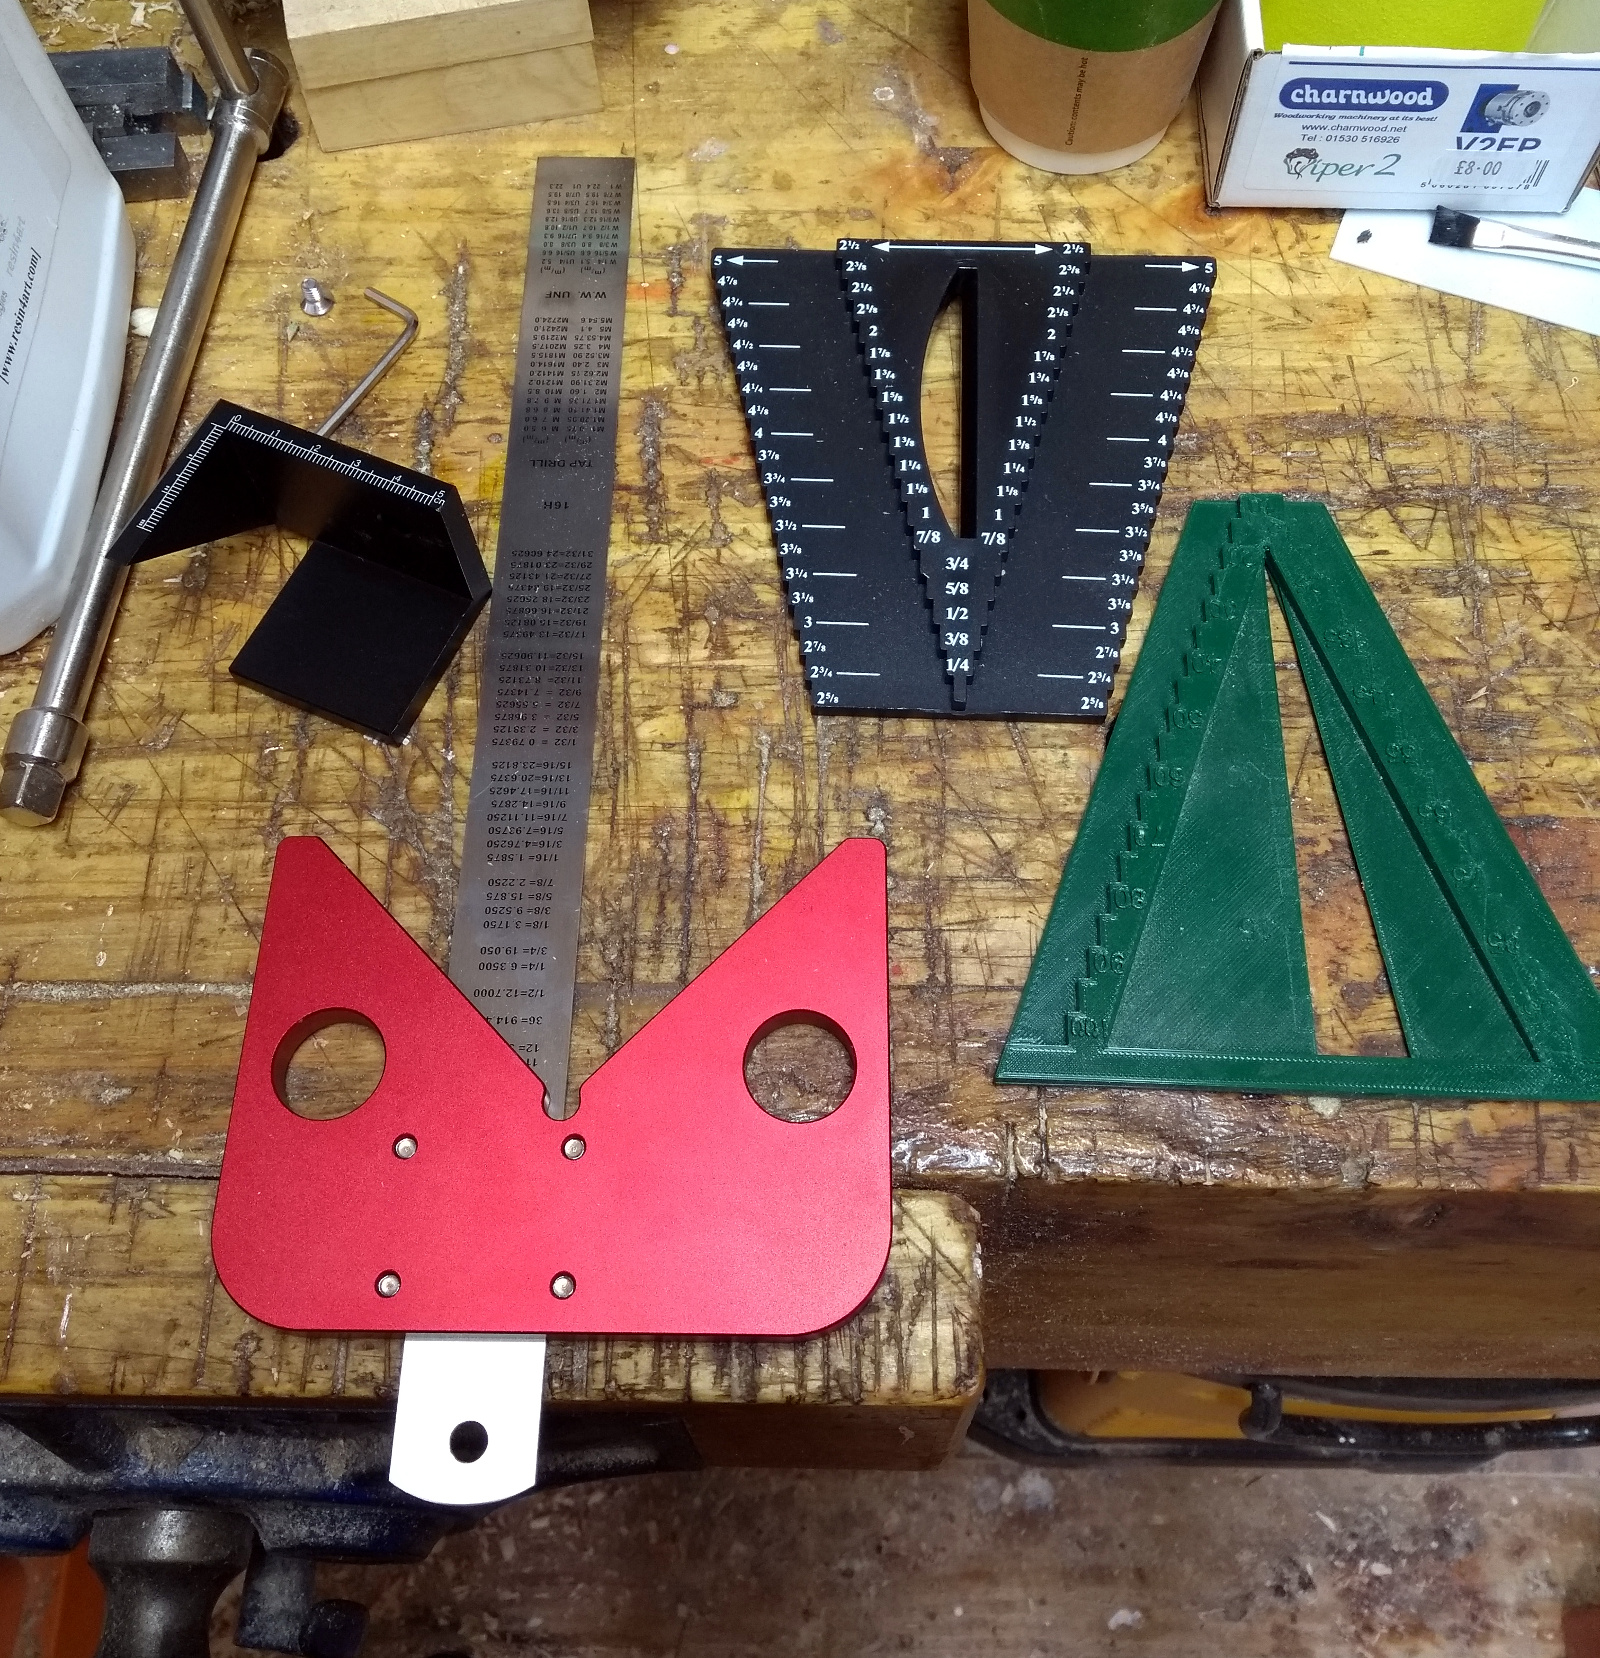
The centerfinder in black also has these raised steps that are set distances apart so it’s both a centerfinder and a gauge to set your calipers against. Useful enought that I’d printed off my own copy of one on the 3D printer a few months ago – that’s the one in green on the far right. The black centerfinder on the far left is a handily sized one for small spindles no more than a few inches in cross-section, and the red one is for larger blanks – very handy for the bowl stuff.
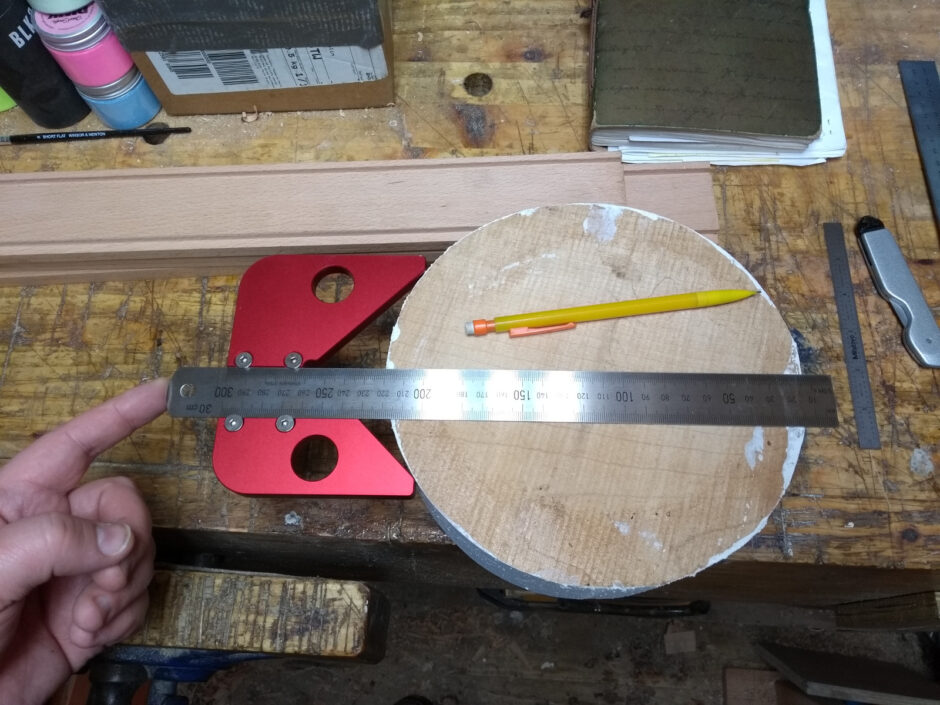
There’s also a longer T-bar for the chuck but despite it being sold for this chuck, it has the wrong size of square bit on the end so I’ll have to grind that down a bit to make it fit right, which is annoying.
Less delayed was a buffing wheel setup which will prove handy for finishing. It’s nothing special, just the chestnut products one:
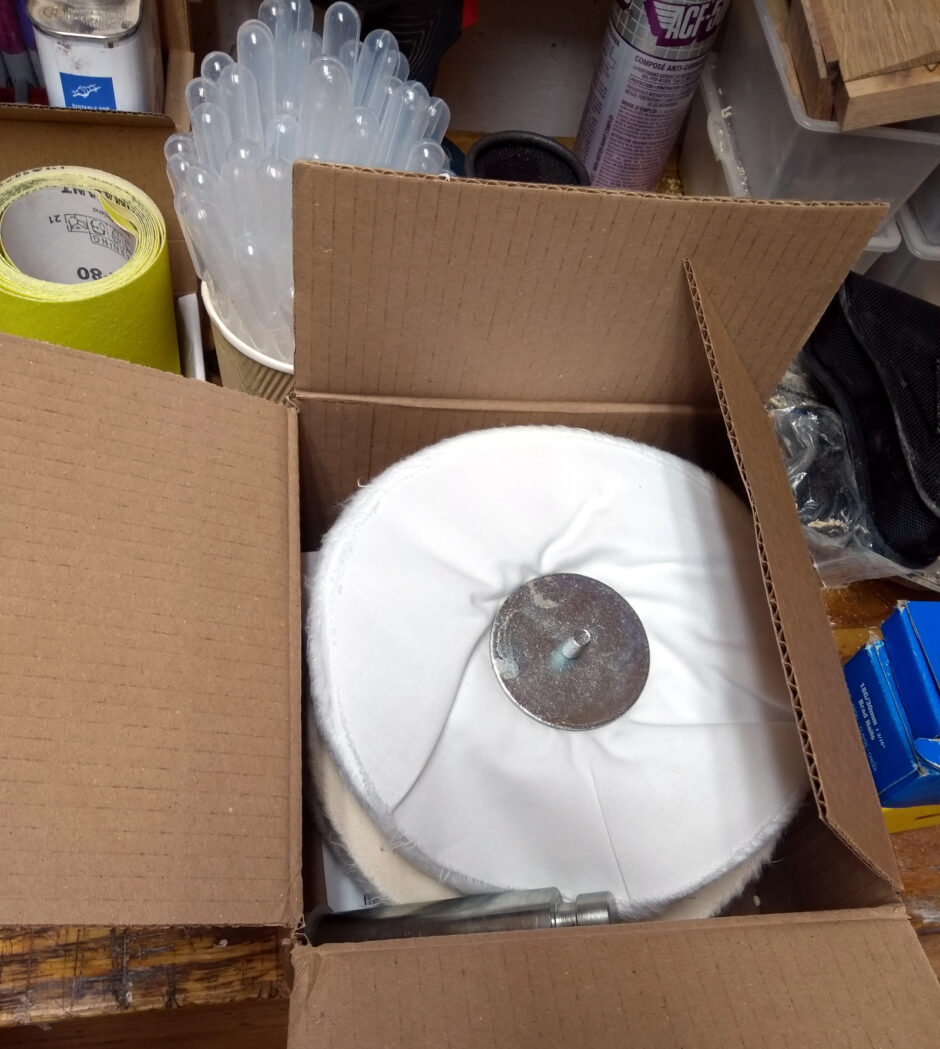
More than good enough for my level though. Oh and a box of pipettes, a small handful of which are in the cup in that photo and which have so far fallen all over the place three times in the shed. There’s about a kilo more and if you think a kilo of 3ml pipettes sounds like a silly number, you’d be right. Turns out some things you can only buy in bulk before you’re paying a euro or two for one pippette – but order a kilo and you get 2000 of the things for the price you’d have paid for ten of them in a sensibly-sized box. They’re very handy for getting resin into exactly the right spot when filling knots and the like.

There’s been a few other projects since, and I have photos and things already taken on the cameraphone of them, I must spend an hour posting them up here later on. Especially since I just finished a long bout of shed-tidying-up with some nice results.
16
Apr 20

Another small bowl

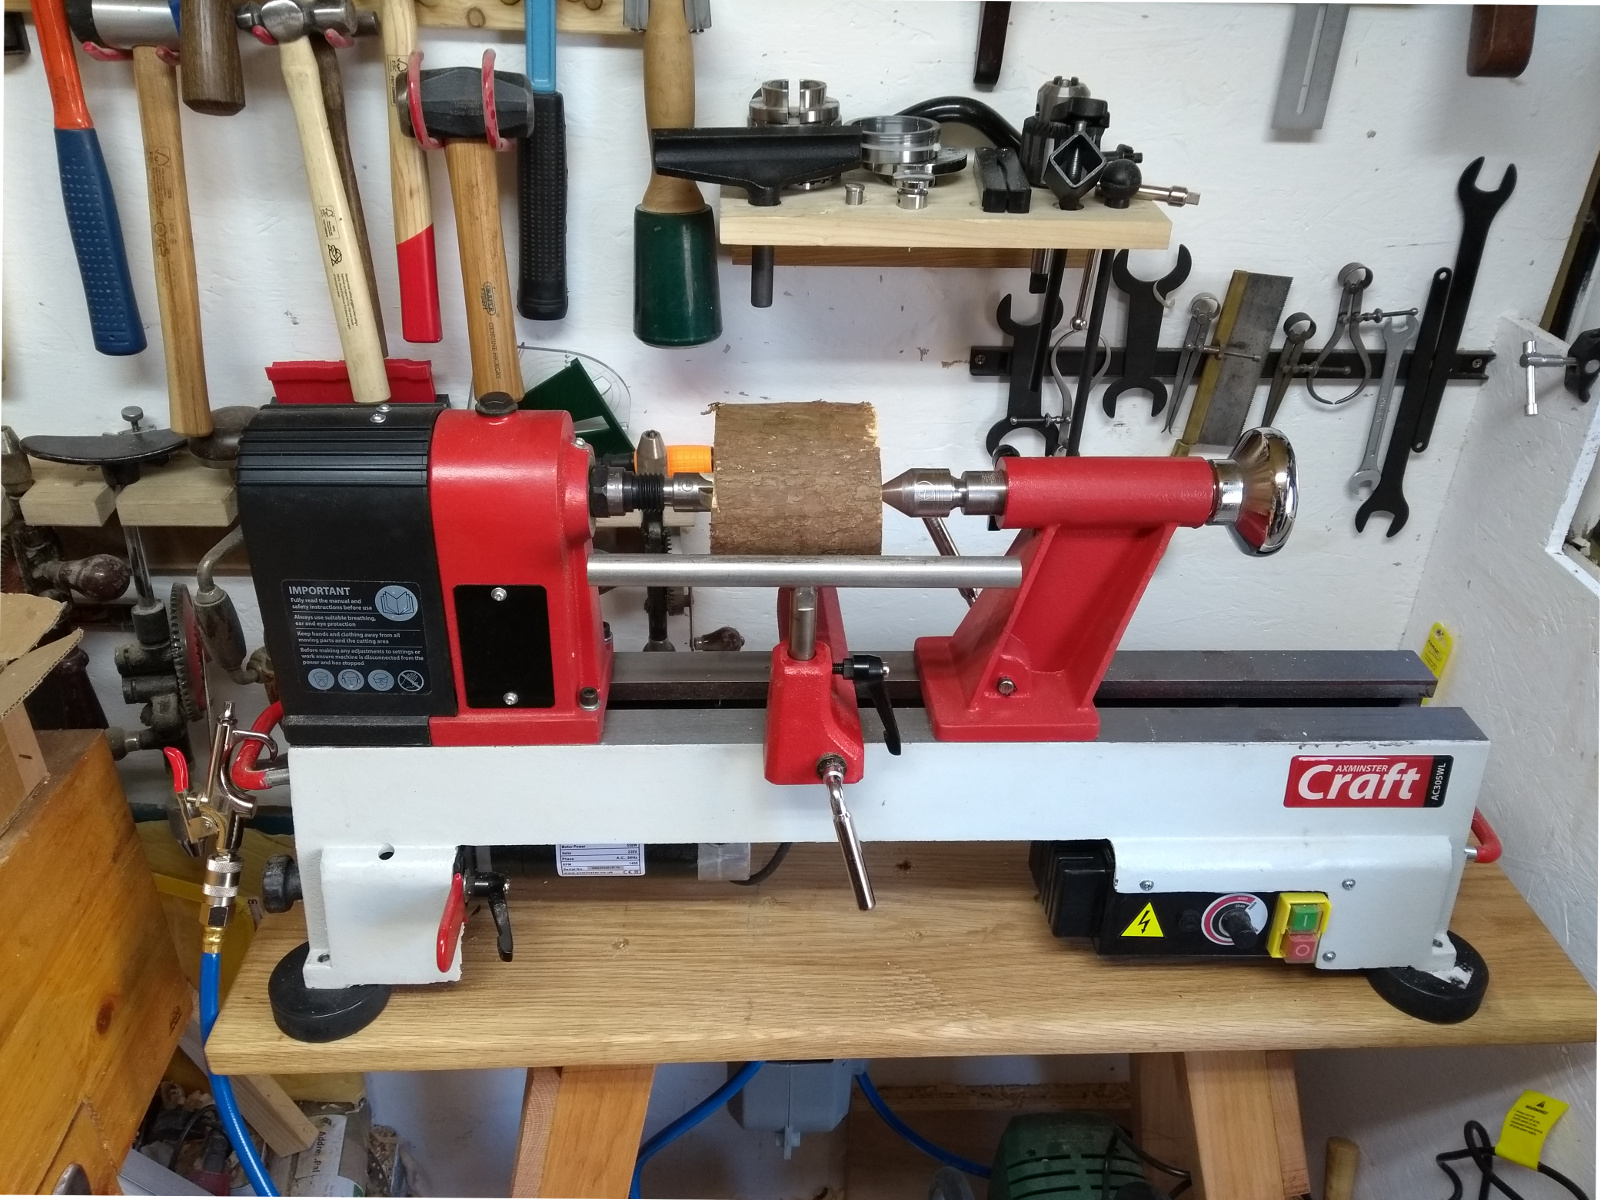
Just practicing at this stage. There are a few things I want to sort out in the shed like dust collection but I’m waiting on parts, and in the meantime I have some miniature blanks and a bit of practice is starting to make things a bit easier with turning (mainly because I’m not doing anything complicated).

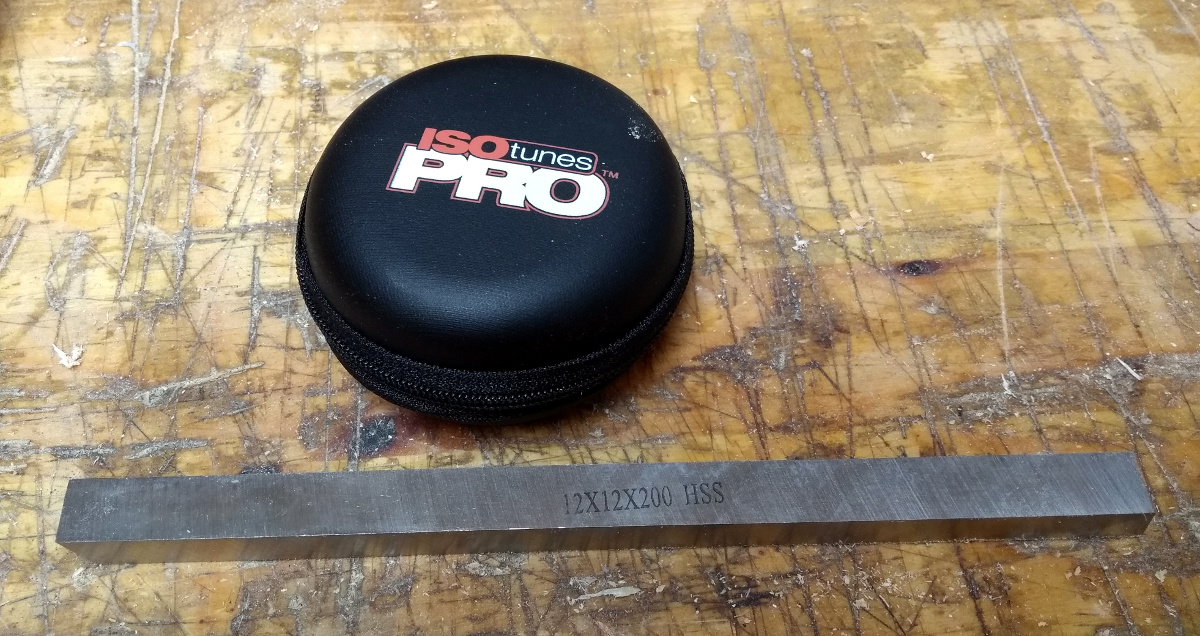
Finally took the bait from all of Crimson guitar’s ads for isotunes and bought a set of the Pros (they’re half price at the moment because they’re now the Old Product 😀 ). Tried them in the shed tonight, have to admit, they do exactly what I wanted them to do; the air compressor can fire up at my feet and the noise doesn’t hurt my ears, and I can wear them with the faceshield easily and listen to music. Spendy by my standards – forty quid for a set of earplugs is twice what I paid for the J-29s which are the only bluetooth earbuds I own, I normally prefer wired headsets and earbuds. But these aren’t half bad.

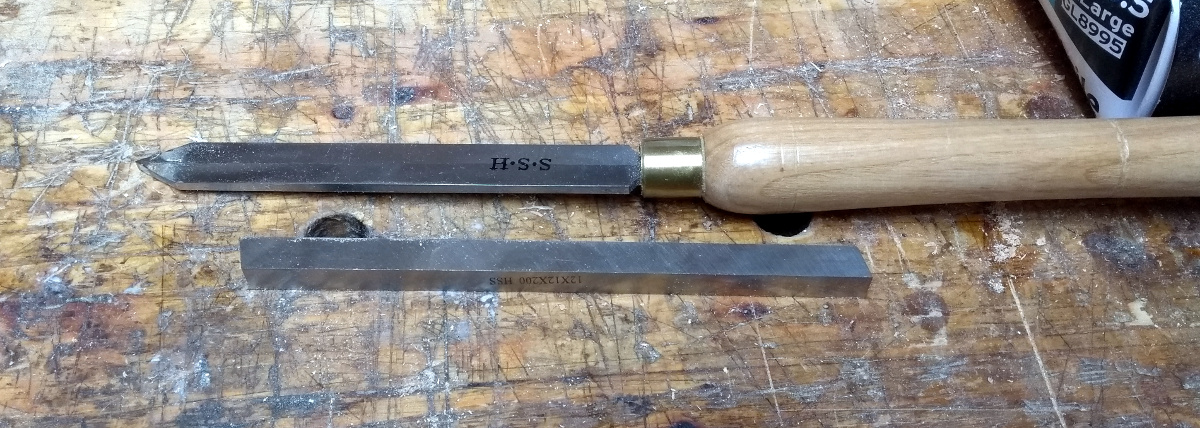
And I also got a HSS blank that I want to make a beading&parting tool from…

A metal detector says that the tang from my diamond-point parting tool goes in about as far there as the end of that blank, and that tool length is a bit shorter than I’d like but it’s surprising how hard it is to find 300mm HSS blanks online – 200mm seems to be a standard length for making lathe tooling for metal lathes. Oh well. I also have some carbide inserts and bright mild steel bars in longer lengths coming to make some scrapers. I’ll have to laminate up some beech to make the handles, but I might use that to my advantage and cut a rectangular groove in the mating surfaces of the lamination so I don’t have to use an angle grinder to round over that square section to round for the tang.

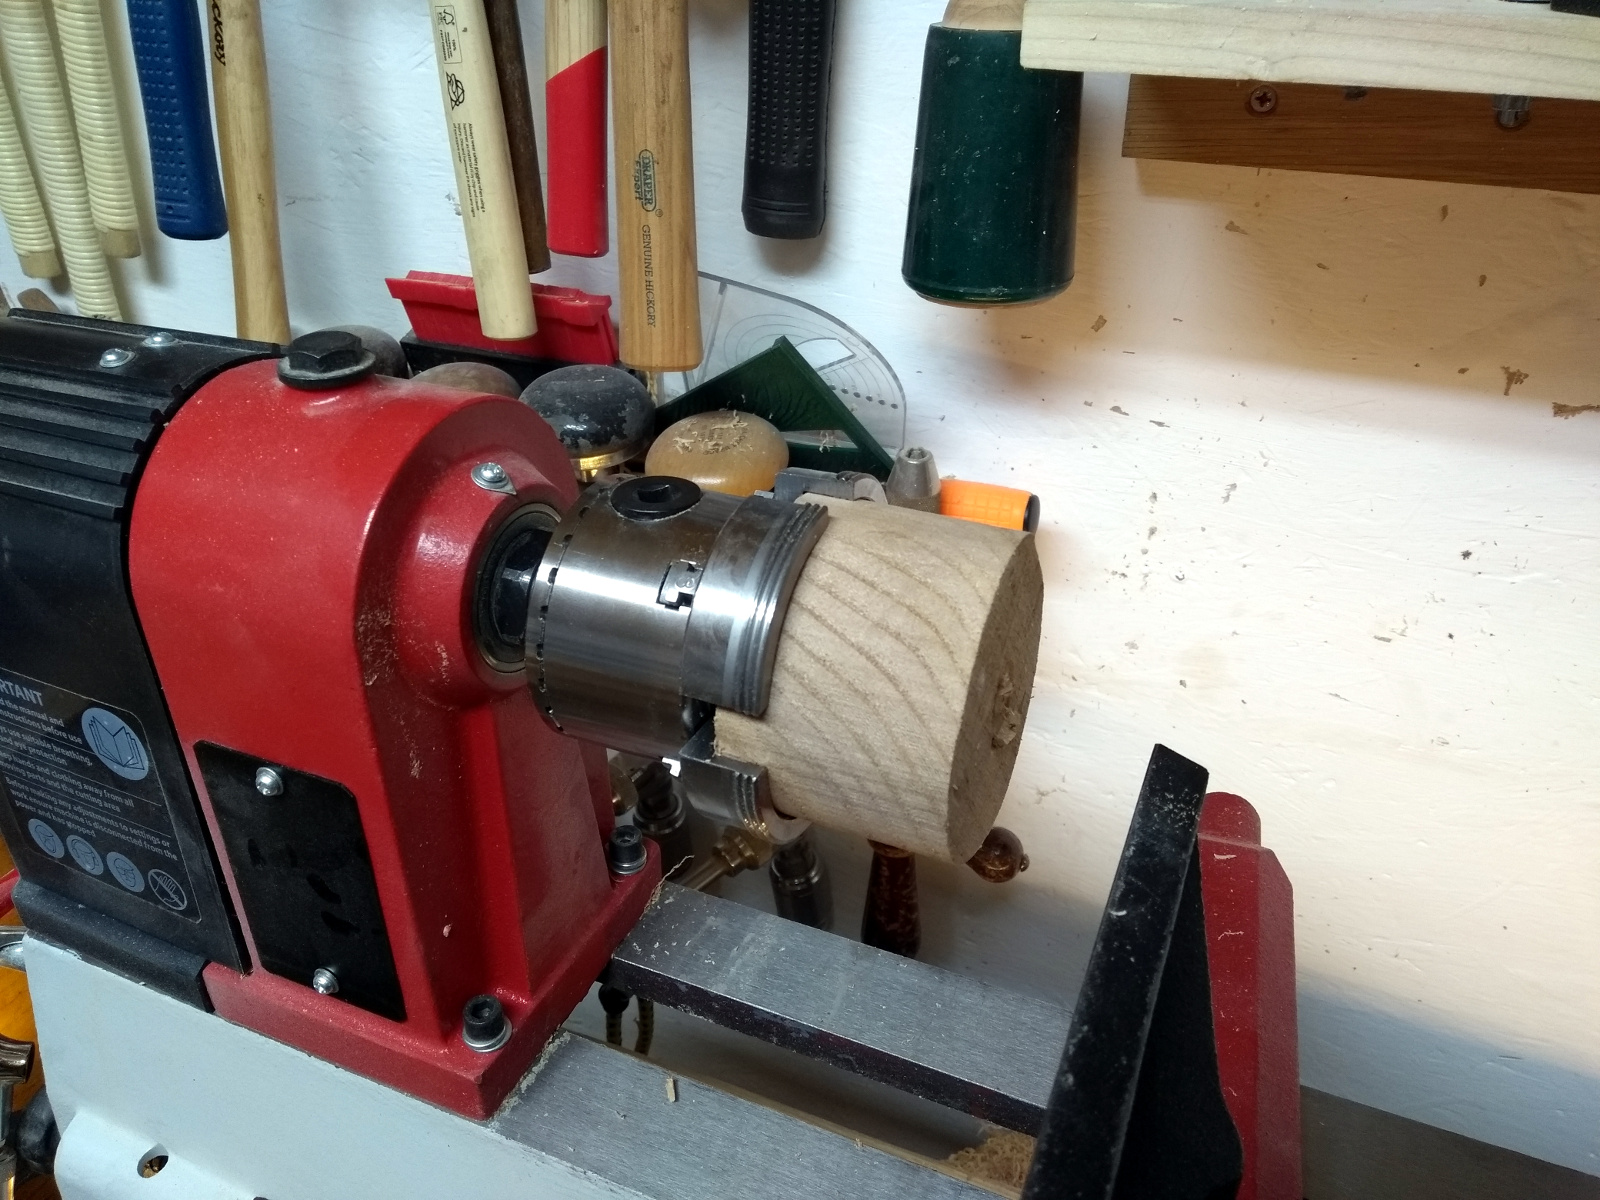
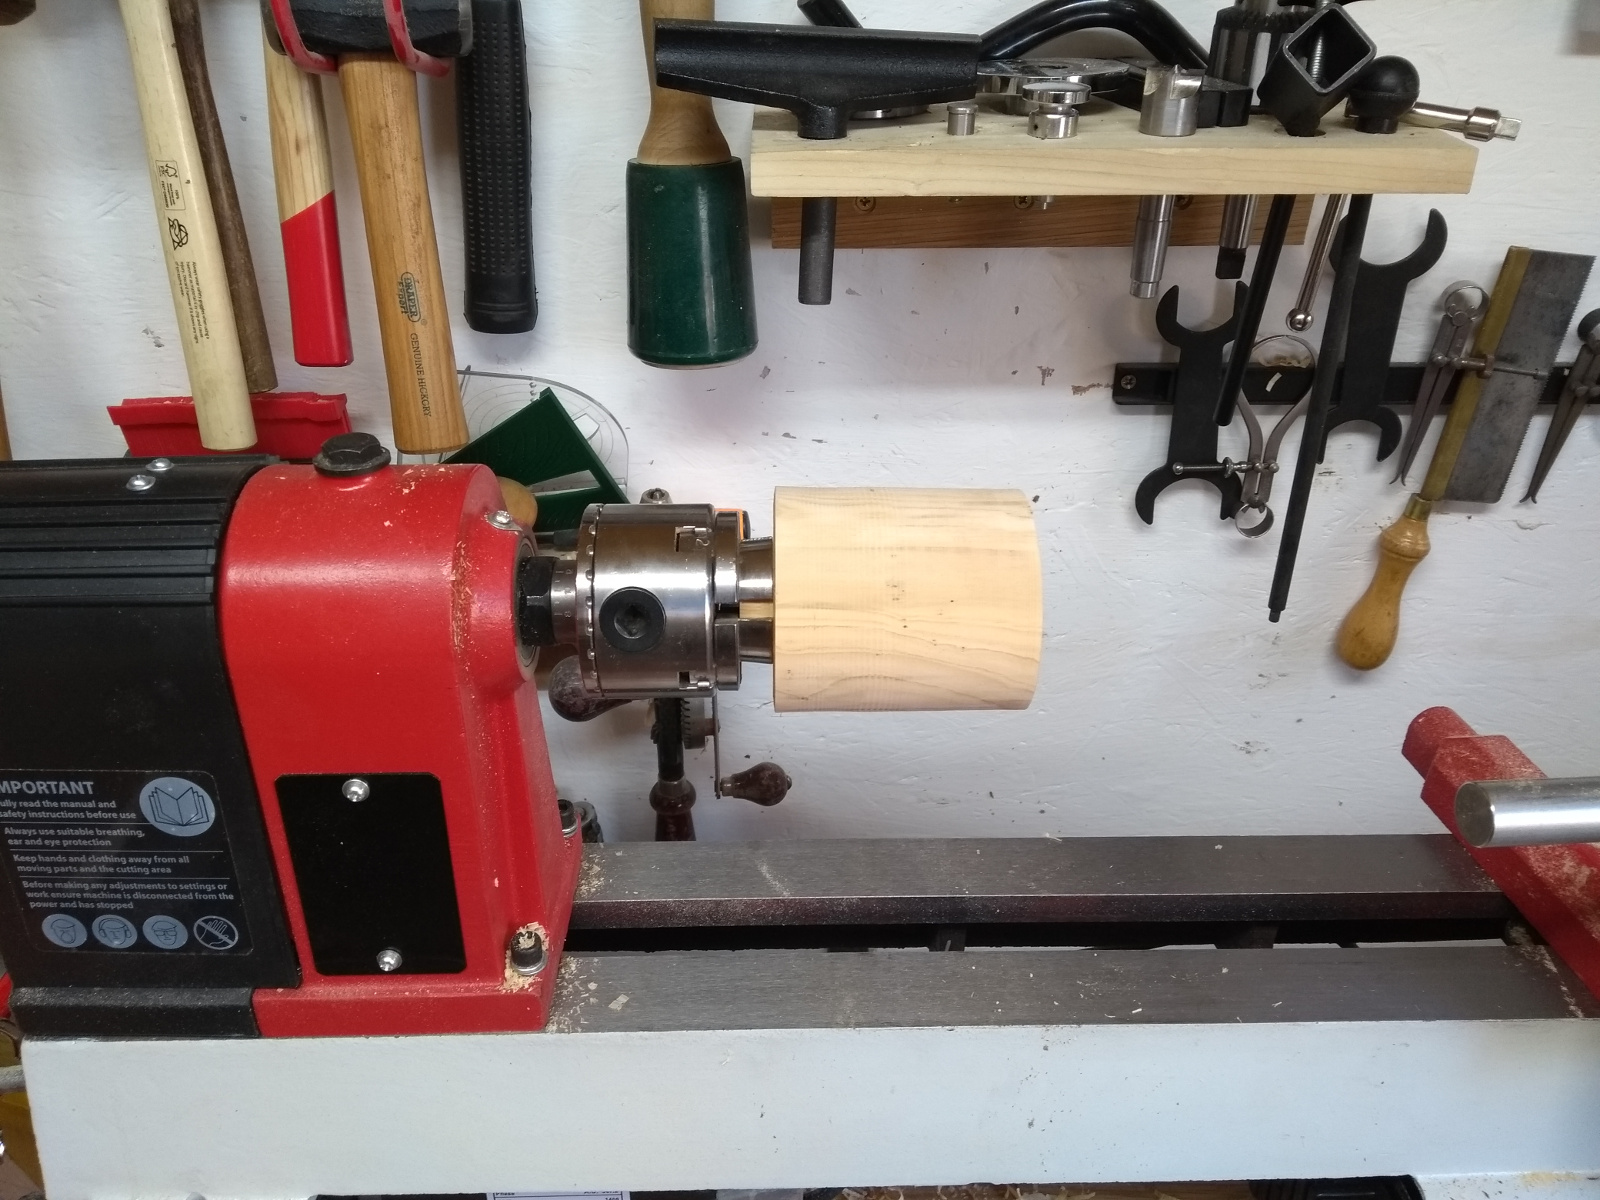
3″x2″ blank for this evening’s practice. I tried using shorter screws in the faceplate because of how I’ve been having trouble getting rid of the screw holes in rims – this was as bad an idea as it sounds 😀 First catch and the thing ripped off the faceplate and jumped at the wall. So I swapped the jaws on the chuck for the larger size jaws and grabbed it with that.

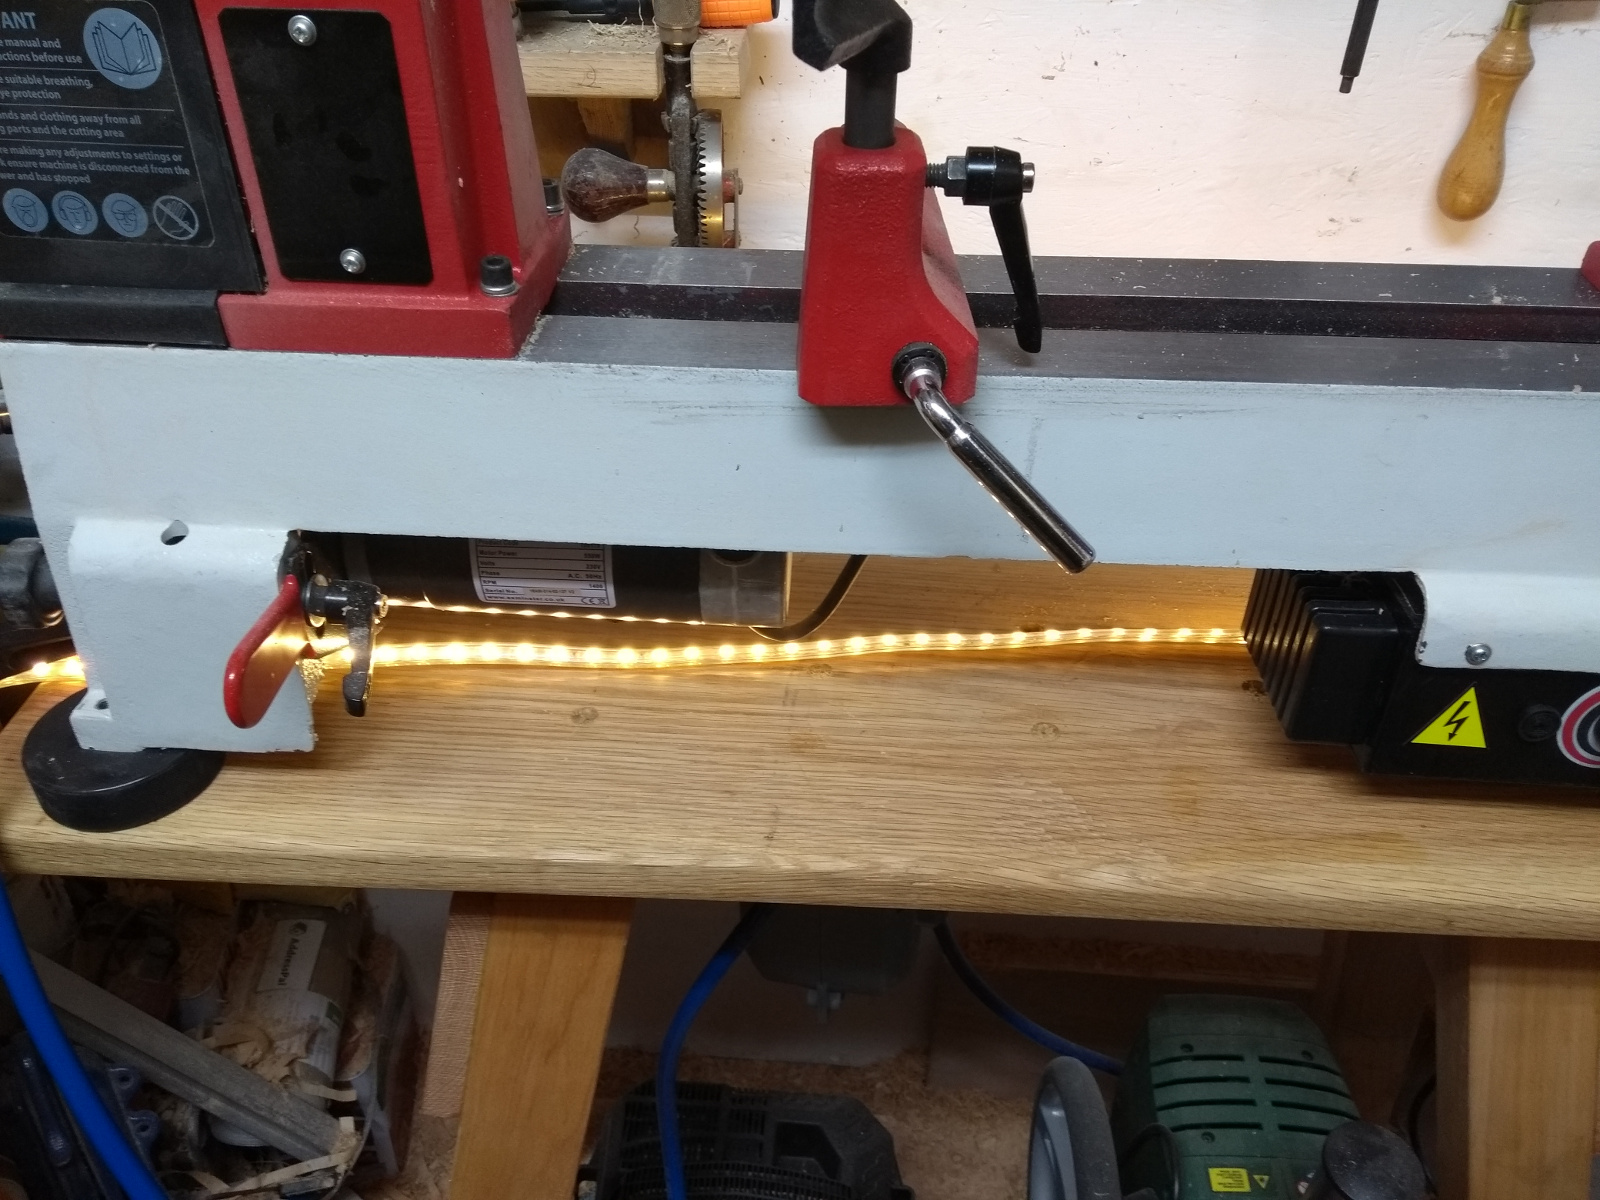
Worked quite well. Oh, and I did something about the lighting as well…

It’s not fantastic, but I’ll get a sewing machine light or something soon and that’ll work better. It’ll do for now.

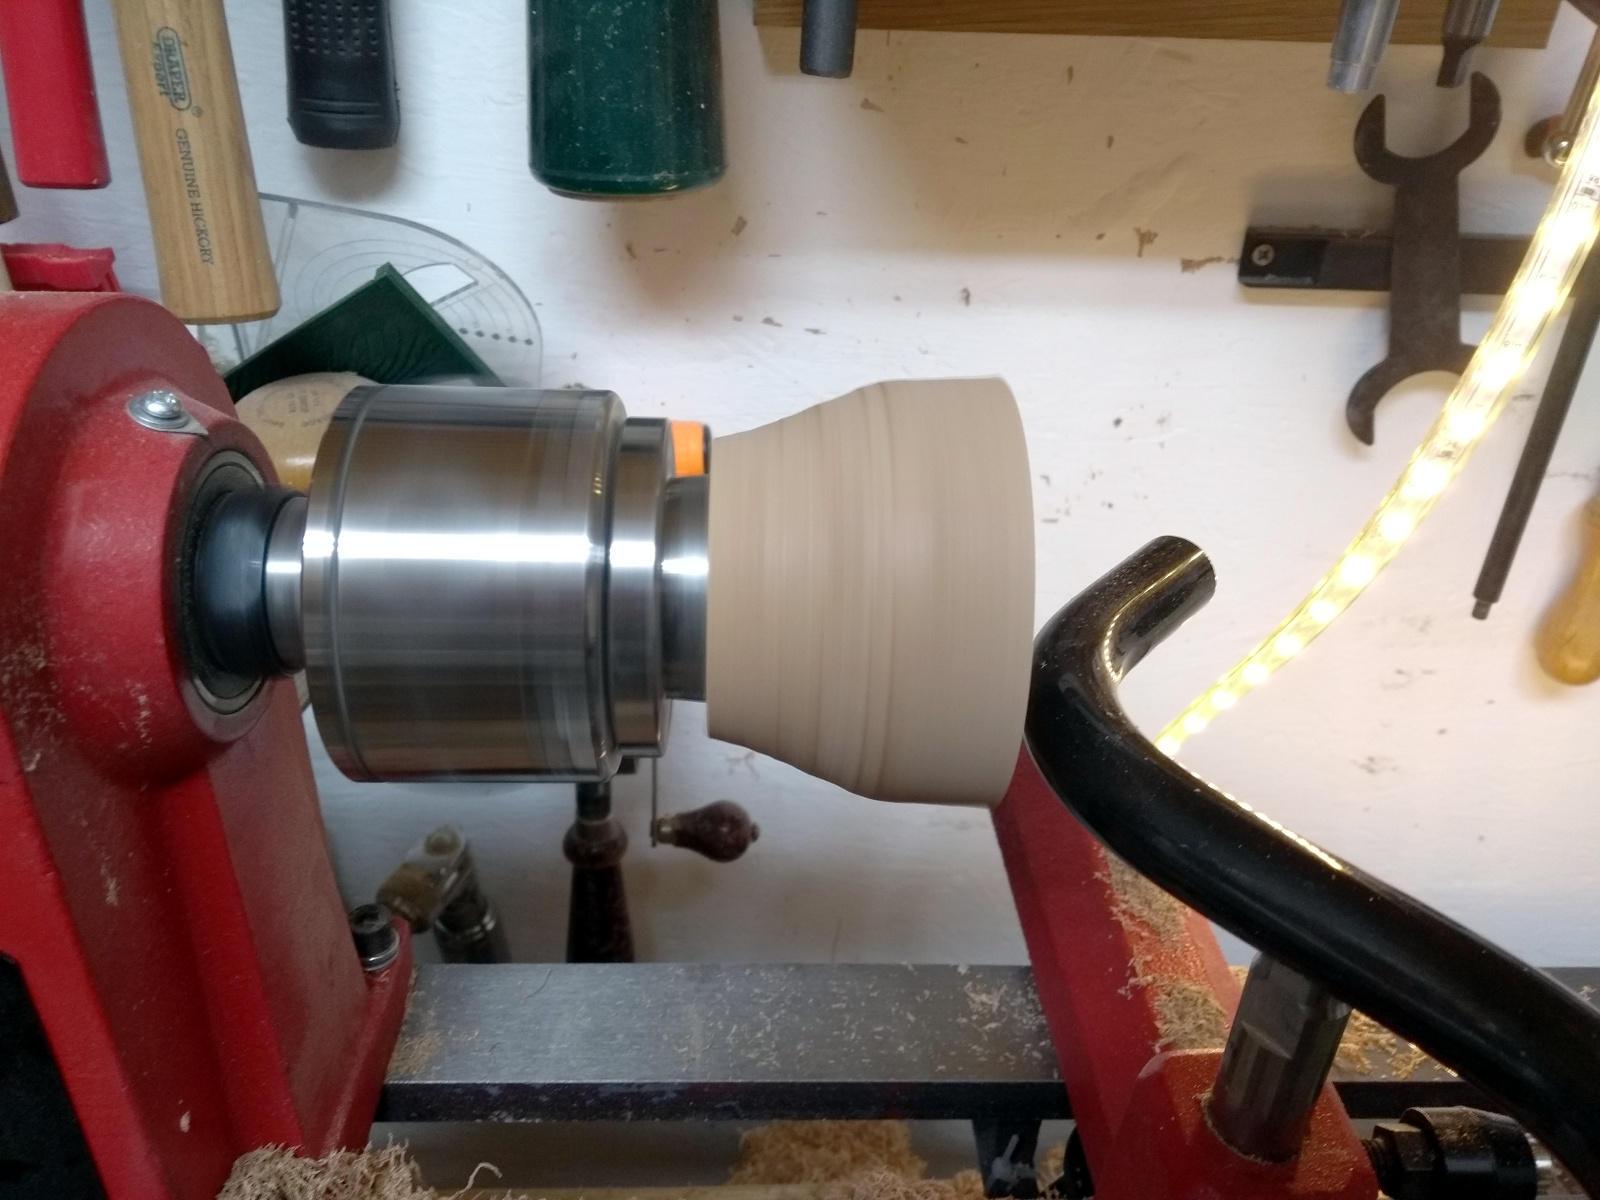
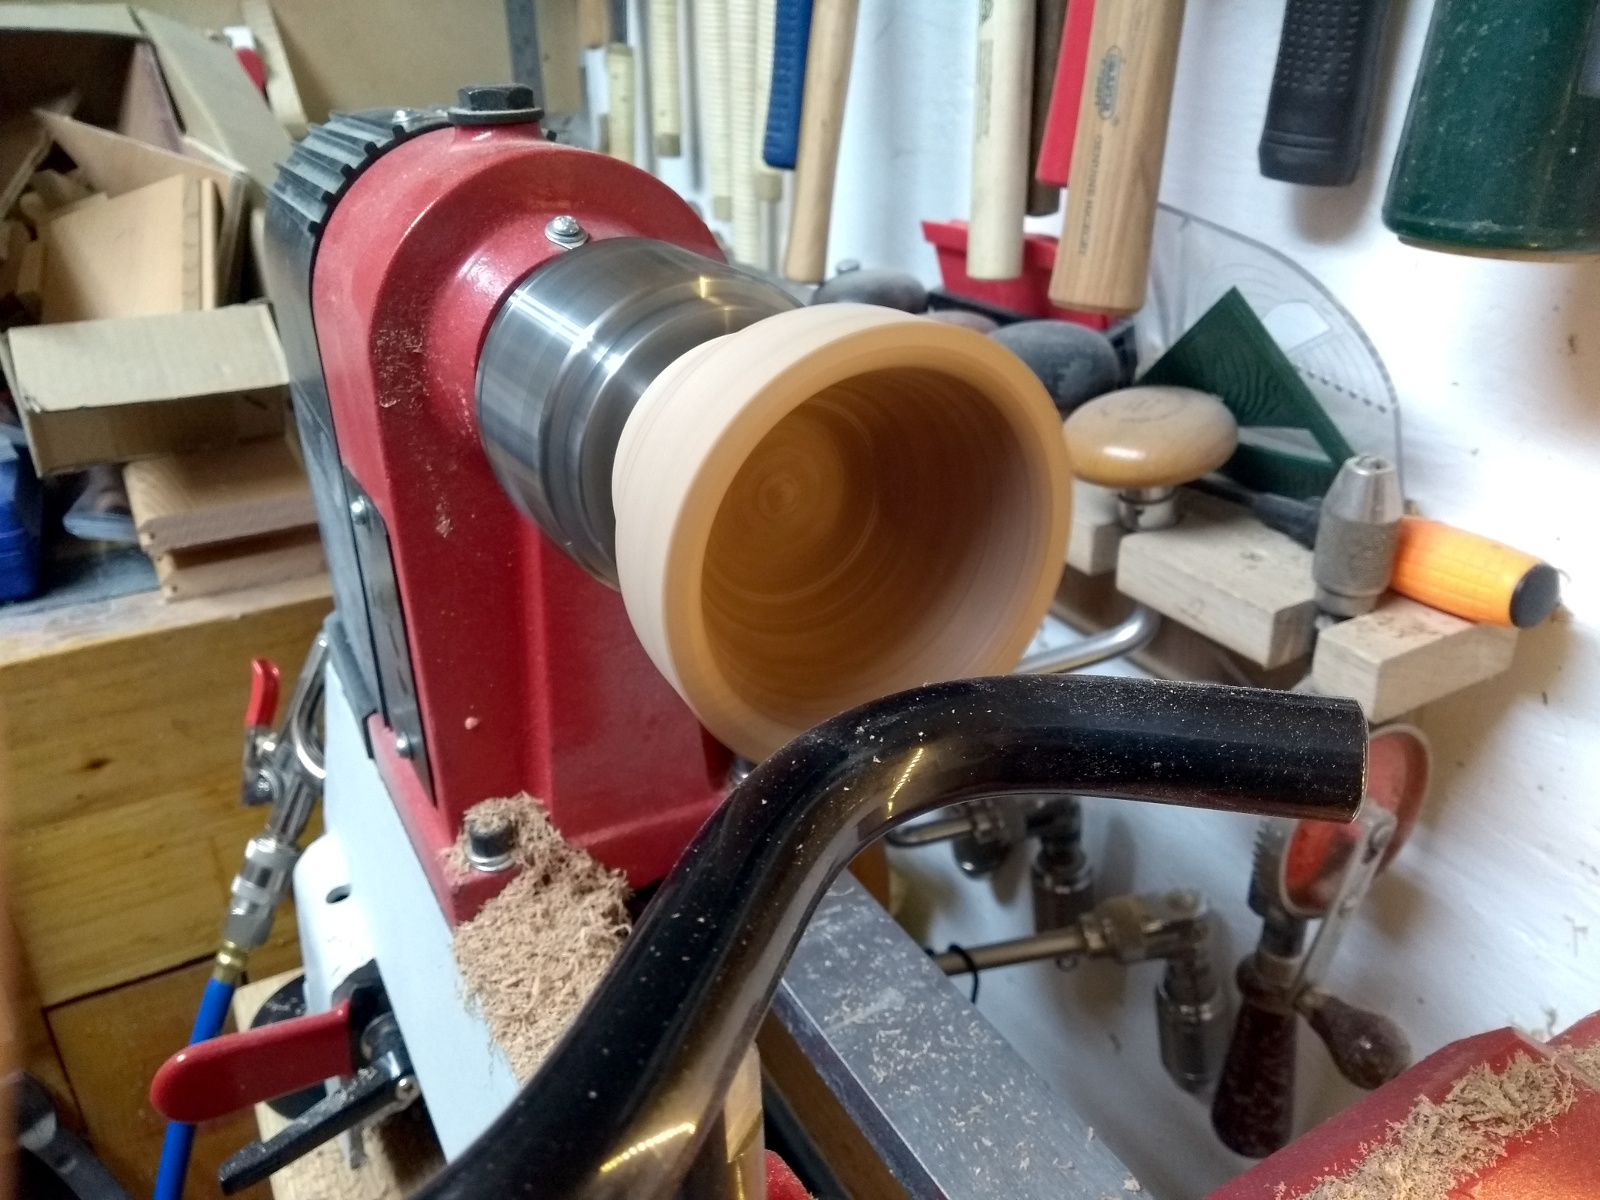
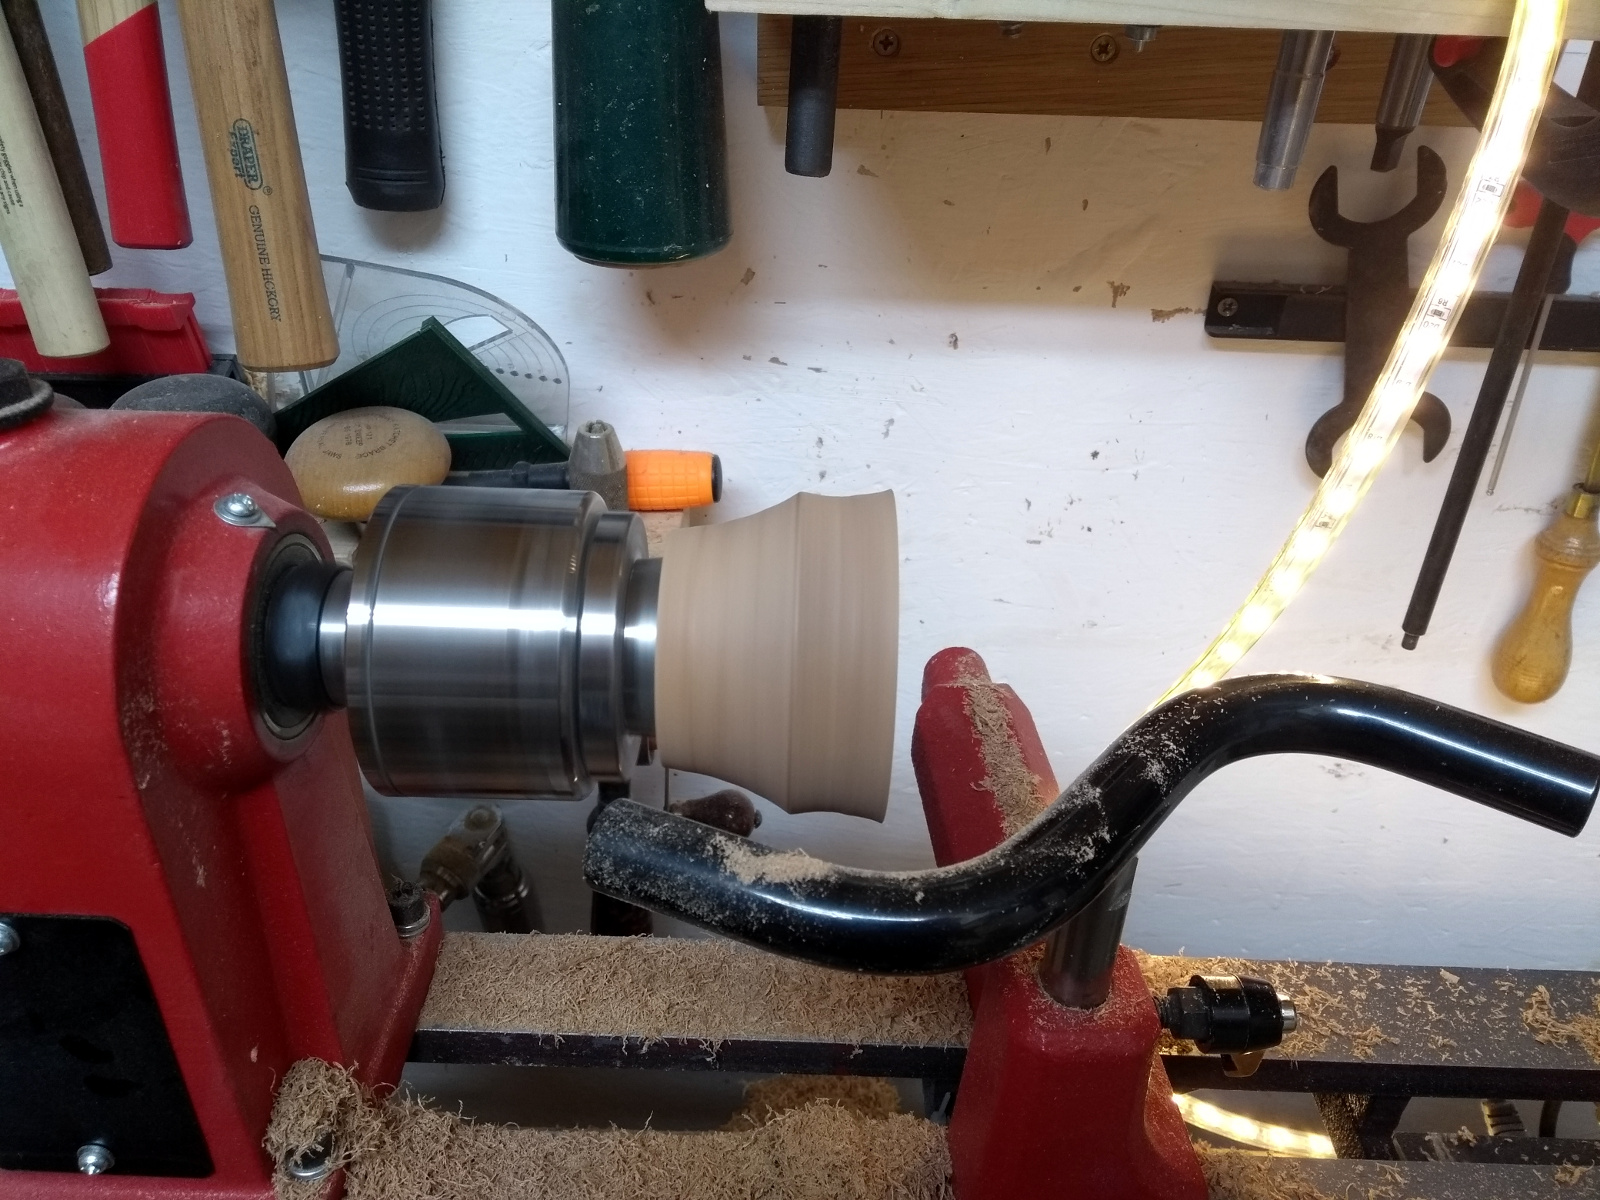
Turned a recess, cleaned up the base of that recess and added a decorative line or two on the base, and roughed out the outside shape. Then flipped it over, changed out the jaws on the chuck to the standard dovetail ones and grabbed the recess and started hollowing out the inside. Love that S-shaped rest by the way, it’s excellent for this.

Just great support when hollowing out the bowl, and when working on the outside shape as well.

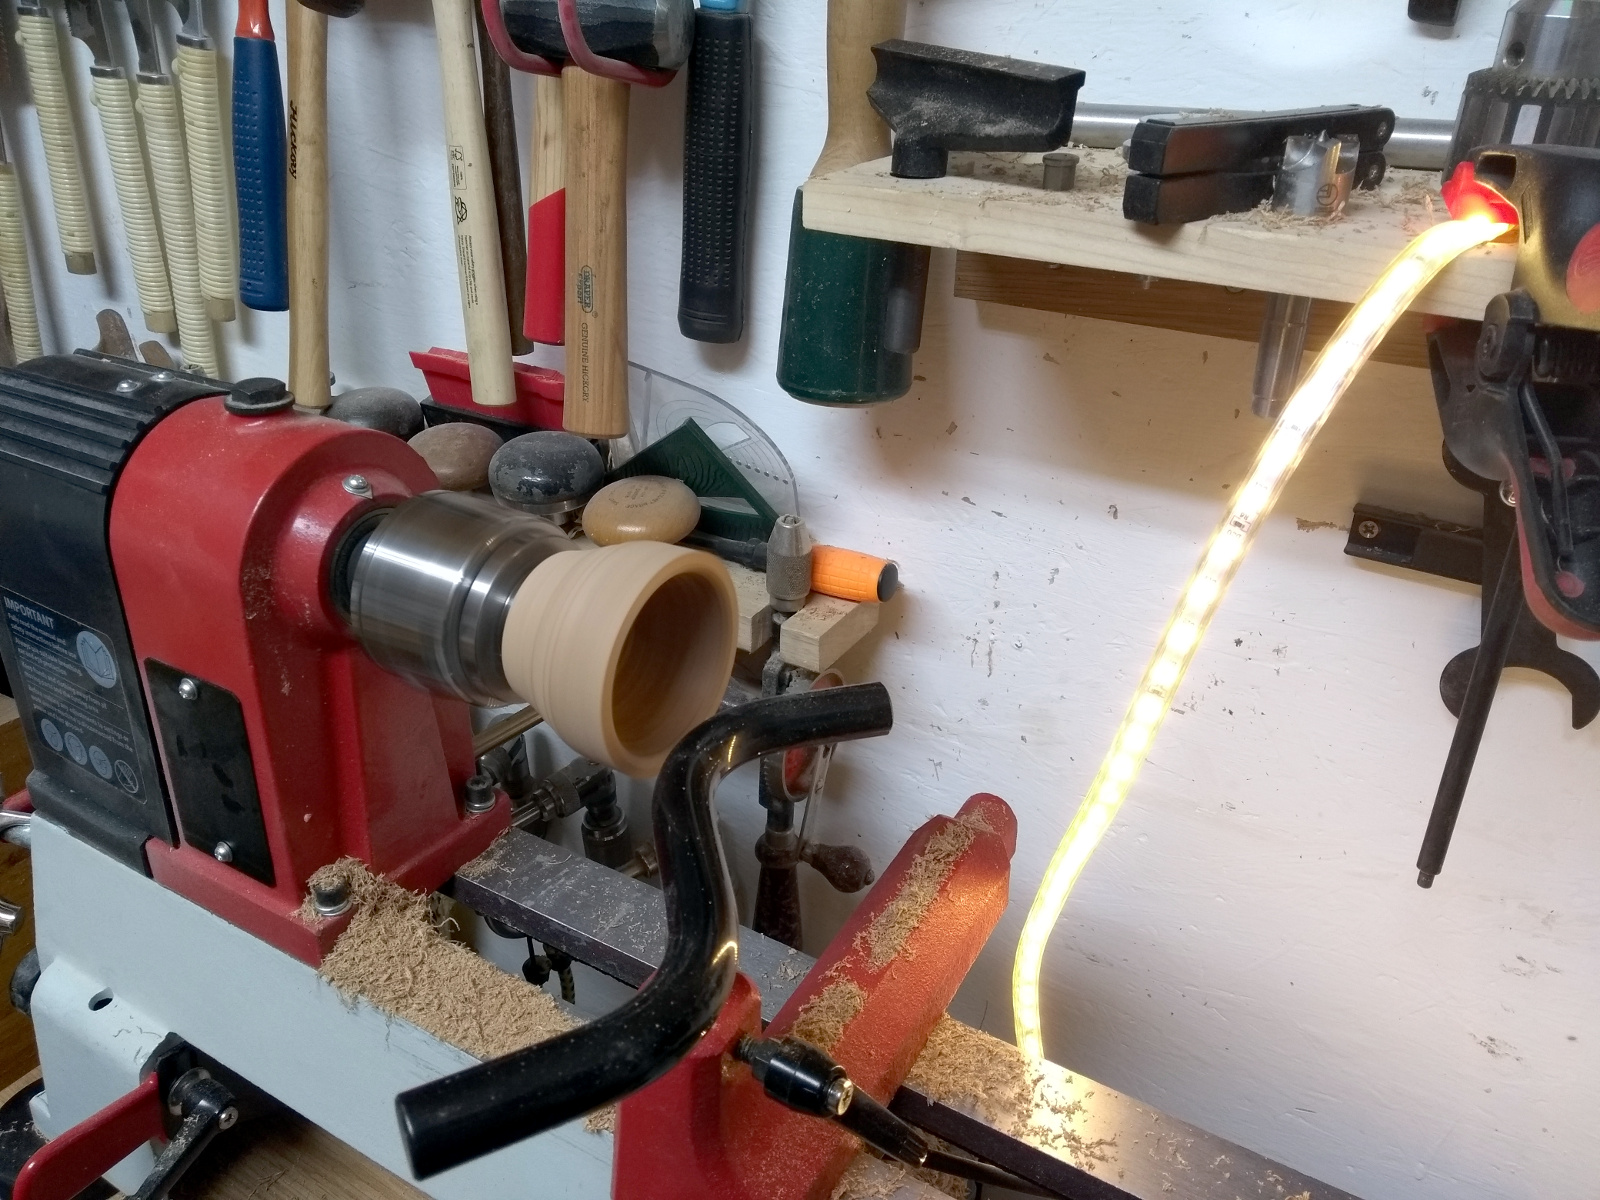
That’s the LED strip clamped to the shelf for lighting the inside of the bowl there btw.

Without that, I can’t see inside the bowl when turning at night (by day it’s grand, the sunlight through the window is enough). I *know* I bought a small LED floodlight for the shed a few years ago for just such a thing, and I *know* it’s in the house with us right now, but do you think I could find it?

Need a better way to photograph these really. Did find something cheap on aliexpress for that, it should get here in a month or two 😀

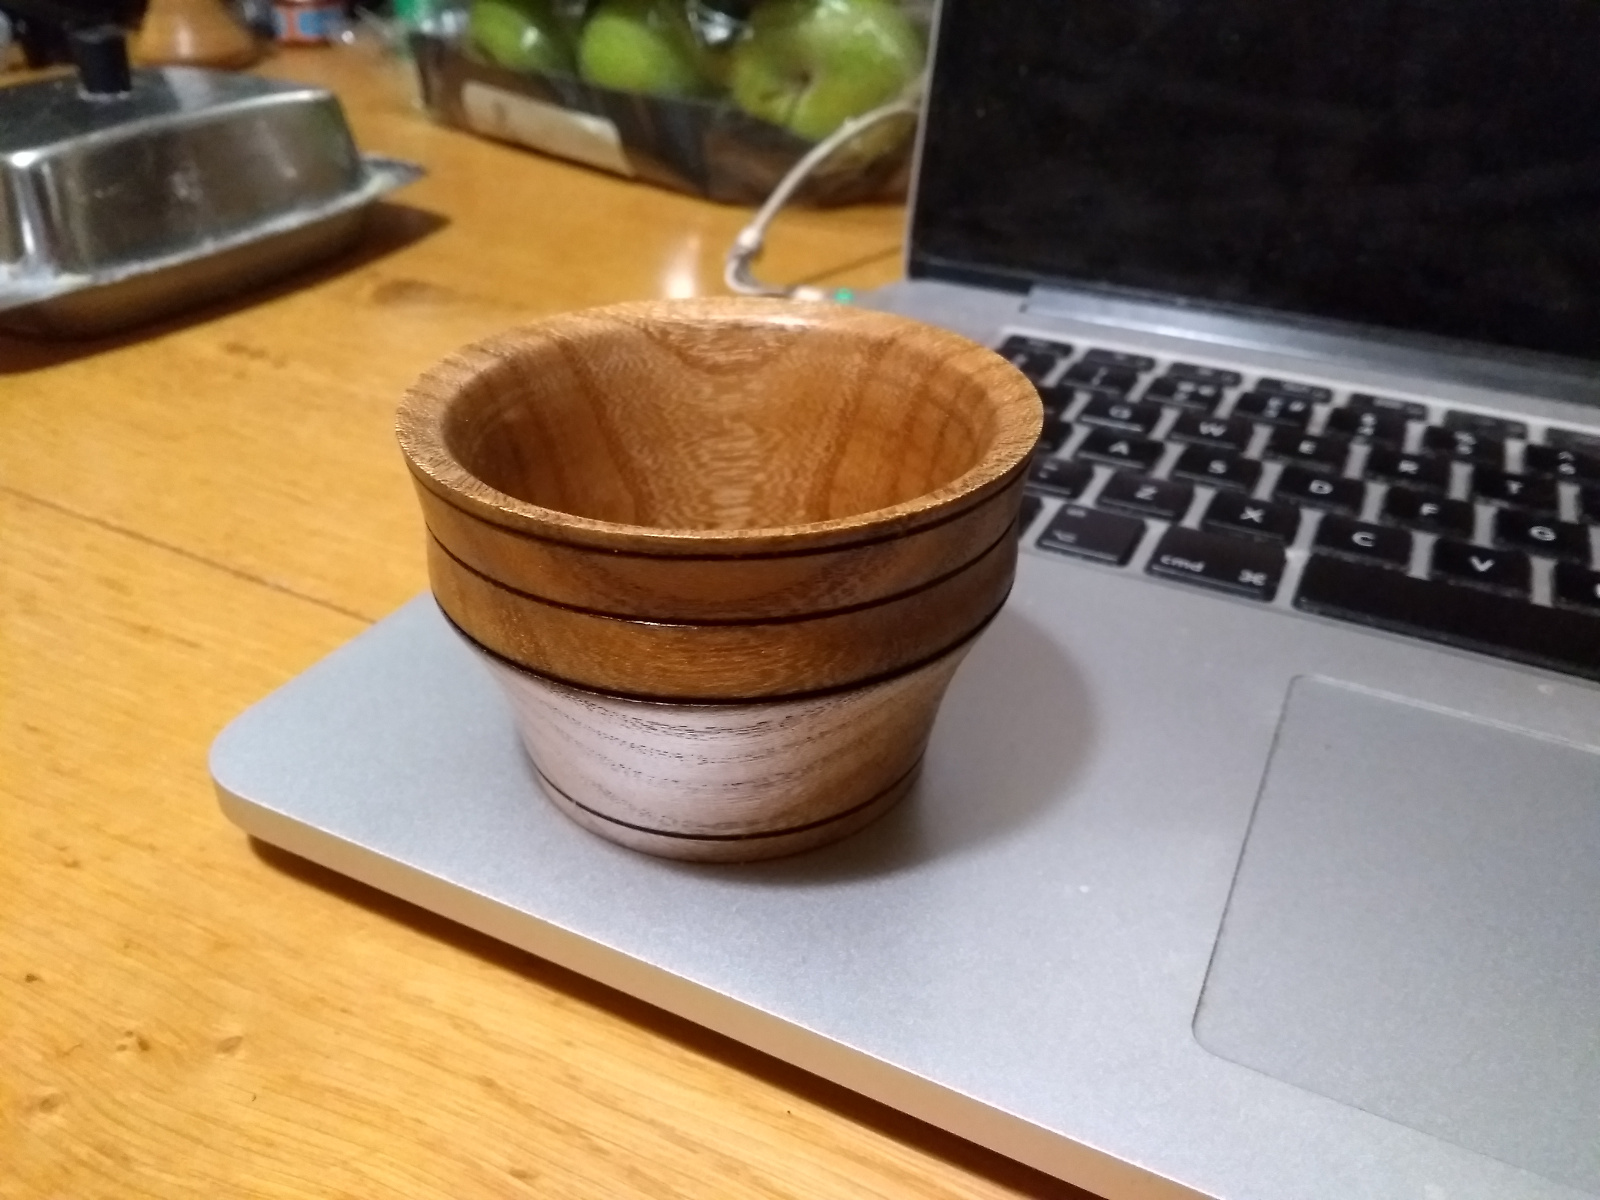
Not horrible. Walls are getting thinner and more consistent, those are about 4-6mm thick throughout. Still getting toolmarks left over though. Need to work on that. And the finishing is very basic – tung oil, two coats of button shellac and then some briwax used as a friction polish. Some nice endgrain patterns there. Sycamore really is a lovely wood to turn.


08
Apr 20

Fixing Mushrooms

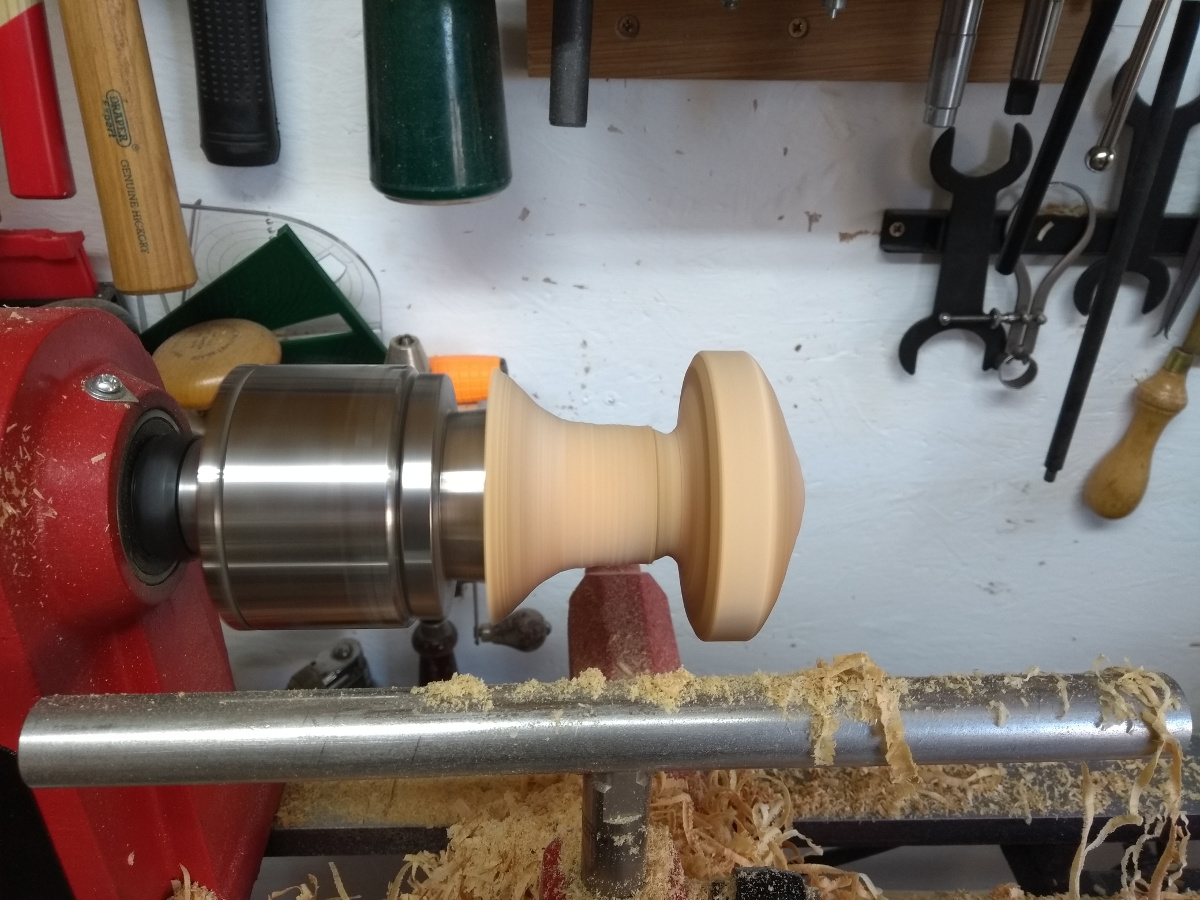
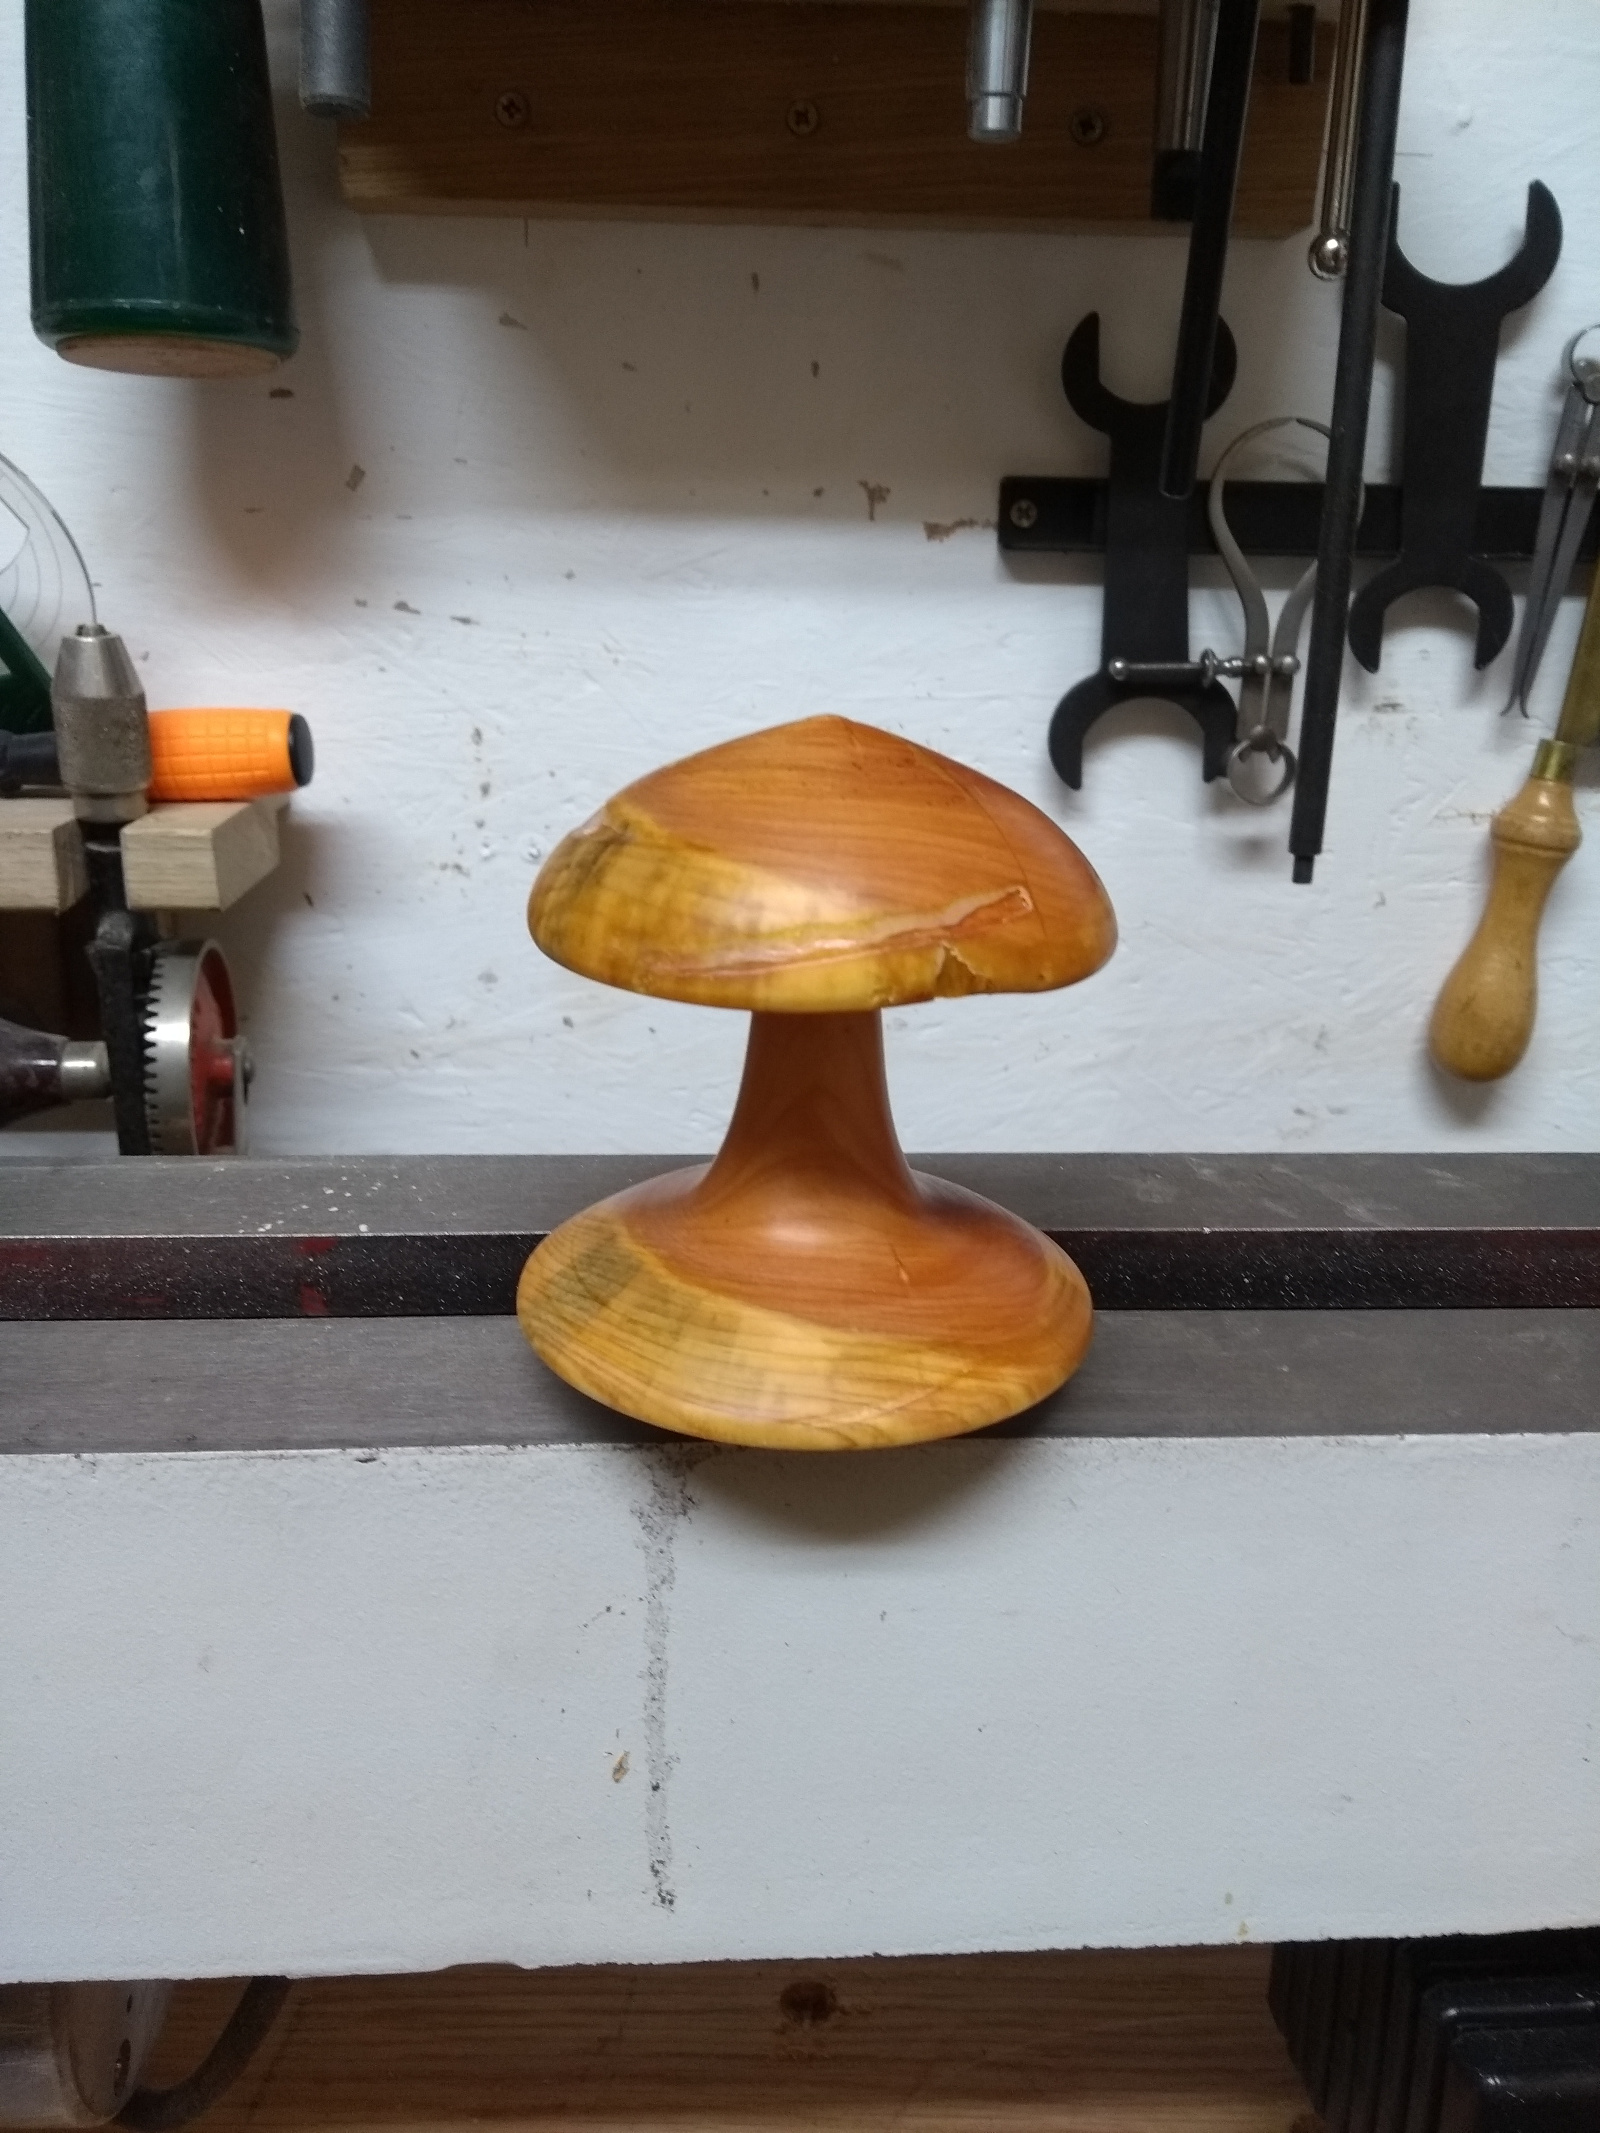
So after the last exploding mushroom, I tried turning the last two chunks of log into their mushrooms. And both times, it was looking soooo nice…

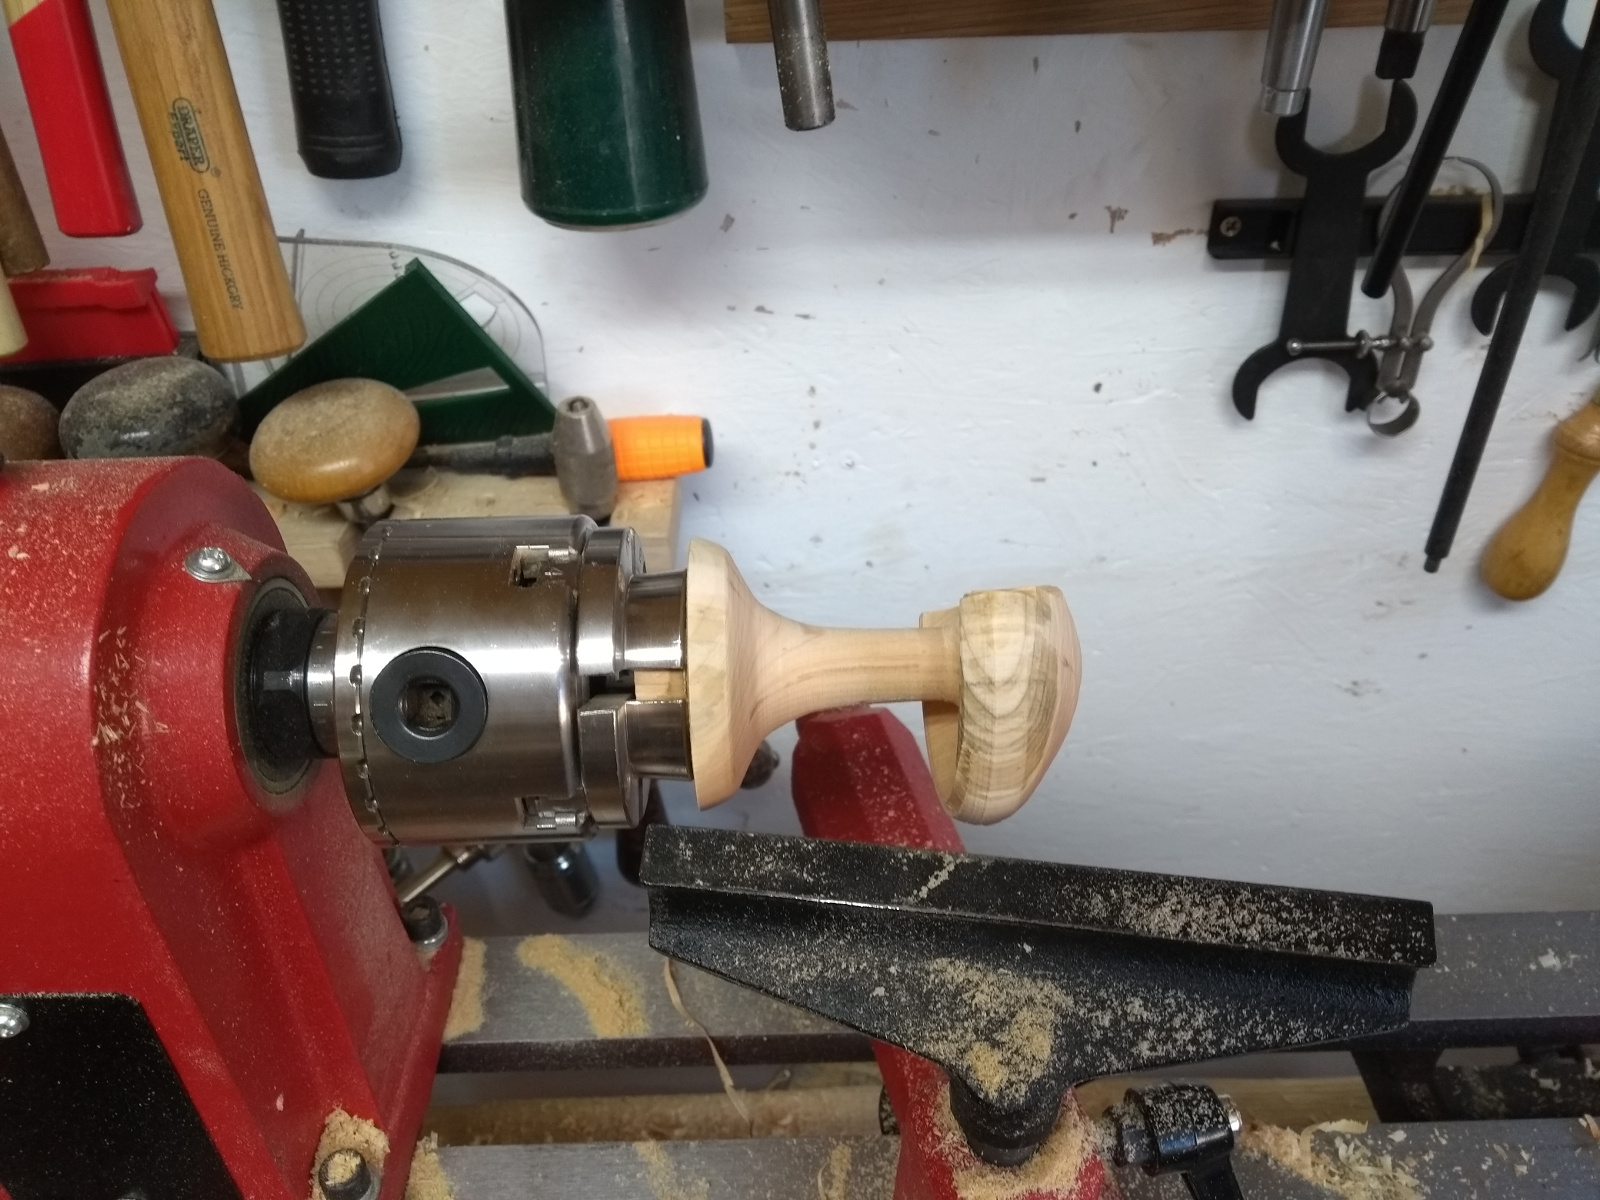
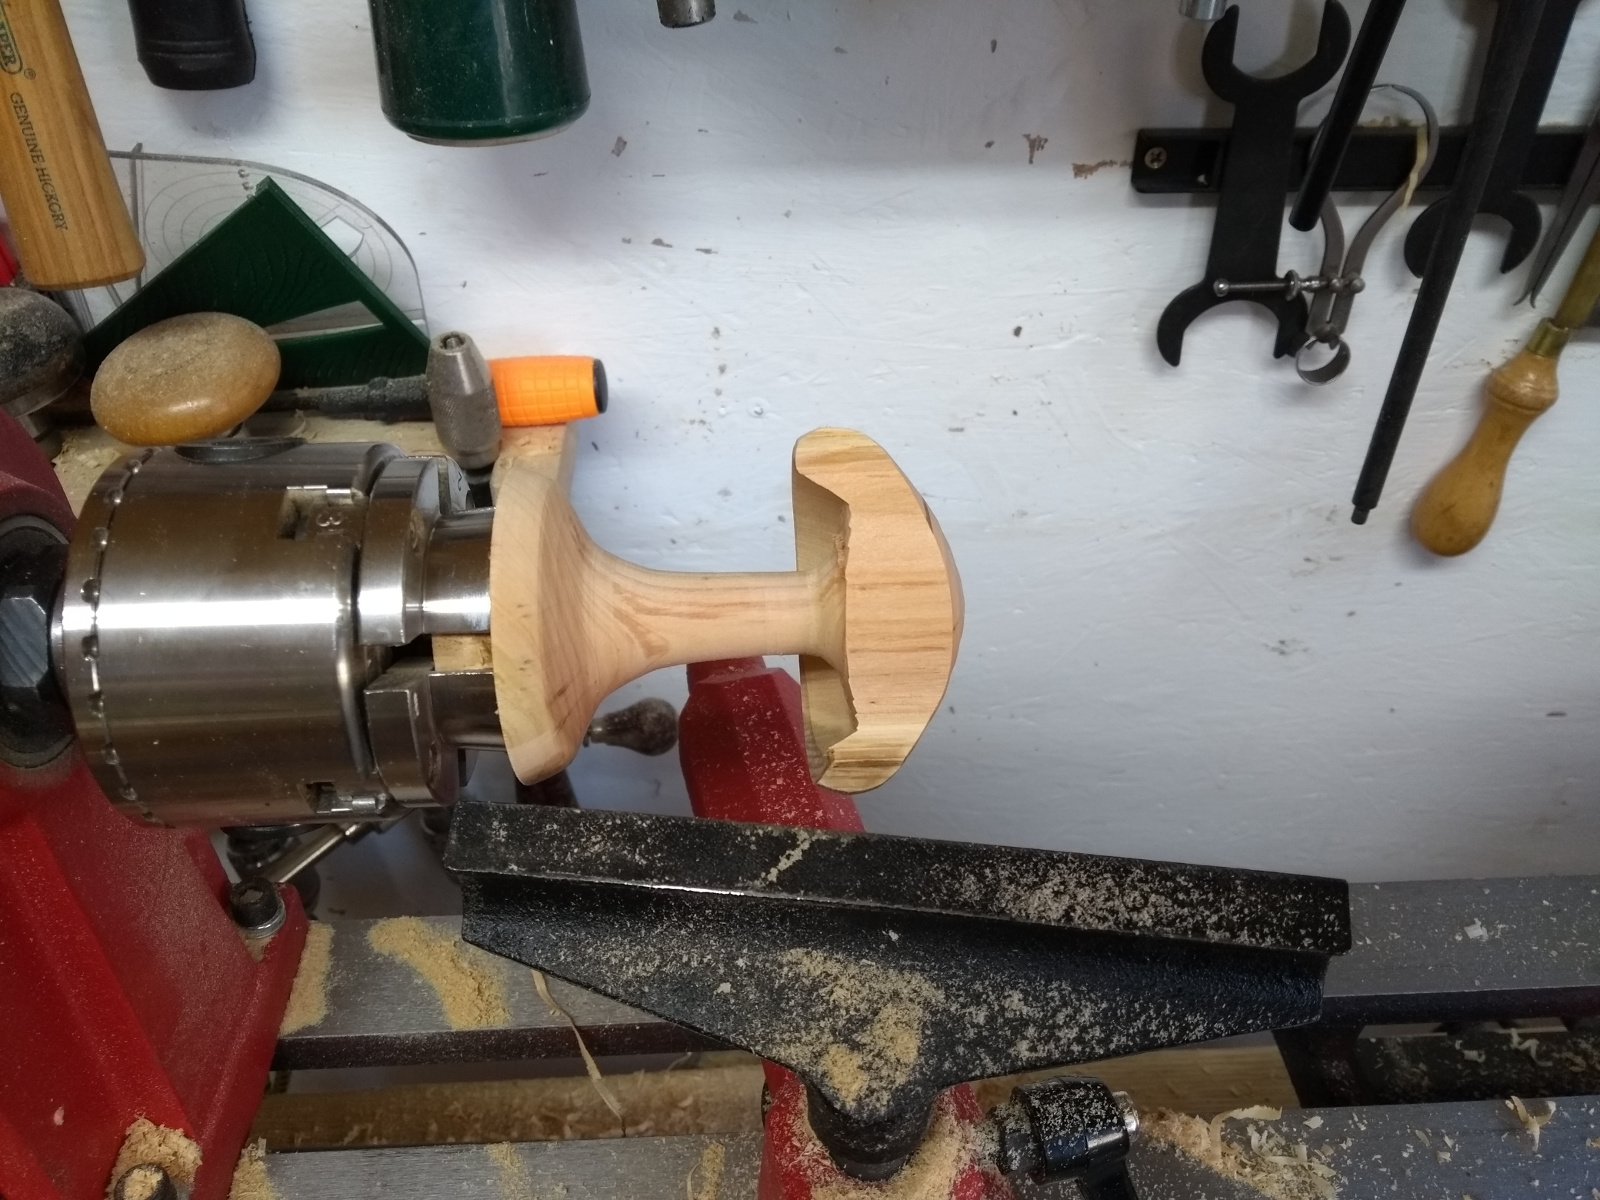
And then on almost the last finishing cut with the spindle or bowl gouge on the underneath of the cap, it caught and half the cap snapped right off, hitting me in the faceshield.

Well, maybe I had more hollowing out to do 😀
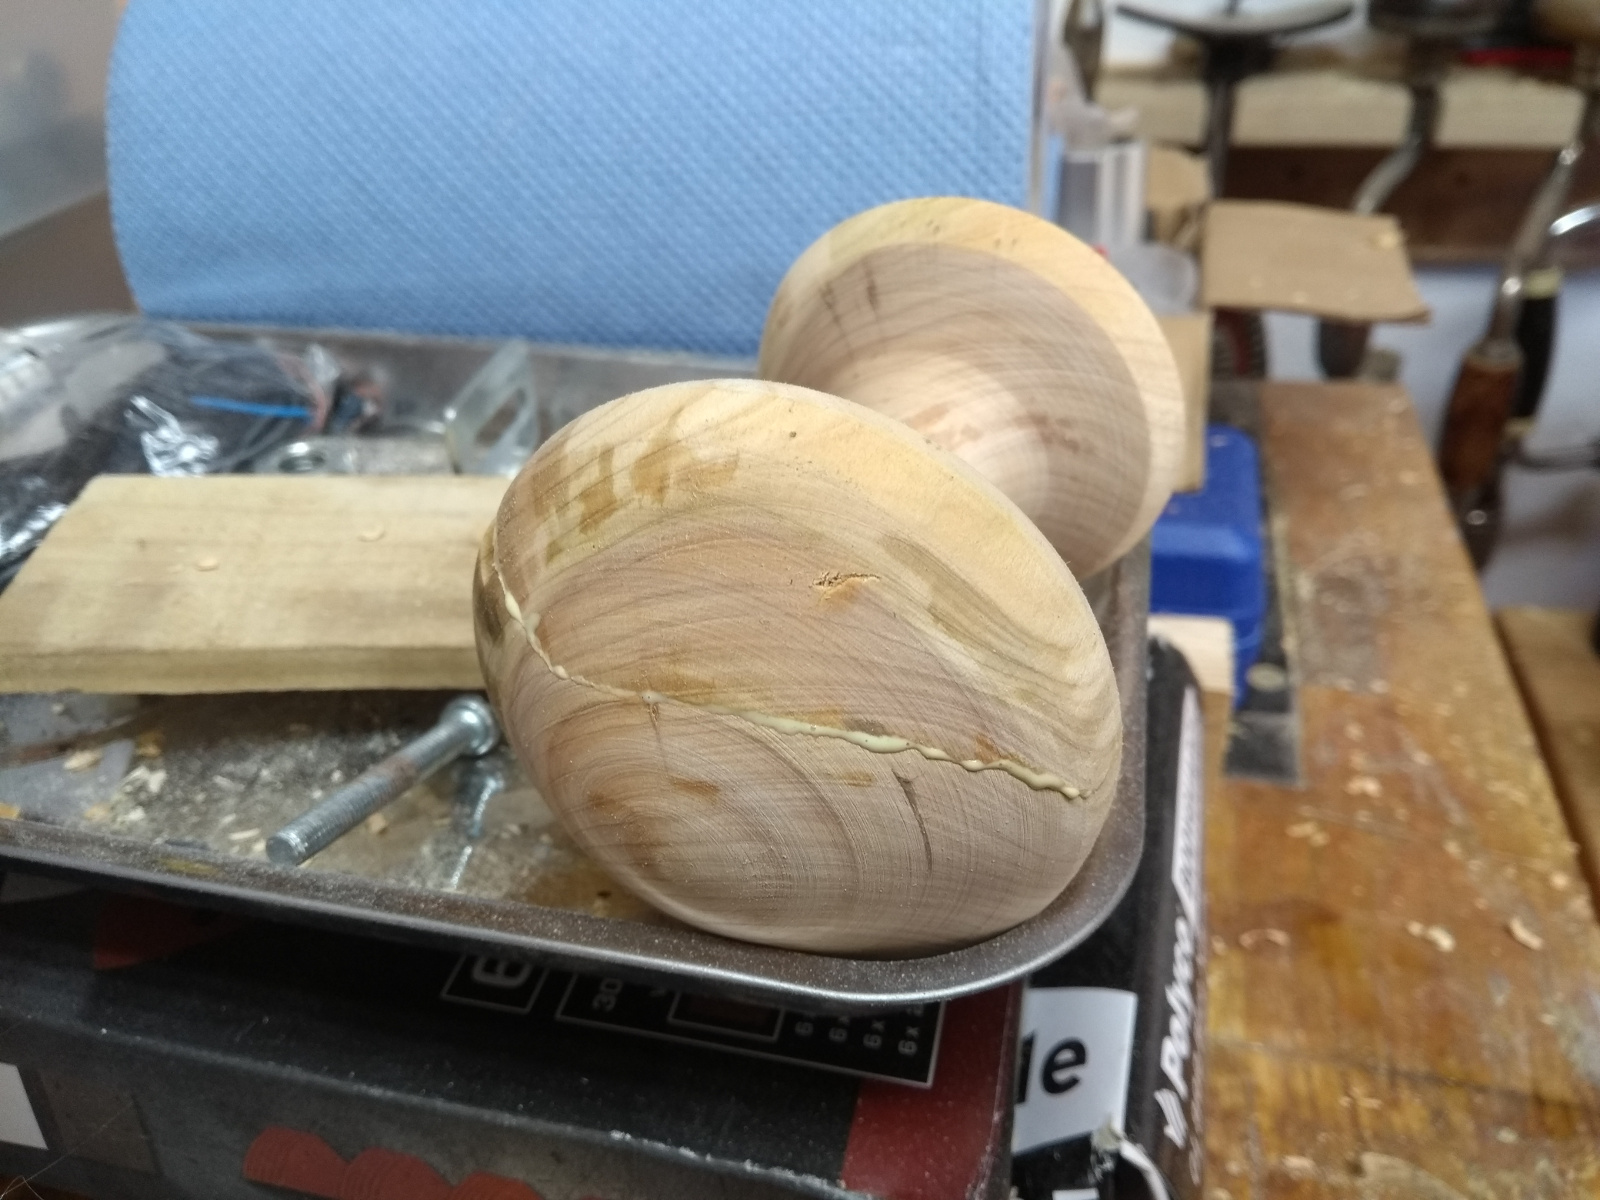
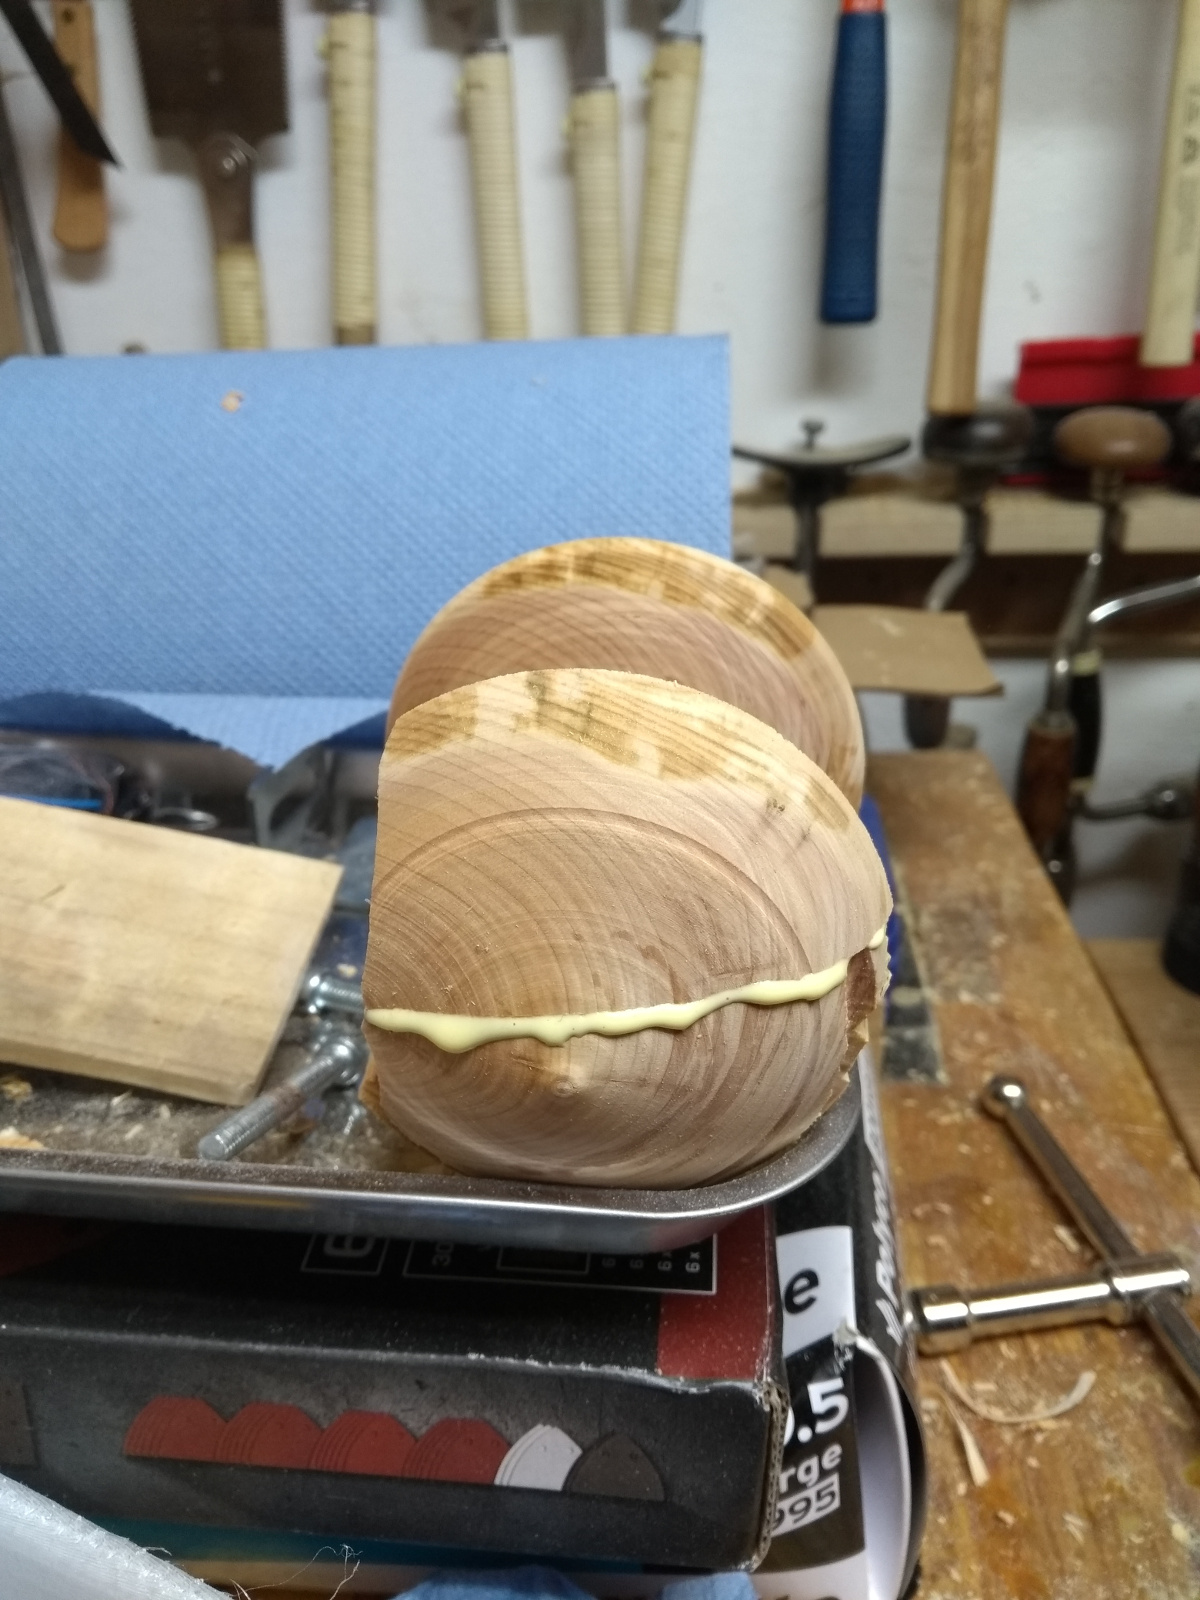
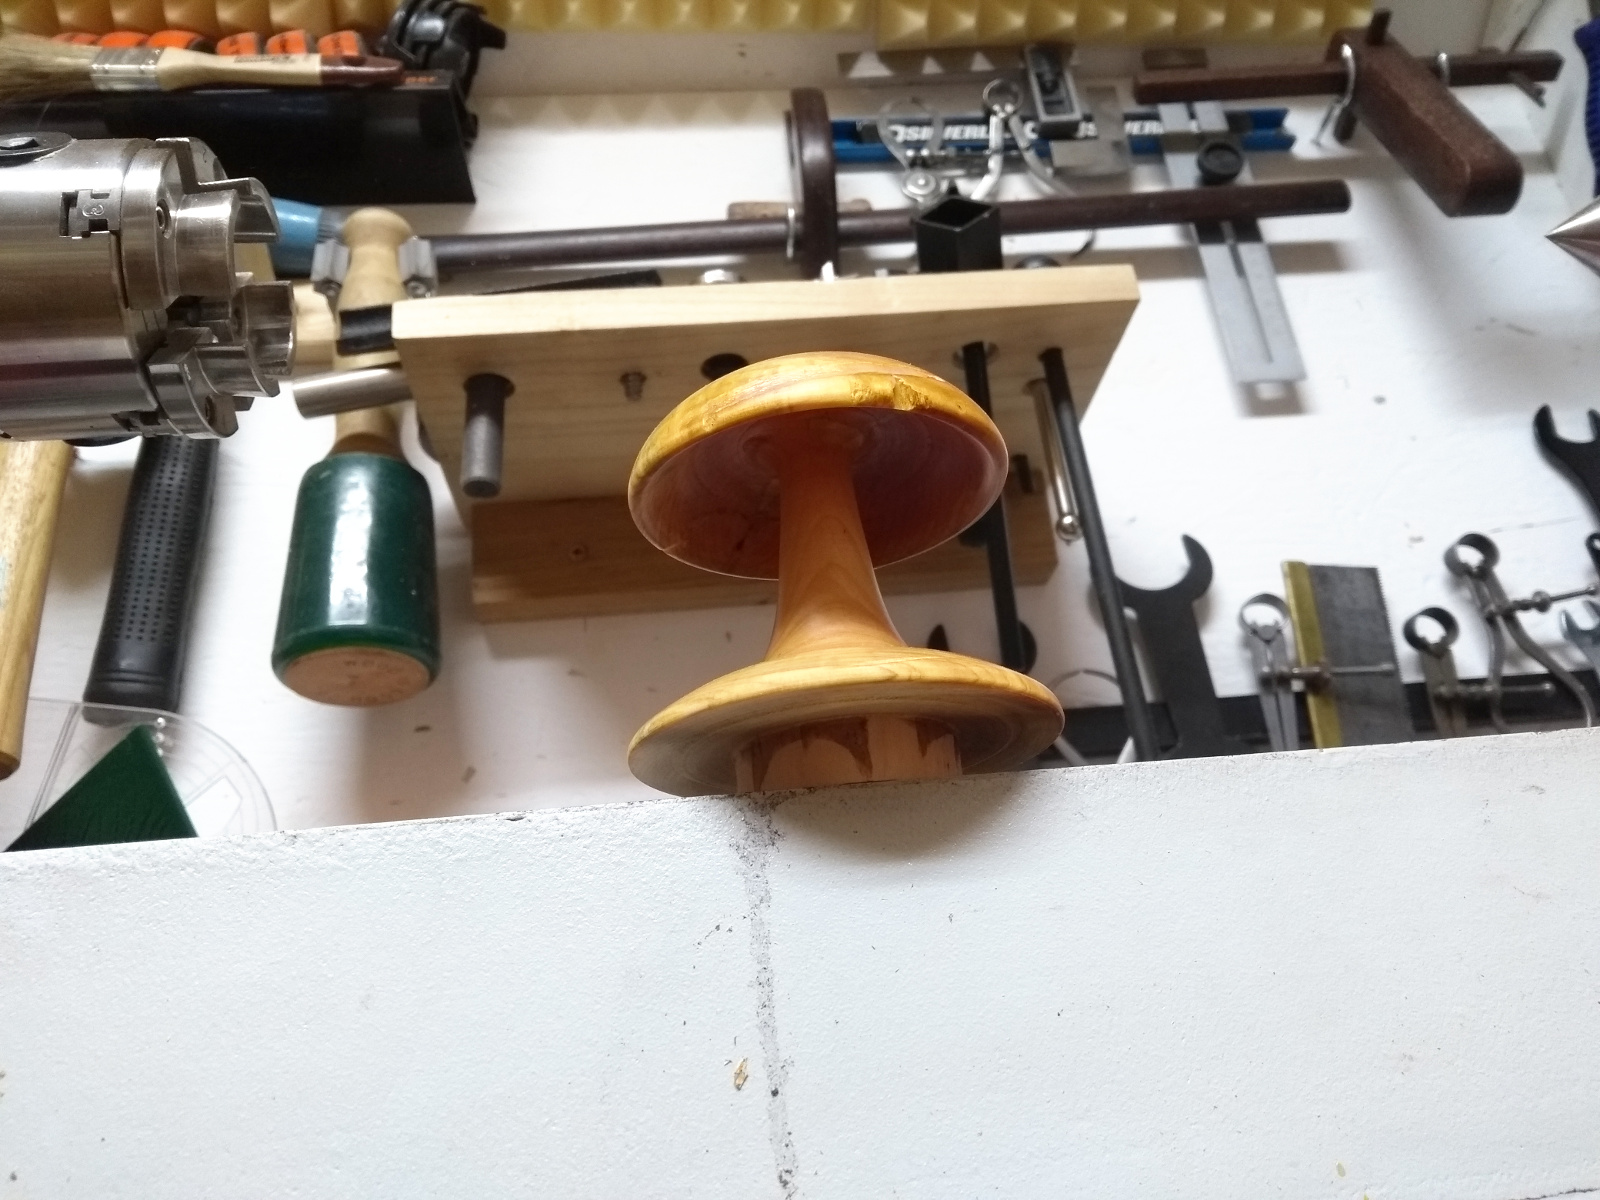
But I figured since these are going outdoors in the woods for the hedgehogs, maybe I can live with a rustic look, so I experimented by using some titebond to glue the pieces back together…

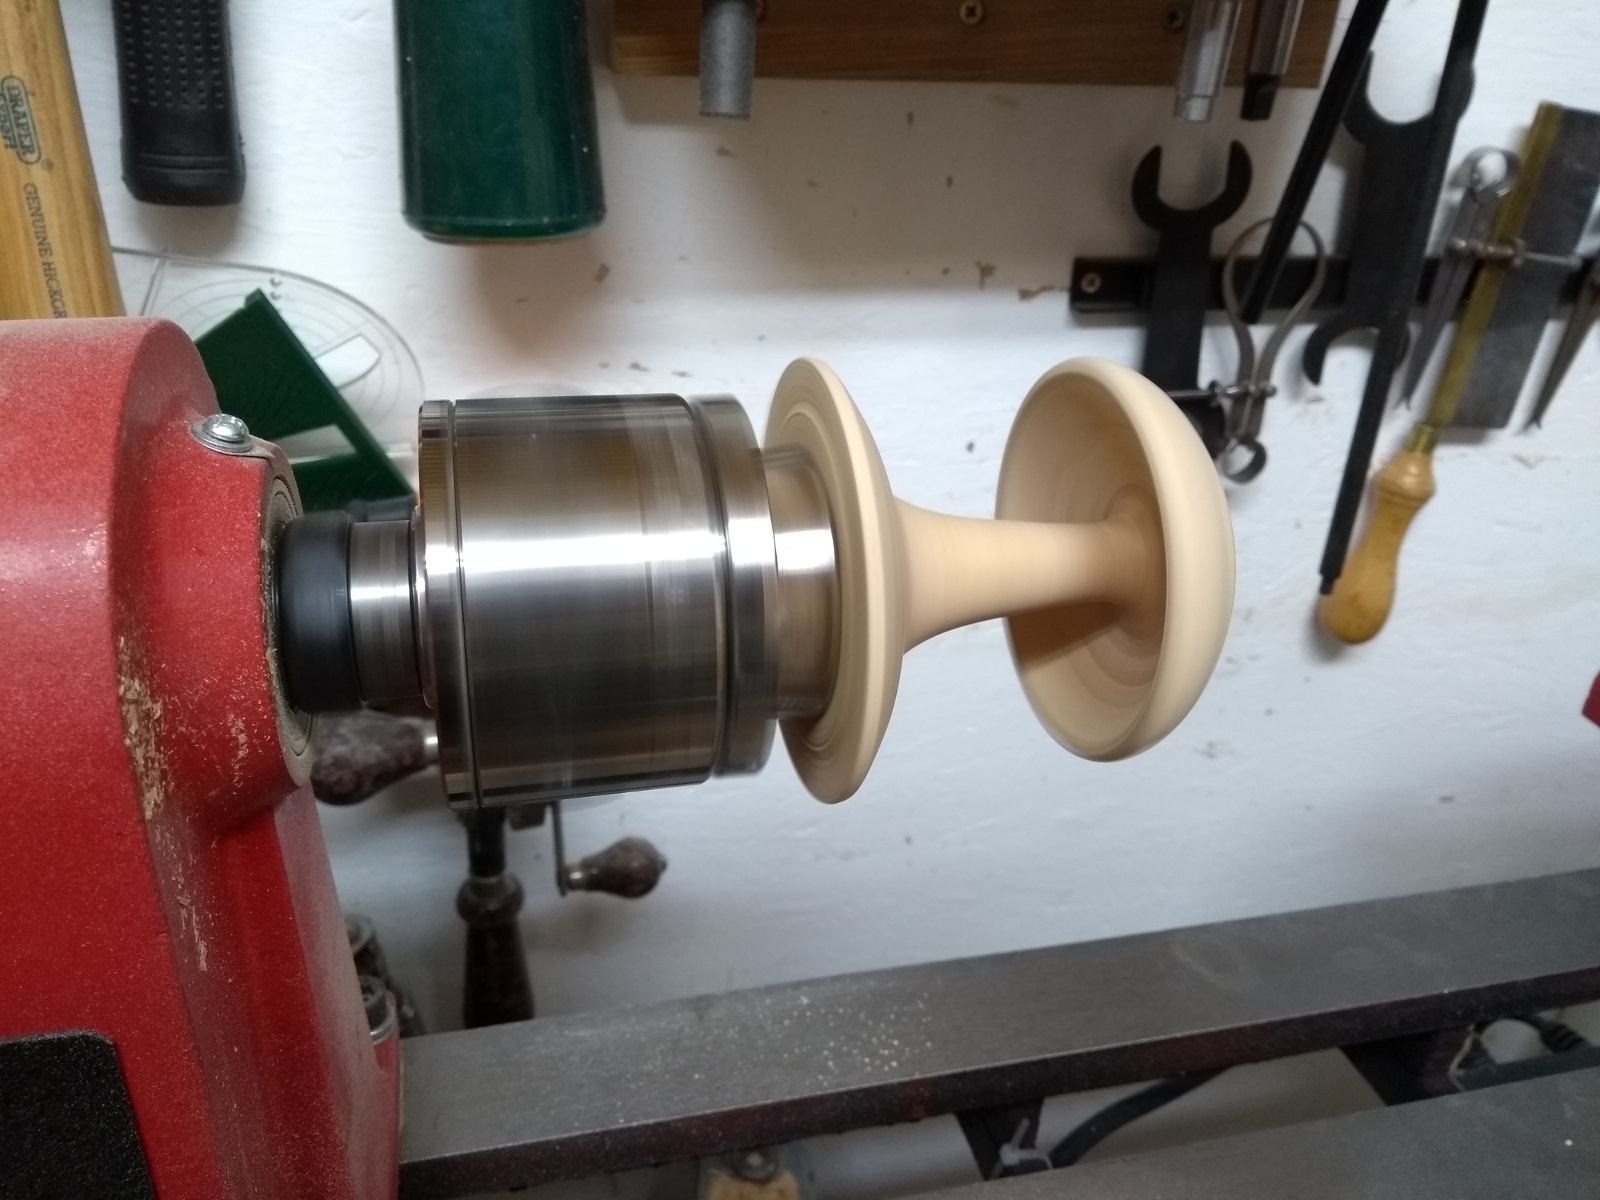
And after a day to let the glue cure (and no, I couldn’t get clamping so these were just rub joints), I put them back on the lathe at the lowest setting just for sanding and finishing.

And they held! I was rather surprised to be honest…
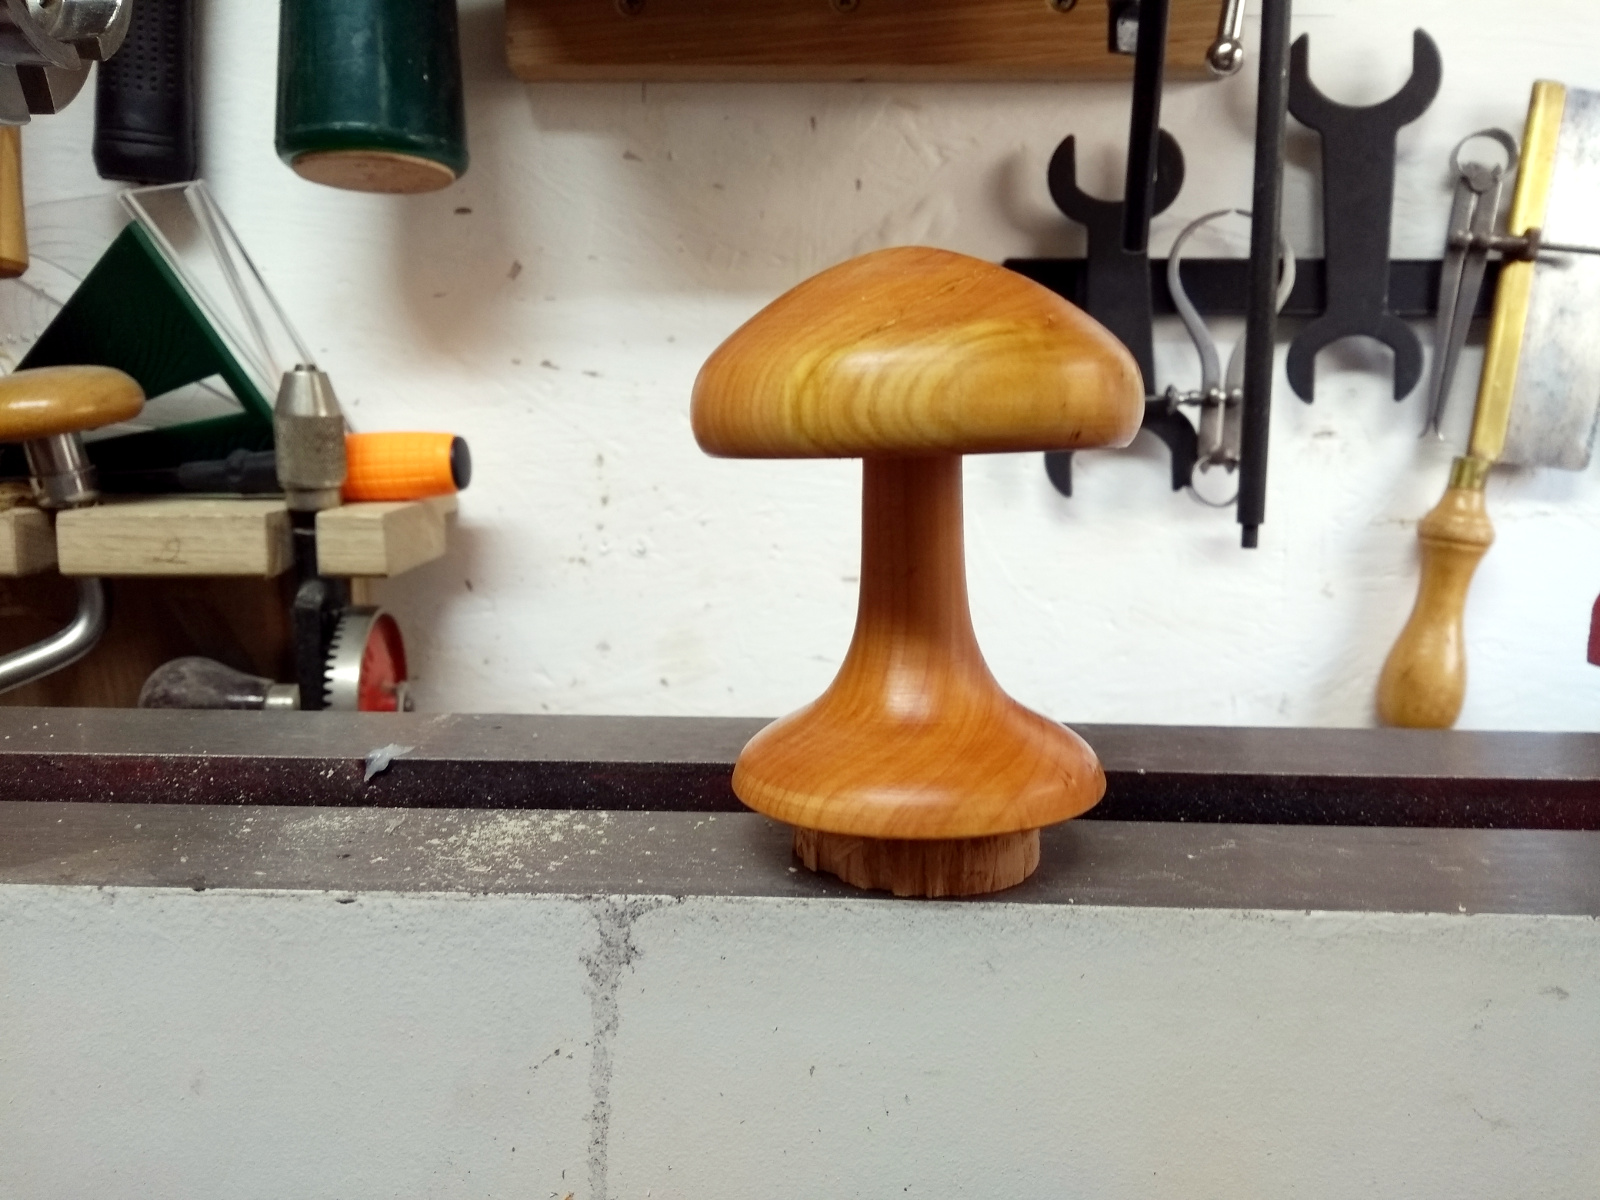
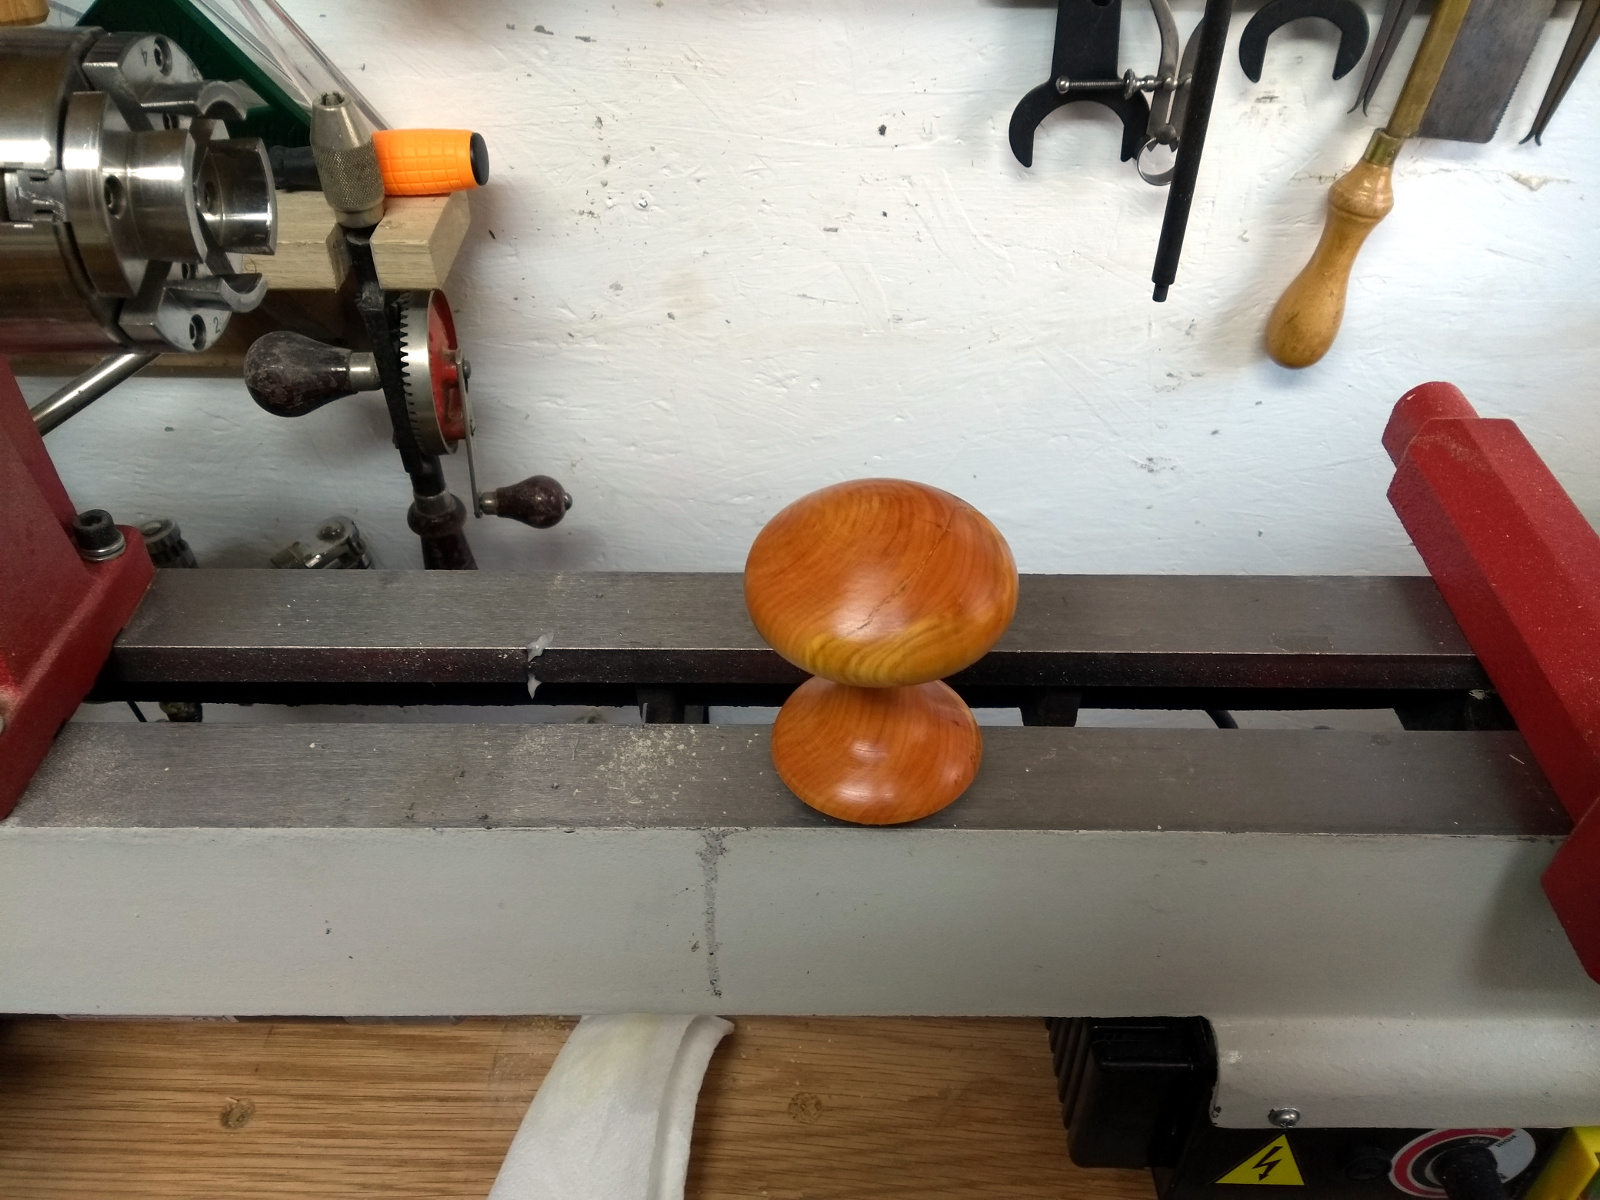
So up the grits from 120 to 320, then a coat of BLO, a topcoat of button shellac and then a polish with some beeswax under a heat gun, and…

So tomorrow I’ll cut off the tenons, drill a short mortice and glue a few inches of dowel into it and we can go plant these up in Fernhill.

...and maybe grab another log. I was thinking if we made a small bowl that it could be a natural birdbath or hedgehog drinking trough…

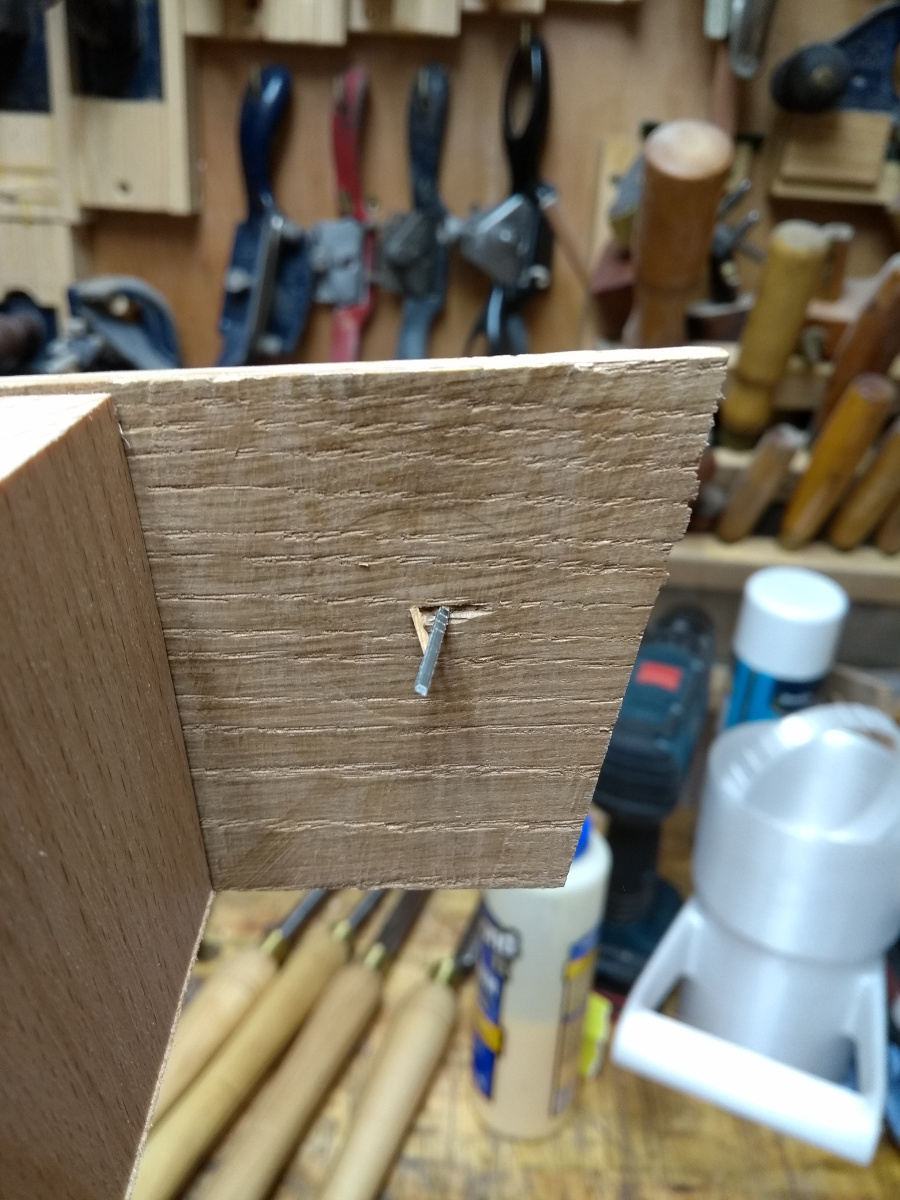
Oh, and my new nailgun arrived in the post as well 🙂 It even fits the air line connectors so I don’t have to go chasing round ebay looking for an adapter.

It works! Remind me never to glue my fingers together with this thing.
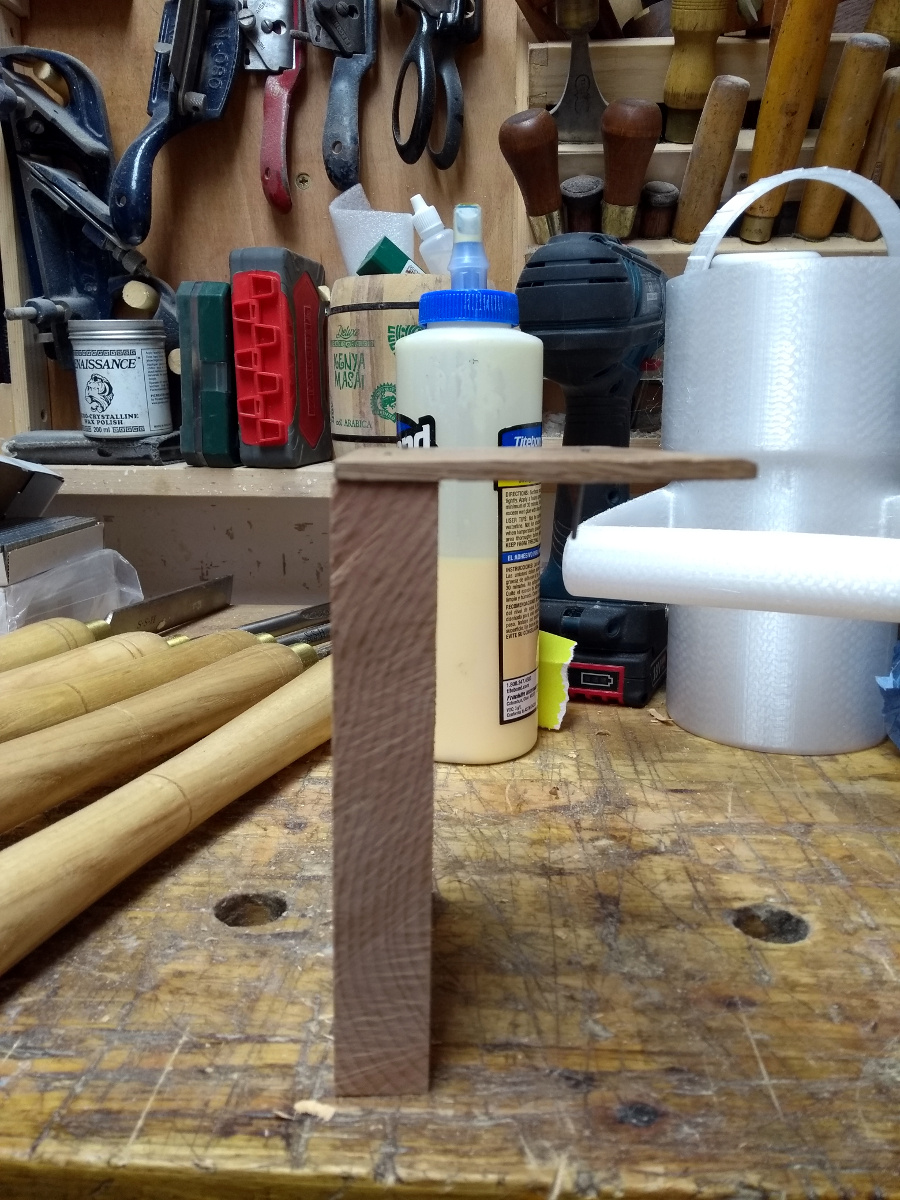
I can’t quite see it being used for much in the way of fine furniture (not that I make much that you could call fine without squinting till you went blind) but I can see it being useful for making quick things like jigs or very small simple things like small boxes for herb plants and the like.

I mean, being able to do a butt joint like that without trying to hold the two boards together and the nail in position and swinging a hammer – that’s kinda neat. And I do need to knock up a quick jig for my woodturning sharpening setup…