I don’t know why I had it in my head that you couldn’t scrape resin and you had to sand it, but I did. And it’s not a great approach. I poured a little extra over the last day’s resin pour to get it proud of the surface, and ran both packing tape and a hot glue dam around the edge to let it get proud without spilling all over the place.
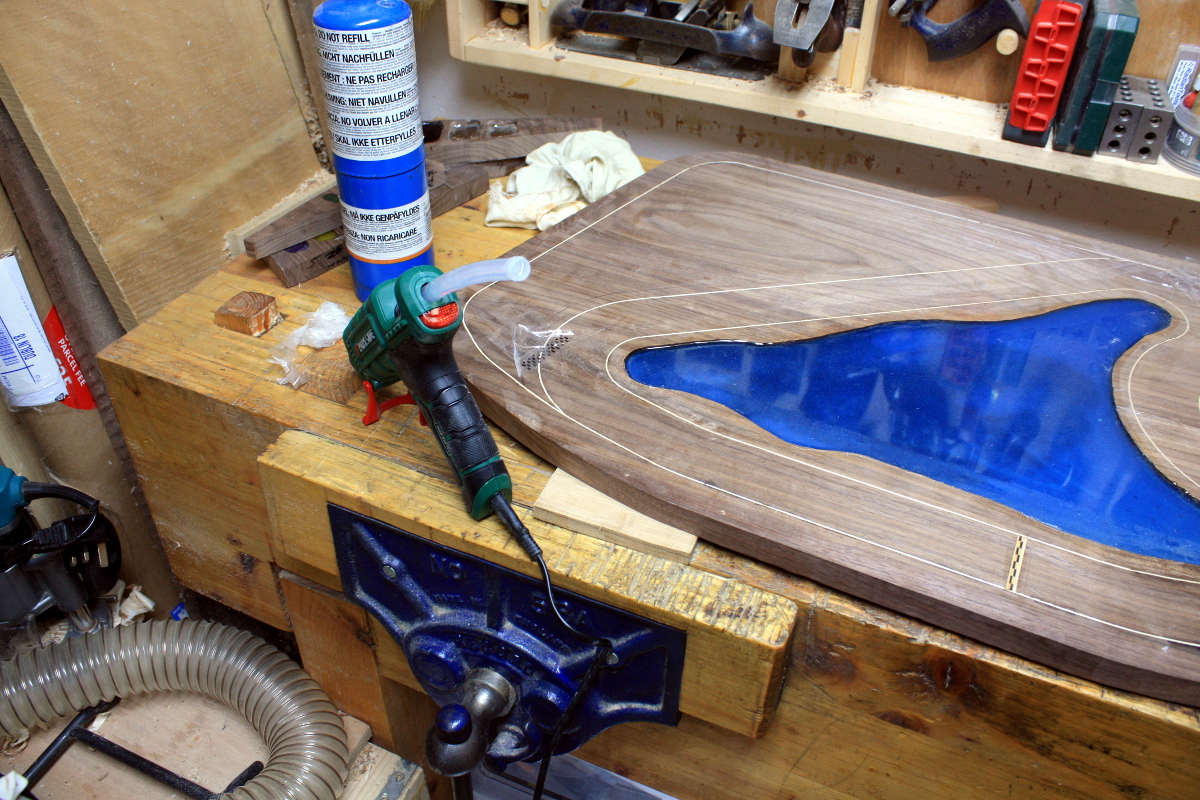
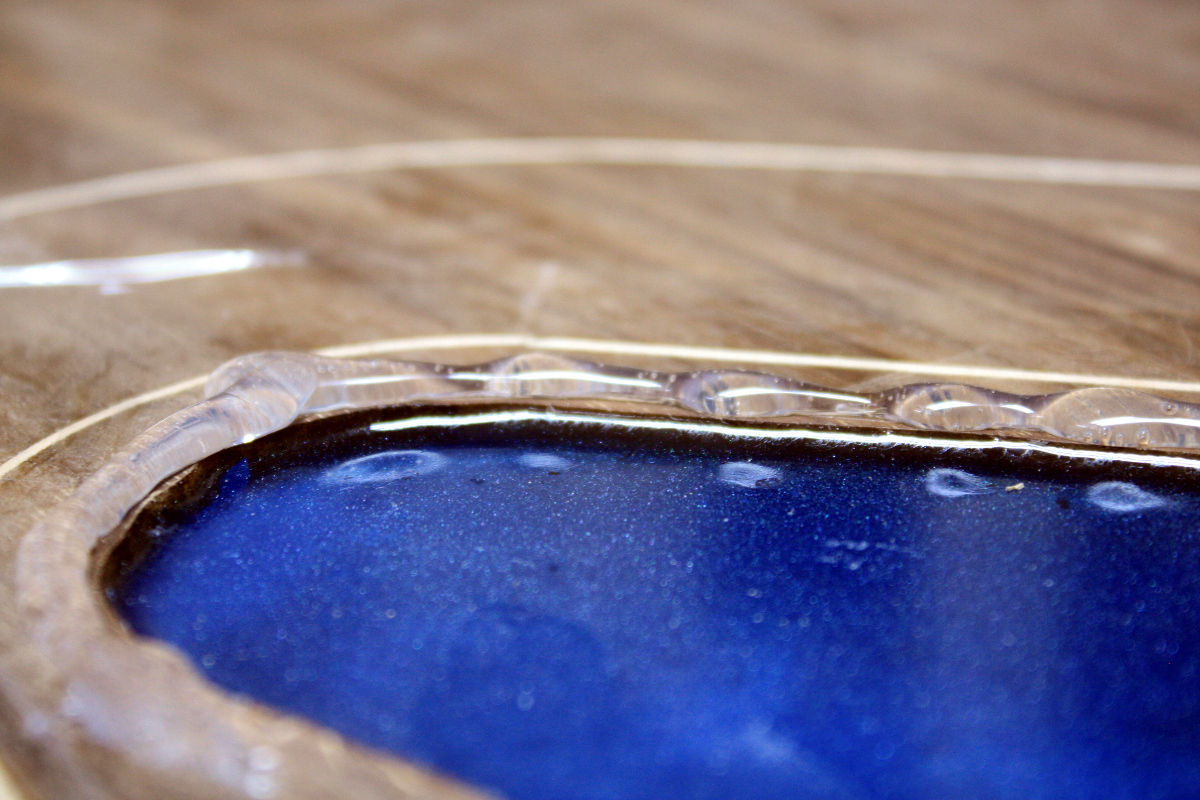
Pour, let it cure, remove hot glue with ease, curse and swear for half an hour or more while removing the packing tape because it doesn’t want to remove cleanly. Scrape with the plastic razor blades to get the last of it up.
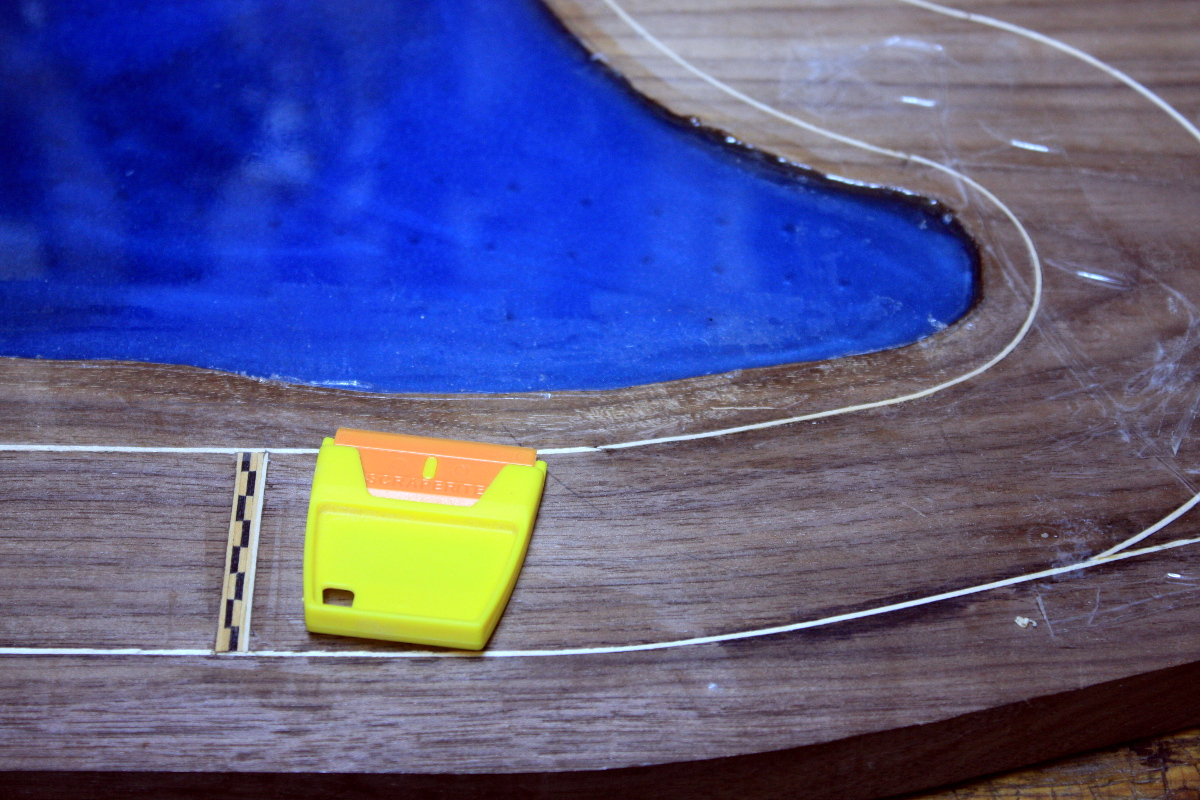
Total pain. Worse yet, you get a perfect surface when you pour it but you know you’ll have to destroy that to get a single flat plane for the tabletop 🙁
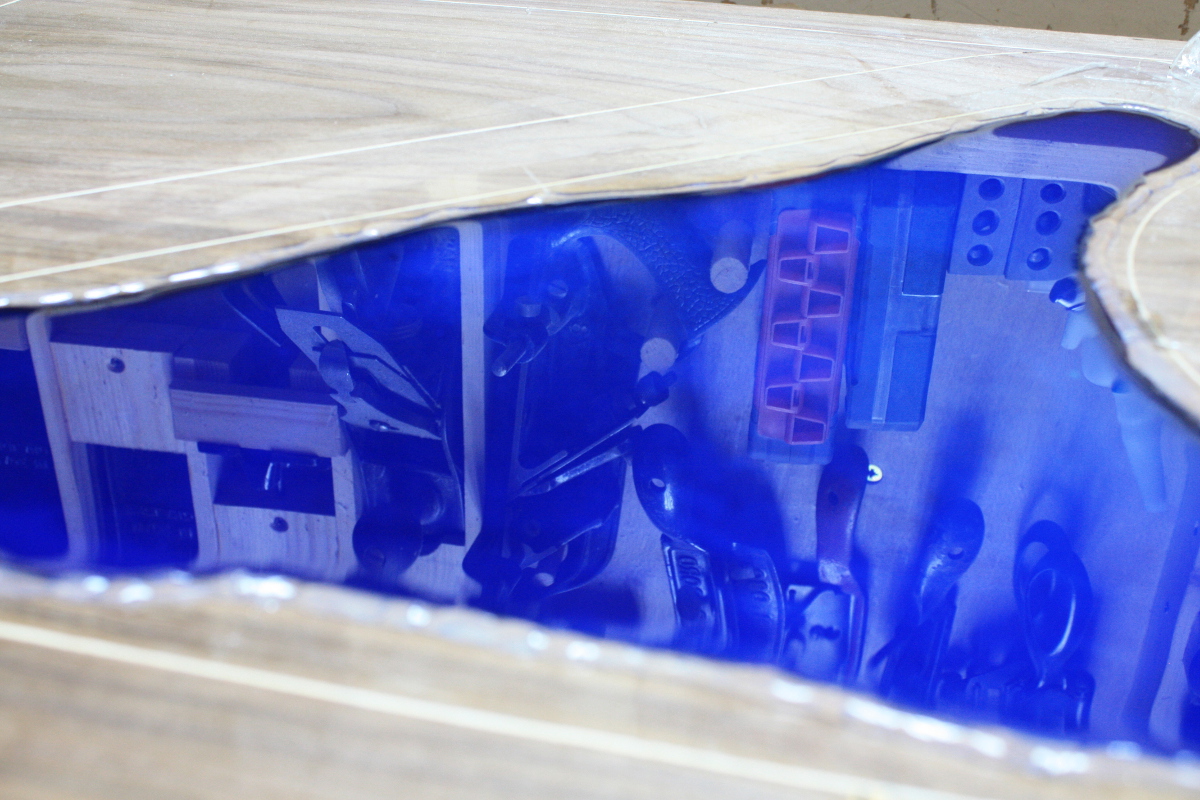
Oh well.
I don’t have many photos of the next step which was to take my new sander and try sanding all of that down to flush with the surface starting at 180 grit and progressing up to 500, 2000 and 2500 wet&dry, which took forever, only to misalign a sheet of paper near the end and not cover the velcro hooks on the bottom of the sander and grinding these small circular paths into the surface that I couldn’t polish out. I resorted to pouring even more resin to fill them in, and then trying to sand that back down again and finally just losing patience completely and taking a card scraper and a #080 to the thing.
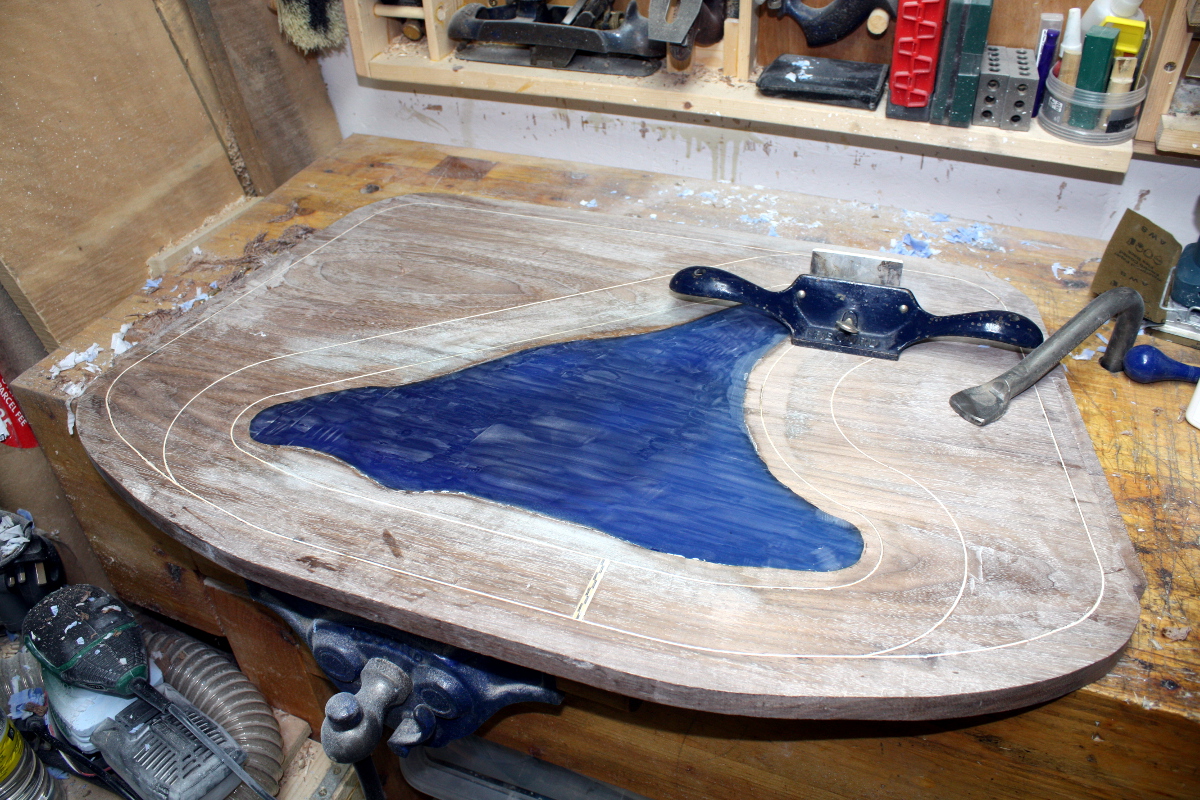
I don’t know why I didn’t do the scraper first. It was far more effective than sanding. I mean, I still have to sand after scraping because that surface isn’t great, but the problem with sanding is that resin dust is white. That’s why the walnut looks like someone spilled talc over it there. I tried flushing it out with white spirits, pulling it out with tack cloths, nothing worked. Rather depressing. What I’m hoping is that the finish will “wet” the dust and keep it that way. When it’s wet from white spirits, it looks fine.
So while I’m going to put a poly surface on as the final coat, I grabbed some danish oil and thinned it with white spirits and hopefully that will penetrate down into the pores and cover up the mess.
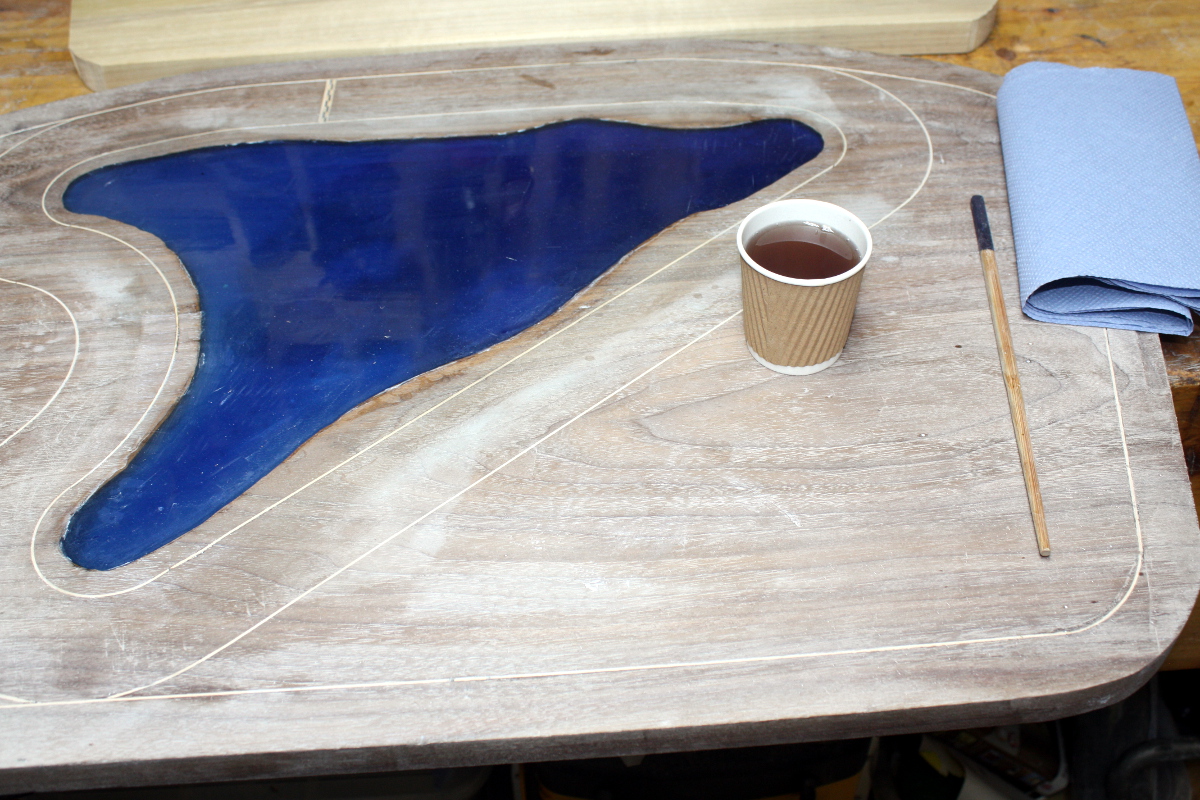
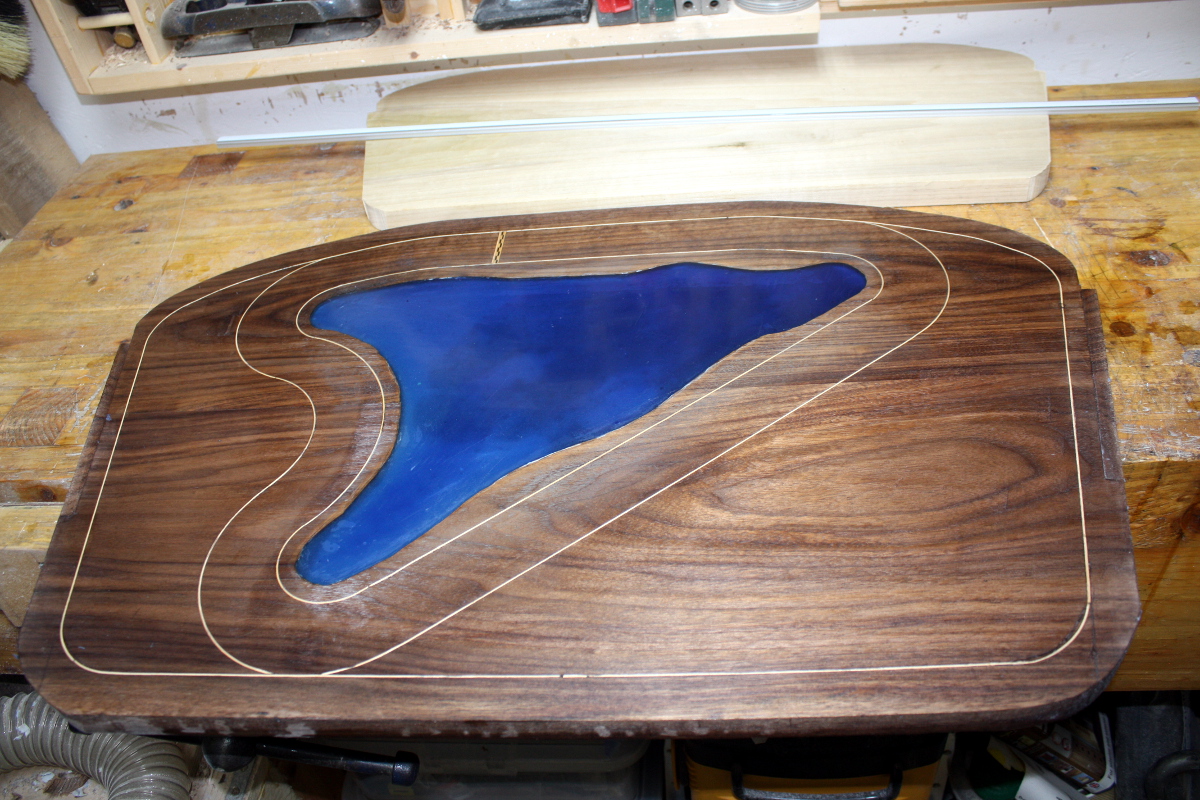
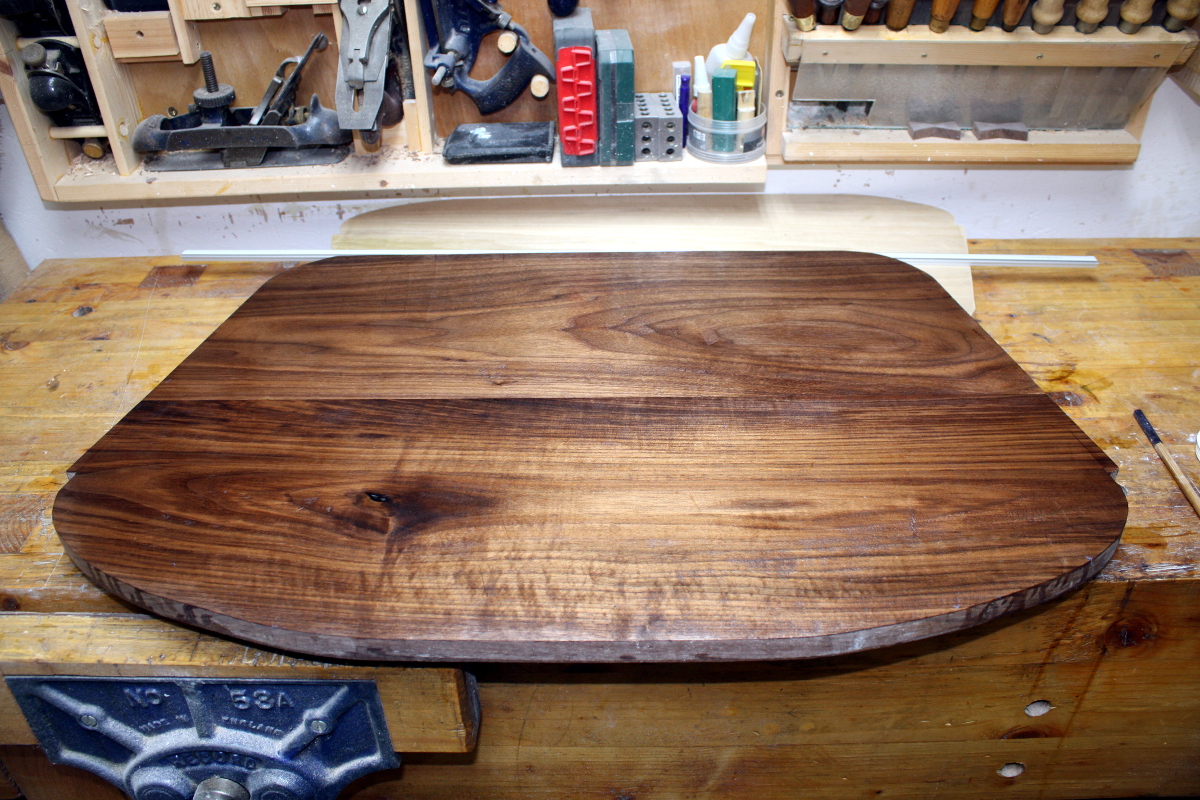
Not bad. It cured slightly lighter, so I put another coat on it but it looks pretty okay. I mean, I’m not done with this yet, I need to either sand or scrape the entire top again to clear up some small defects and I still haven’t shaped the edges – those sharp edges can’t stay, they’re only there so I could manage it better while doing joinery and inlay and so on. But that’ll be one of the last steps. I’m done with this board for now, I’ll put a towel on it to protect it and set it aside.
The next job is going to be routing the next shelf up so I can have an LED light recessed into the underneath of it to light the desk. I’ll have to order an extra-long drill bit to get the cable to the recess from the rear, and then I can use the router to chase the cable through the back of the shelf and the uprights so there aren’t any dangling cables.

And I’ll think about putting some inlay on those boards and the sides as well. And I’ll have to take the sharp edges off too. And then I can assemble and finish.

Mark,
Pretty impressive. Will be looking for the finished photos. I expect you may as well :-).
ken
Nice depth variation effect.
Sylvain
Oh yes! 😀