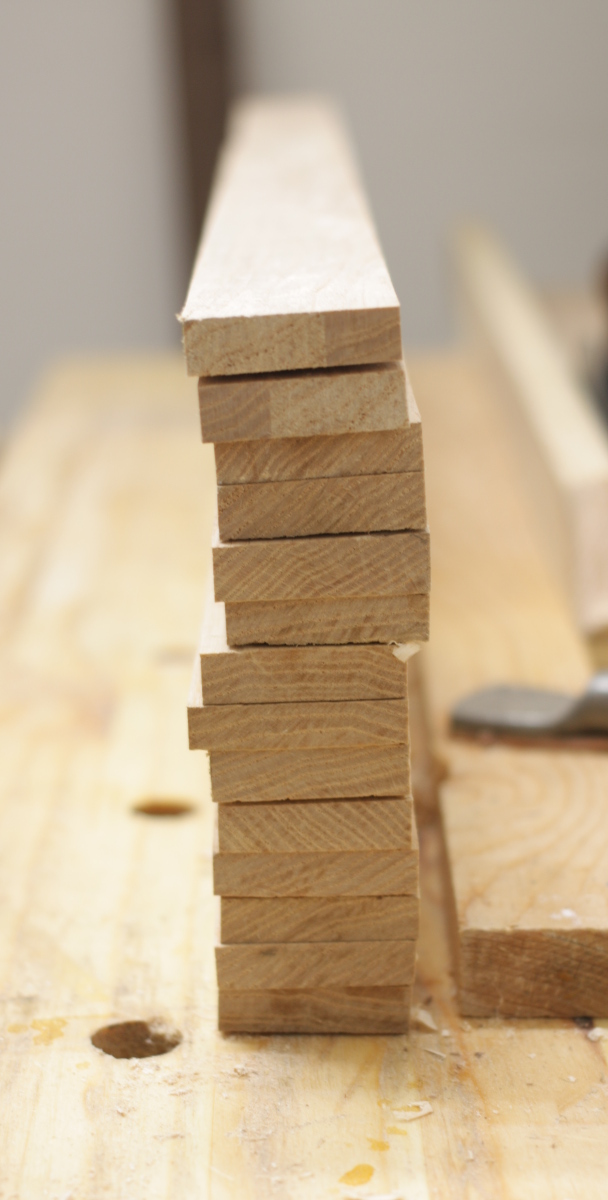
Four more slats planed to thickness and squared off today. Counting that first experimental slat, that’s fifteen in total so far. One will need to be revisited though, it’s too wide by quite a margin. Measuring all of them, they’re all between 10.5 and 11.5 mm thick, bar one (and there’s always one) that’s just hair under that; and they’re averaging 42mm wide, with a few a hair under and a few a hair over, bar one which is 40mm wide and another which is 45mm wide. That one is getting a few more swipes with the plane to narrow it up to 42mm, and once that’s done, I’ll have a standard deviation of 0.87, which for hand tool work from a newbie is acceptable. These are all going to need finish planing, which won’t affect the thickness too much. At 11mm thick on average, they’re basically a sixteenth over the original finished thickness goal of ⅜” — but then that goal was a loose one at best anyway, chosen by picking out an offcut I had and going “that looks like the right thickness” and then using that as the template in the thicknessing jig. Five more to go, and that’ll be the slats ready for joinery.
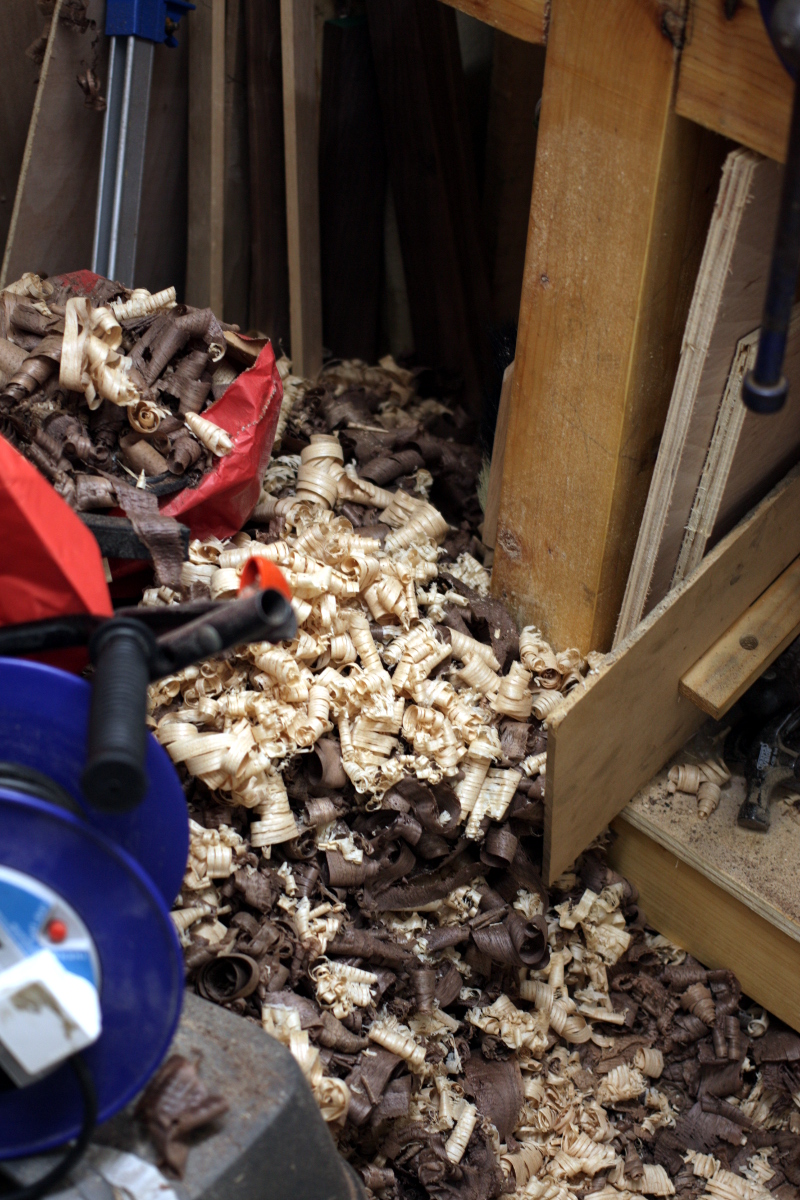
The shavings are getting a bit out of hand at this stage though. But not to worry, I have a plan. I just need to find one last component (a barrel or large bucket in the 30L range or therebouts) and I can put that plan into motion. More on that later.
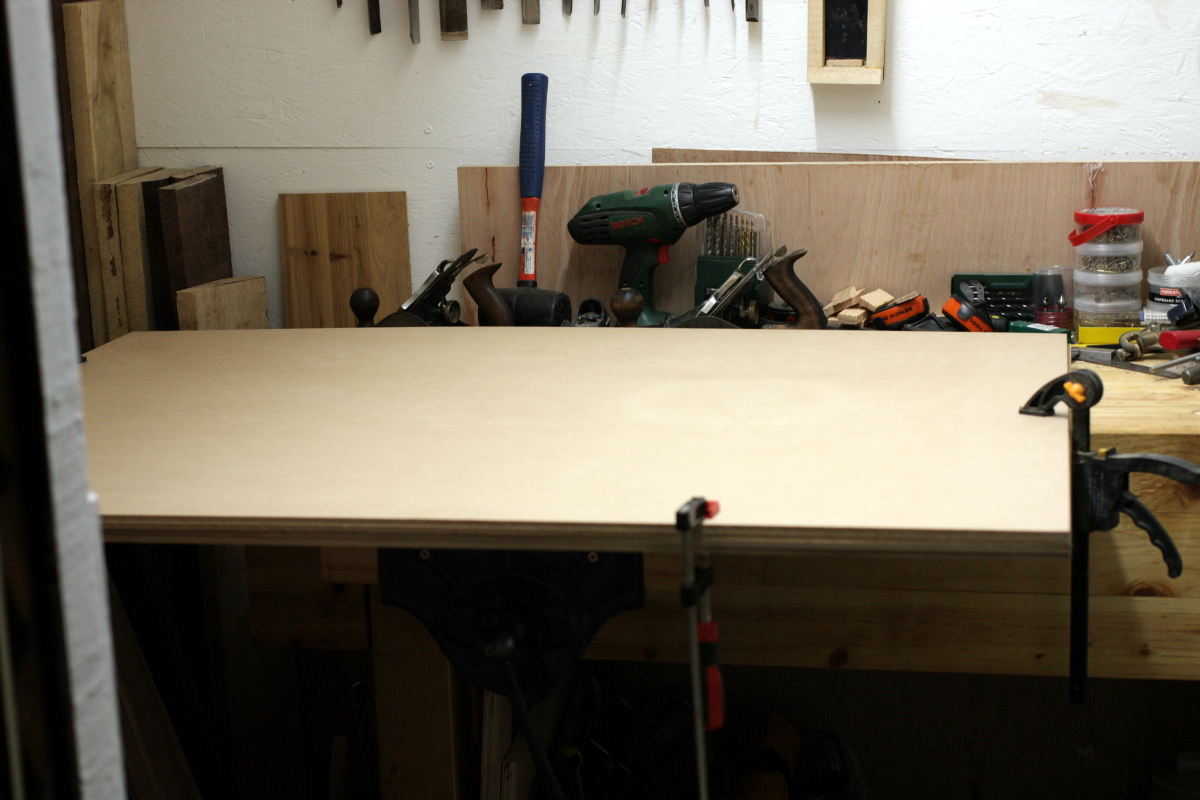
Last thing for the evening. I’ve had several sheets of 4mm MDF sitting in the house for another project (basically, the one that put me on this road, building a hideaway for Junior inspired by this), but a little while afterwards I learnt just how nasty MDF is, so the idea of Junior sitting in a box of the stuff breathing it in is now not quite so pleasant. The hideaway can get made from something else instead (plywood probably) and that means the MDF is available for pretty much anything else because I don’t want to use it in anything we’ll keep around, so it’s now disposable material. An expensive mistake, but sod it, new lungs would have been more expensive.
Brief hint for anyone looking to start off in woodworking by using MDF — don’t. You can’t cut the stuff without making dust (well, it’s not even dust, it’s technically stuff called fines, which is even worse), even if using hand tools; the dust is part wood (which does your lungs no good) and part urea-based glue (which does your lungs no good whatsoever). You have to have specially rated filters on your respirator (don’t just use any old paper dust masks or even just standard filters on a proper respirator, the fines go straight through them). It doesn’t take finish fantastically, if you get it wet at all it swells up and is ruined, and you pretty much have to seal it and paint it no matter what you build. It’s quite weak compared to other sheet materials like OSB or plywood. About the only positives to it are that it’s cheap (though in the US plywood’s cheaper, here plywood is far more expensive than MDF), and that it’s almost always almost perfectly flat. Except for certain things, it’s more trouble than it’s worth.
I’ve used one sheet as an assembly&glue-up table surface for building the bench and I did have a plan to build a knock-down assembly table and I’d surface that with MDF as well. As surfaces that aren’t load-bearing normal to the surface, MDF is actually quite good and useful. These four sheets have been glued together to form a base for a jig for the most complicated and worrying bit of the cot build. I’ve some more work to do for that jig over the next few days, and hopefully I can get a test run this weekend on a test bit of wood. More on that then…
Tags: crib, Woodworking


I found when I did my slats that I wanted them done coming out of the planing jigs. Finish planing them out of the jig could leave you with slats too thin or tapered, or other surprises. I had minor differences too but I had planned on fitting each one to it’s mating mortise.
BTW, I had to look up what ‘sod it’ meant but don’t quite understand it’s use with the MDF.
The thickness is something I’m watching Ralph, but I’m cutting tenons in at the ends rather than using the ends as-is, just to try to avoid messing up the mortices where they can be seen (I don’t have a morticer, it’s a clamped-on guide and a three-eighths mortice chisel and taking my time). That’ll give me a millimeter or so of fudge factor just in case.
And “sod it” in this context just means “oh well”.