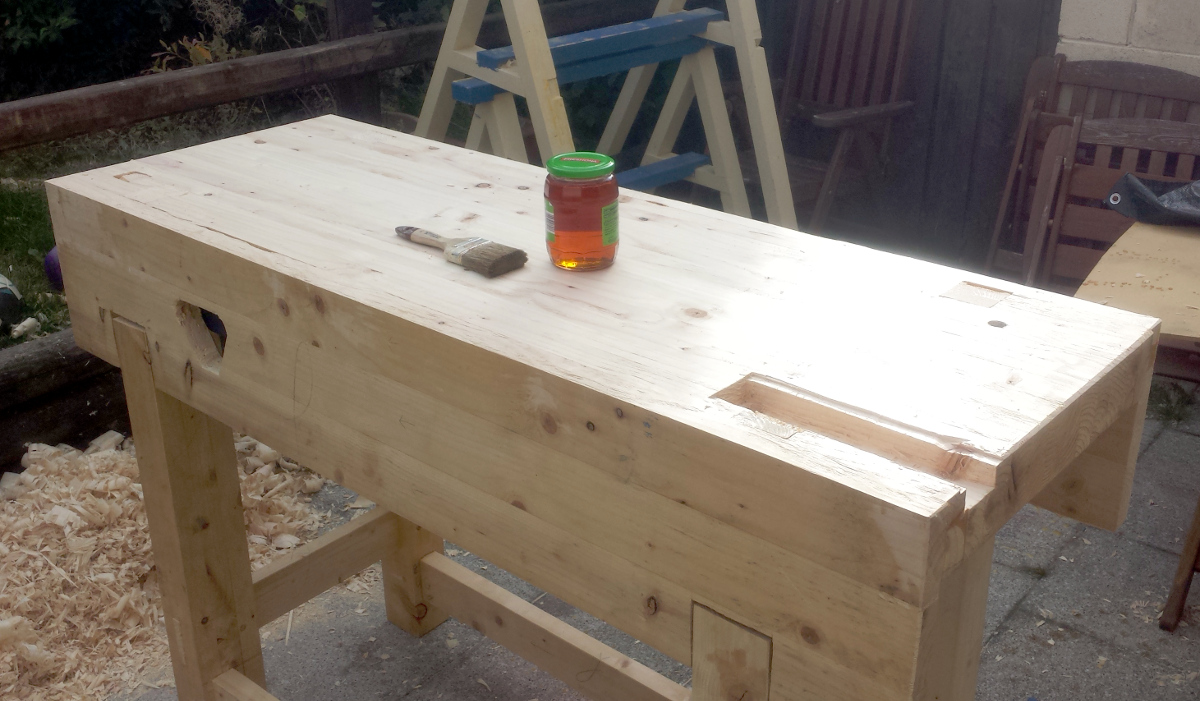
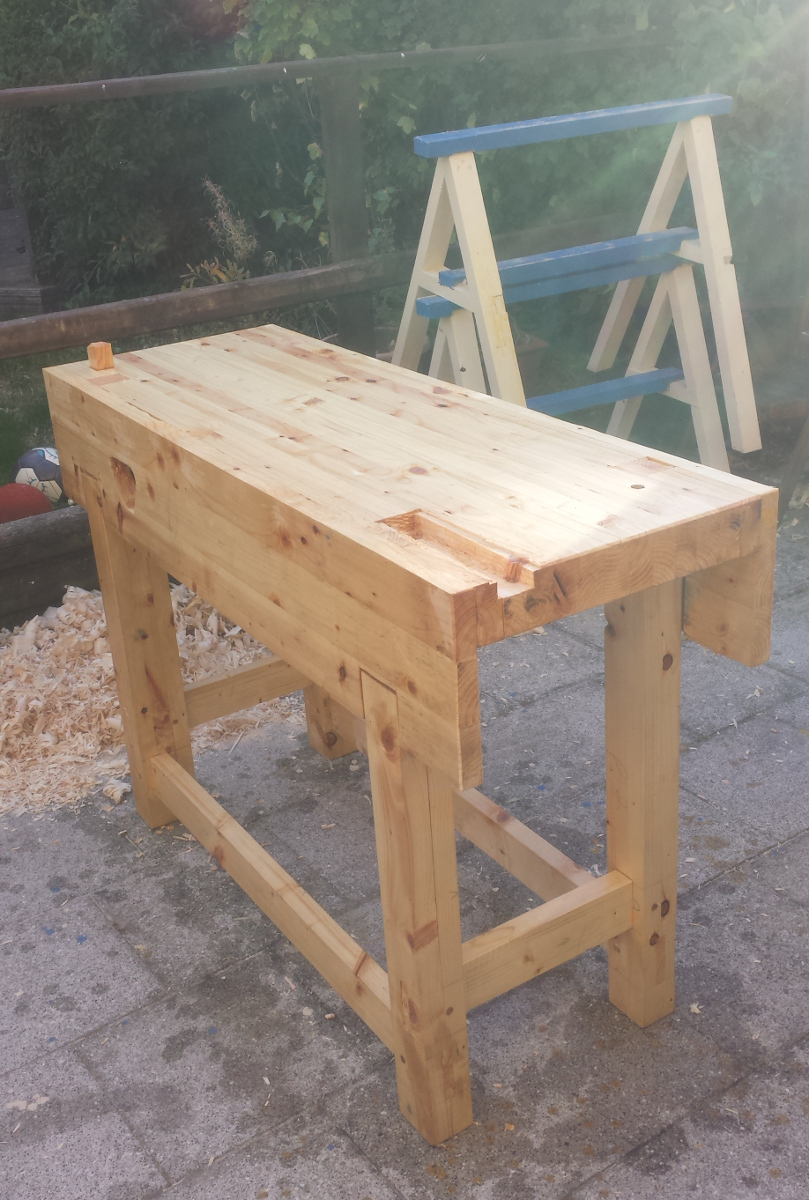
Nice dry day today, and only had to work for an hour, so it’s benchtime again!
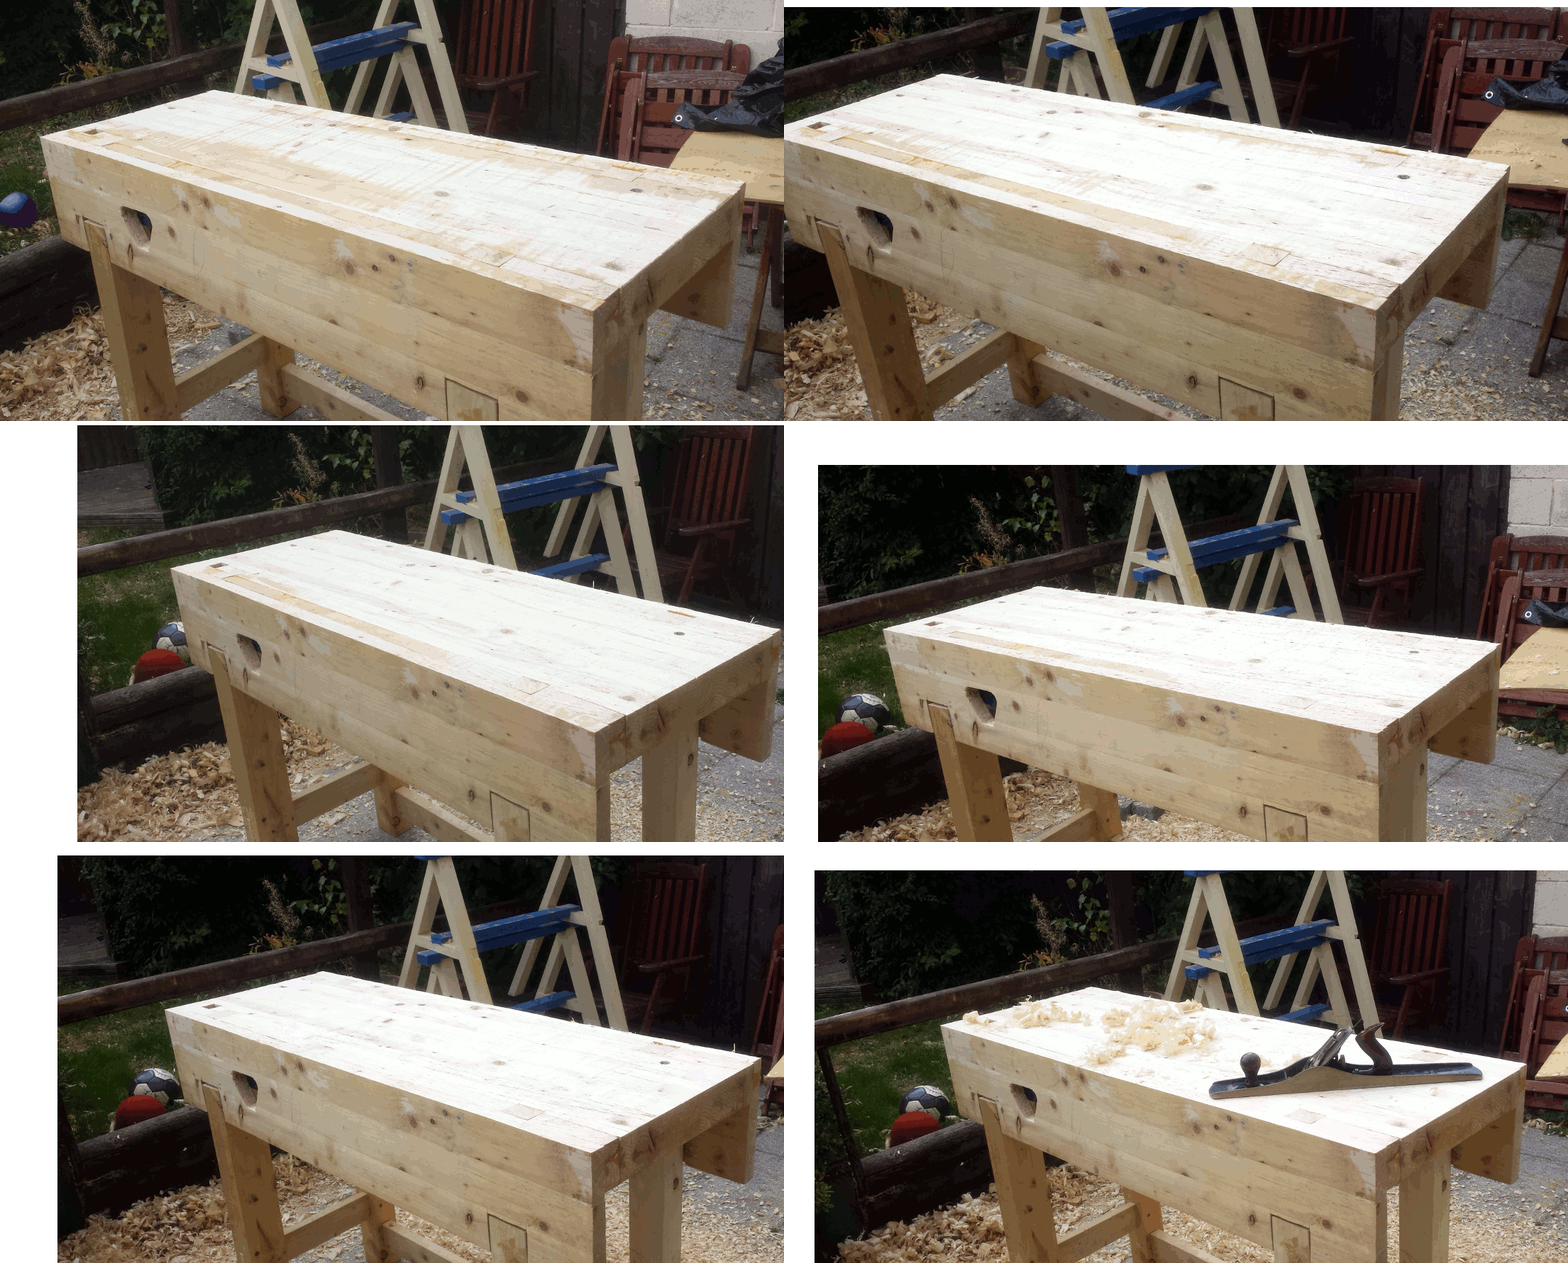
You might have noticed that the benchtop’s lamination didn’t go as smoothly as it could have and the surface was a tad irregular as a result:
And indeed, you’d be right. I was not expecting a fun time flattening that out. And I was not wrong.
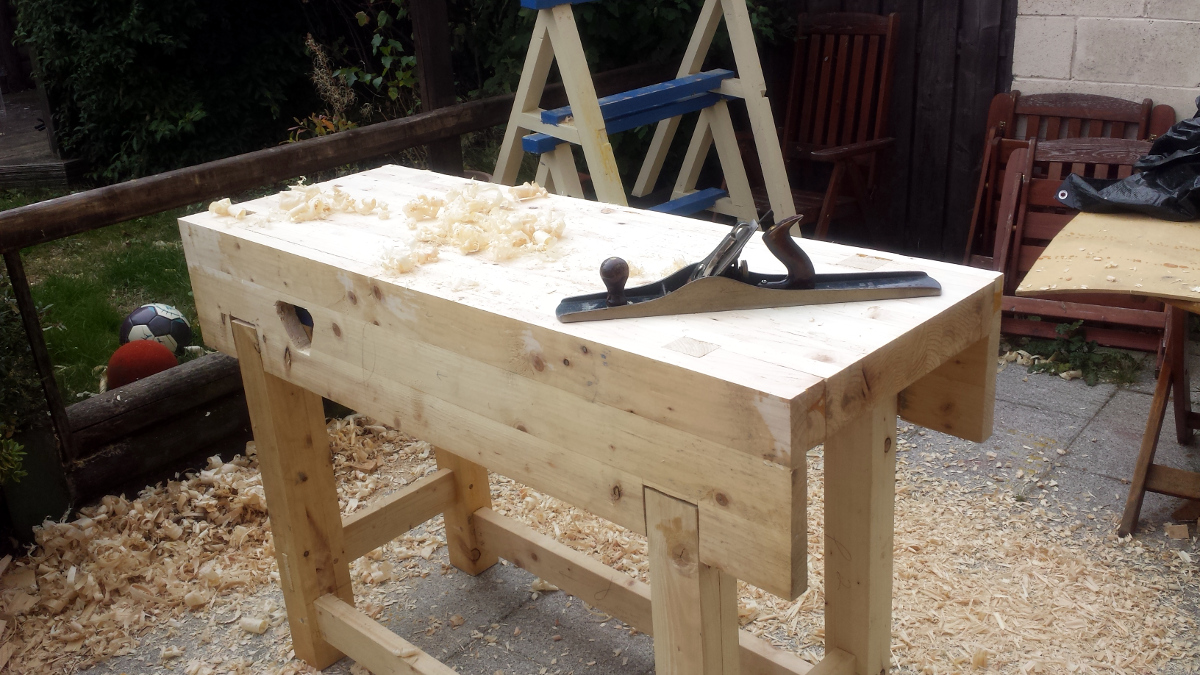
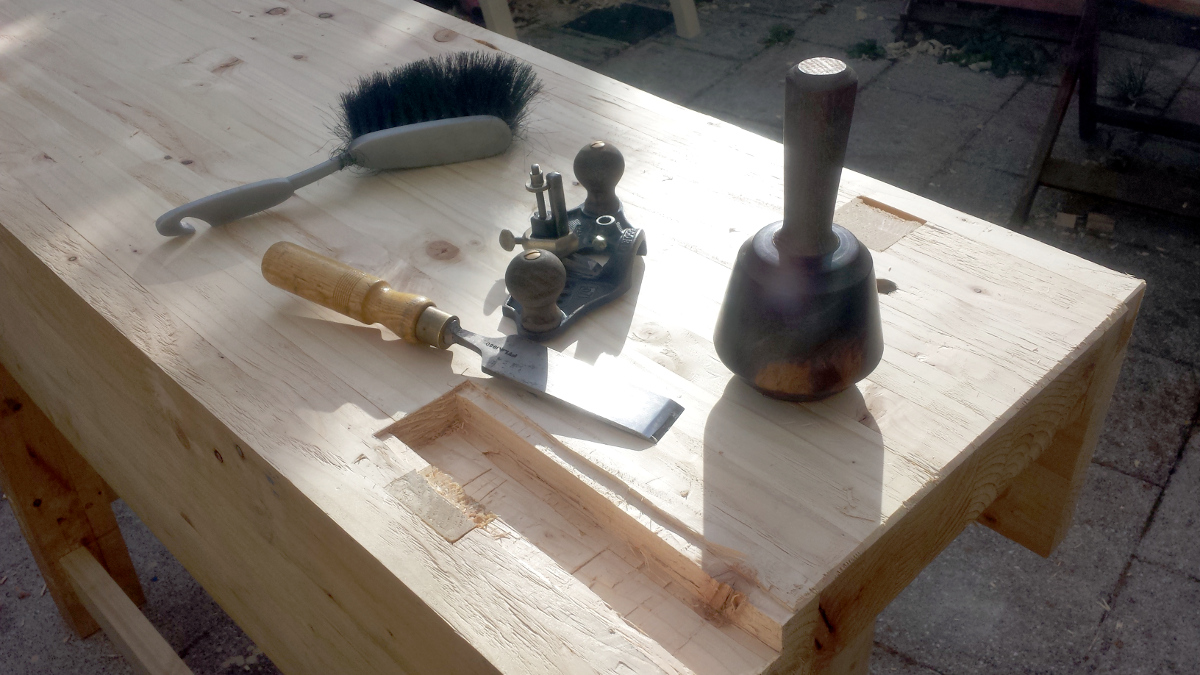
Started off by sharpening up the scrub plane’s iron, and then let sid at it, planing across the table and gouging divots out of it like I didn’t like it. It was rough going – I had to stop twice to screw sid’s front handle back on and once more to reattach the frog – but I eventually go to where I could put sid back in his box and switch over to the #5½ to smooth out the worst of the divots, and then up to the #7 to do the actual flattening.
It only took about twenty passes in the end before I could start planing along the grain…
But eventually, I got to the stage where I was too tired to keep trying to get out the imperfections I was having trouble seeing.
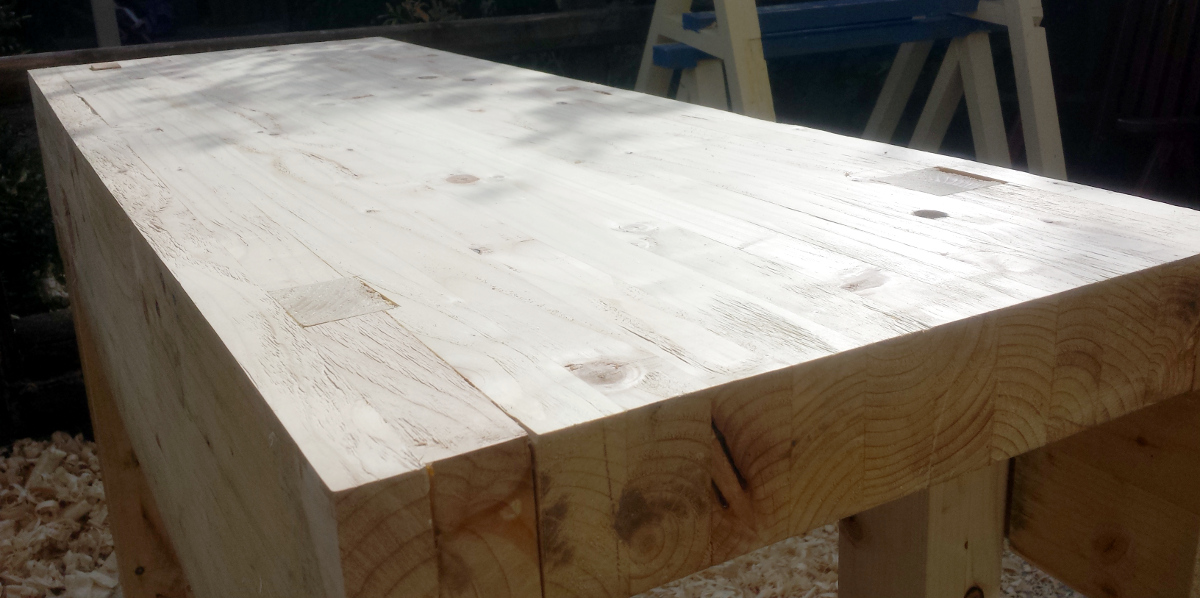
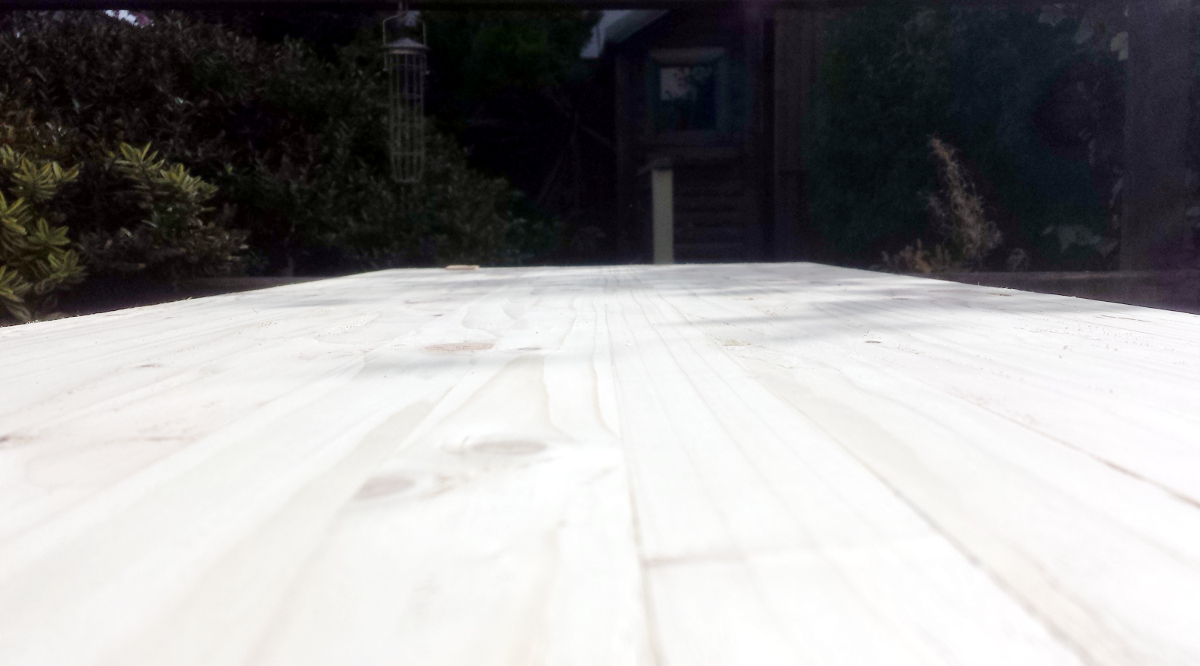
Flat, not really in twist, level according to the spirit level, not rocking, can’t get a flat planed board to spin or rock – I’ll take that.
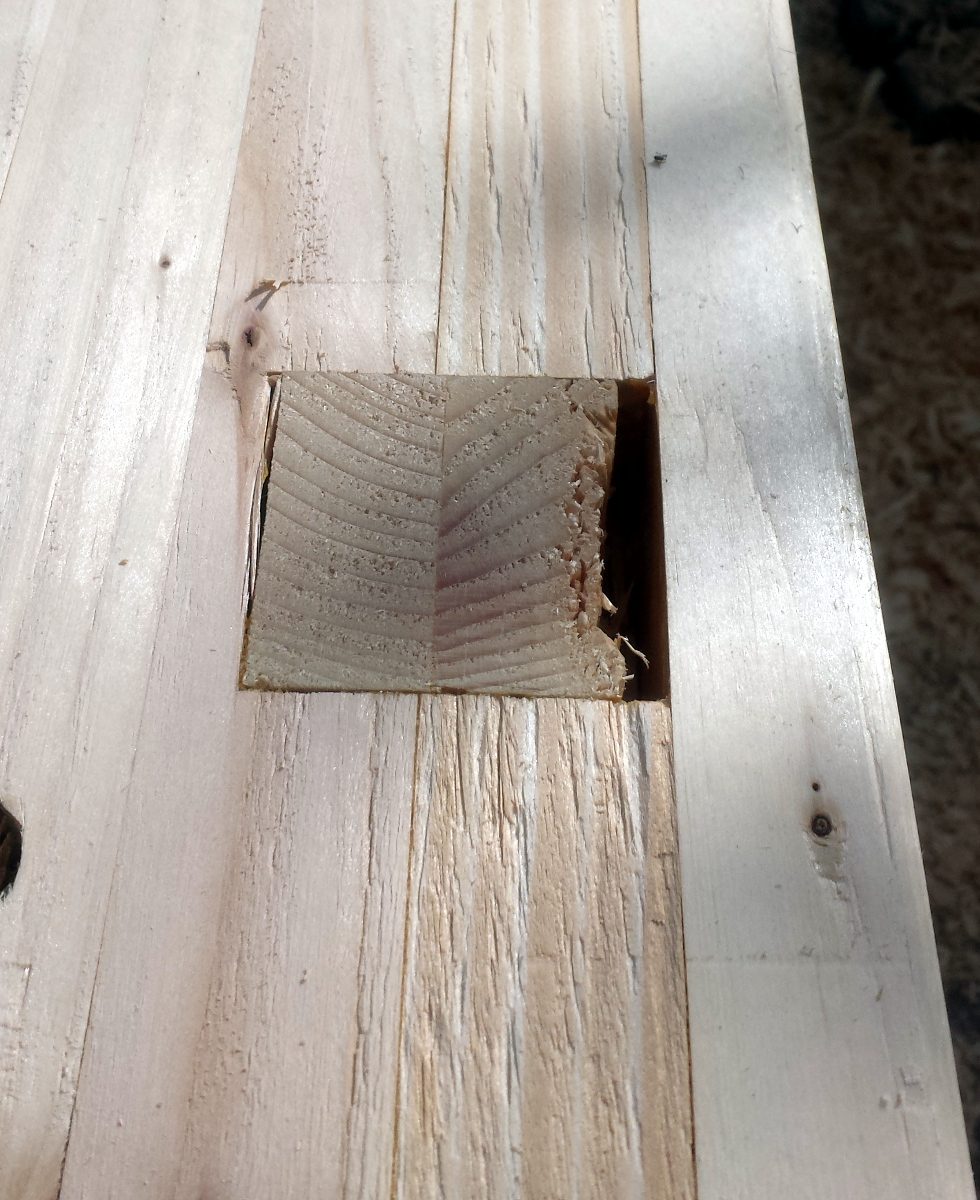
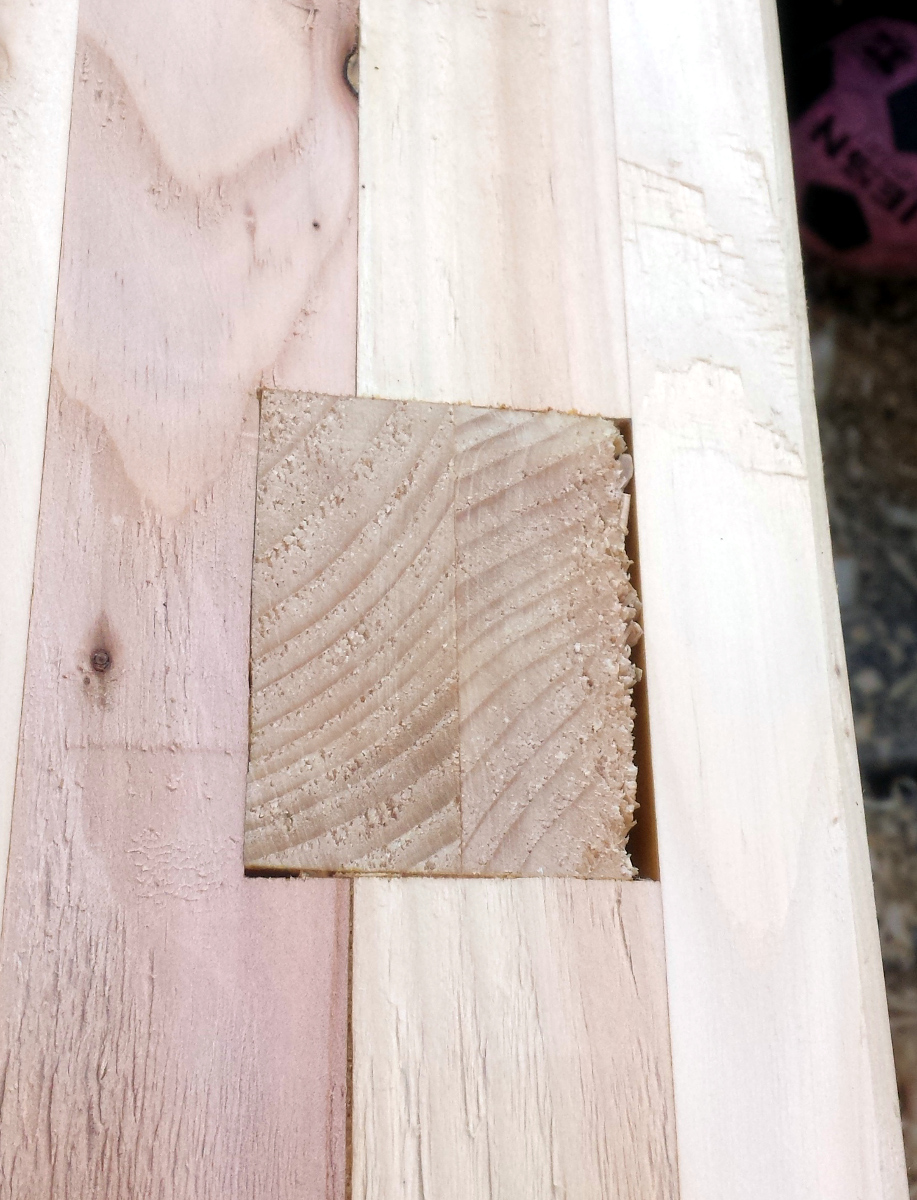
Which is not to say it’s perfect. There were gaps in the two back mortices and despite chamfering the edges with a chisel, the tenons took a lot of abuse.
I have some 2-part epoxy to fill the gaps, I’ll do that later. There are a few other voids I have to fill as well, from where knots broke out during face planing for lamination and also for a gap between the front apron and the main benchtop right over the vice – I didn’t put glue on there for fear of getting glue into the workings of the vice (lets face it, clean is not the word to describe what happens when I get near wood glue).
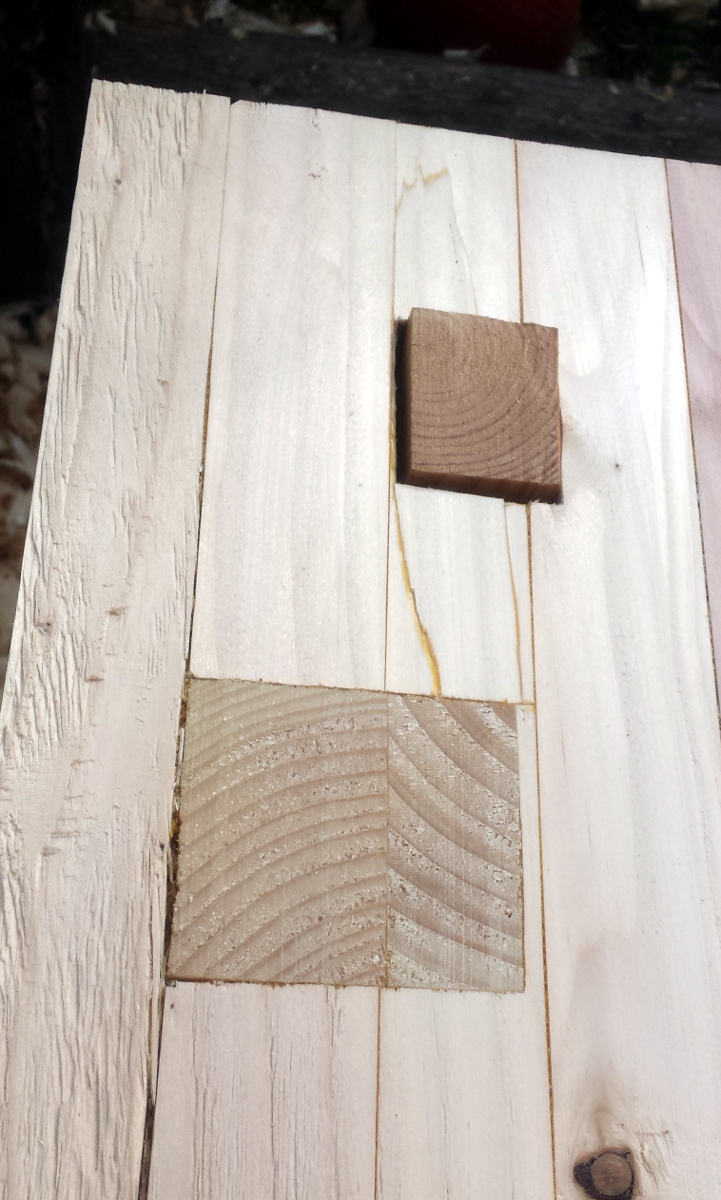
I’m consoling myself with the front tenons, which came out reasonably well (and the repair to that massive divot that came out when chopping the planing stop mortice went reasonably well too):
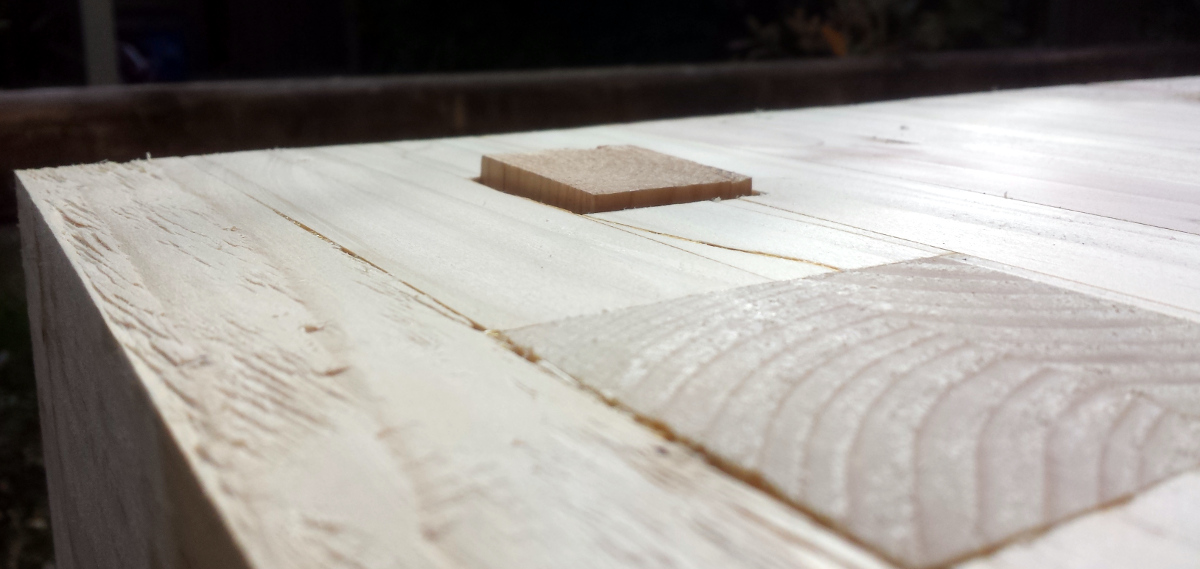
Mind you, to show how much I had to hack off that benchtop, this is the planing stop in it’s lowest position, where it was flush with the benchtop before I started all this:
That’s a lot to hog off by hand…
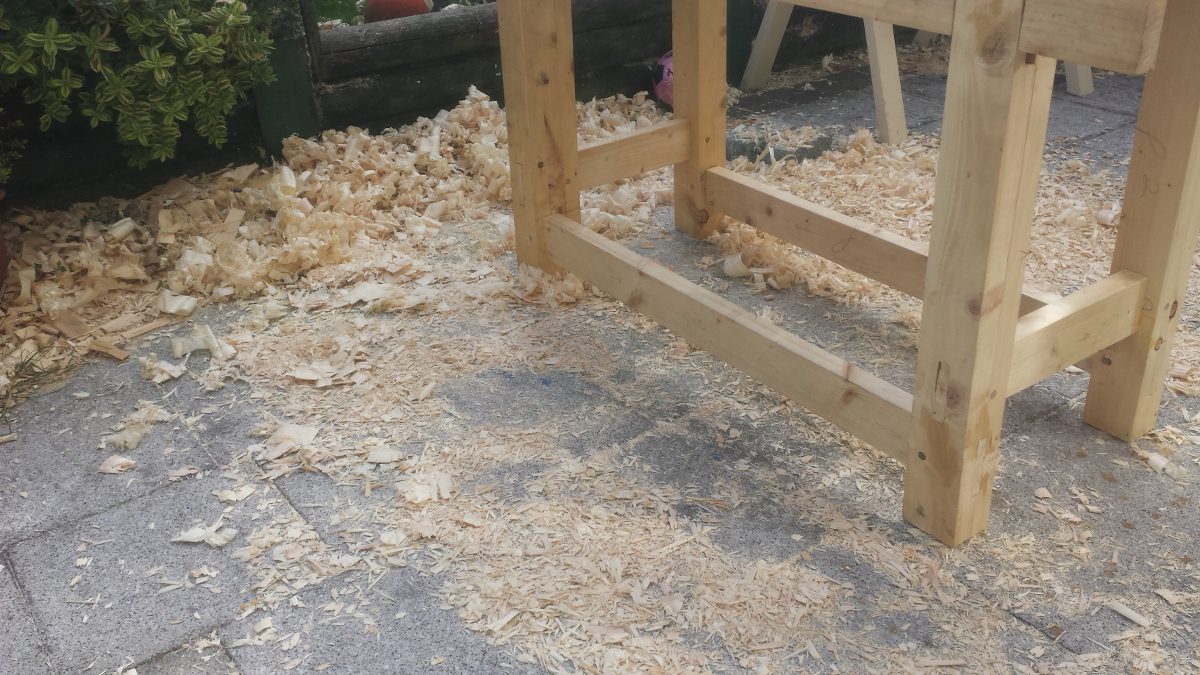
…and there it is all over the floor. (Herself is not a fan of this btw, there will be a bit of a cleanup job tomorrow. When my arms are working again).
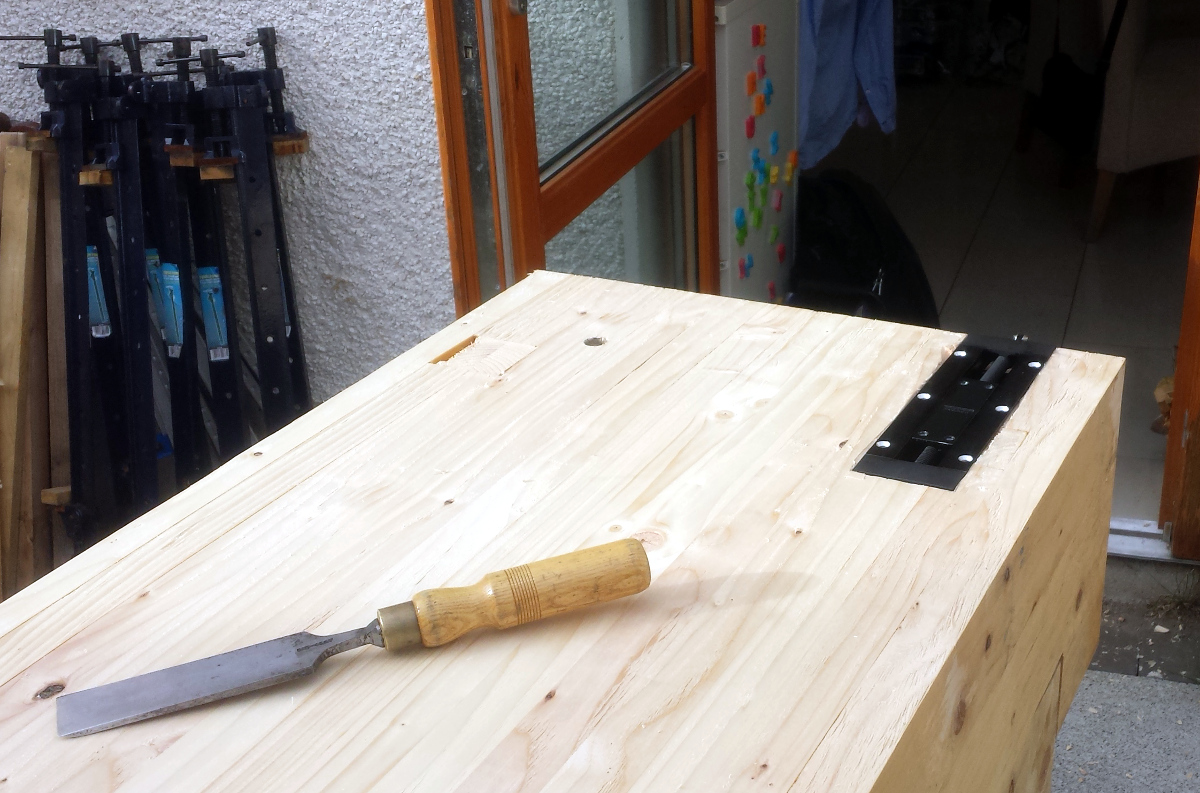
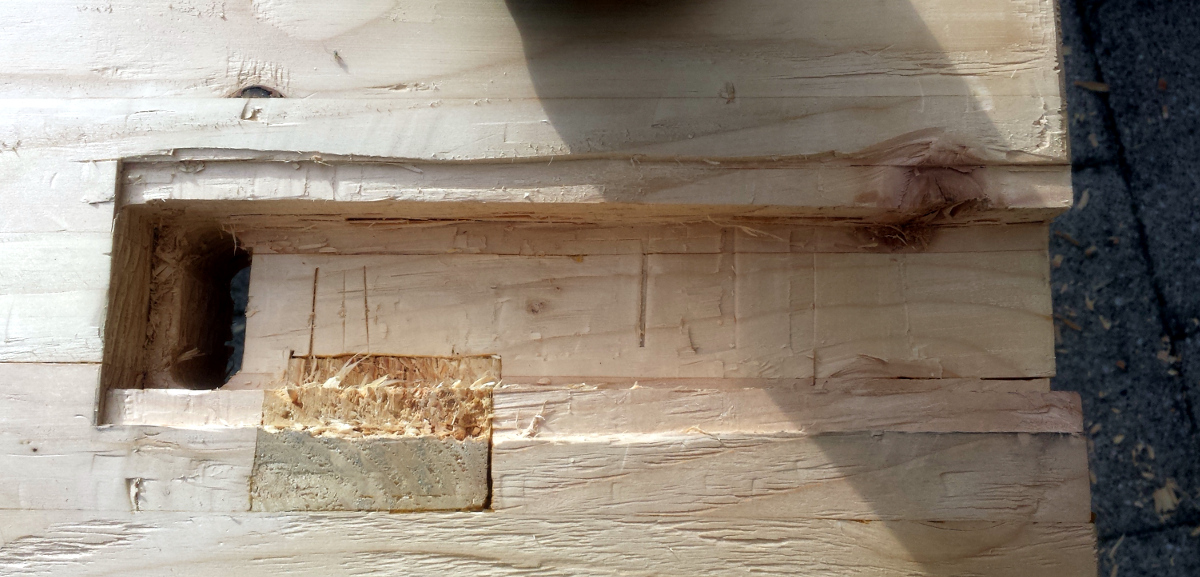
The last job I wanted to get done outside was to fit the inset vice. That involves cutting a mortice into the benchtop an inch deep and just over two inches wide, then another extending that mortice a half-inch on either side but only an eighth of an inch deep. Everyone else uses their router to do this because they’re sensible. I cut the mortice using Paul Seller’s morticing method and it didn’t go too badly this time (still about as neat as the plot to Primer mind you).
Doesn’t matter, the vice covers it up…
And there’s a through-hole at the end of the mortice away from the bench for wood shavings to be pushed out through by the vice, that got cut using the bit and brace and was the easiest bit.
Next time, power tools.
But that’s it. That’s the last job that had to be done outside. I can move the bench into the shed pretty much anytime I want to now. So of course the next thing to do is to start the finish 😀
50% BLO, 50% turps. Painted on in great messy sweeps.
If I could embed music here, you’d now be hearing O Fortuna playing with the volume turned up to eleven.
What’s left to do:
- Move bench to shed (at some point, probably tomorrow night)
- Make front face of vice from 2×4 offcut and suede.
- Assemble face vice.
- Drill holes for bench dogs and holdfasts in benchtop and legs
- Chamfer dog/holdfast holes (though I’d have to do this with the router, which I don’t like)
- Drown it in MOAR coats of 50% BLO 50% Turps (the Richard McGuire bench finish)
- Strut
I think this thing might be finished tomorrow. I mean, I’ll keep painting it in BLO, but that could keep going for a week, the actual bench part of it would be done…
Tags: bench, Woodworking

